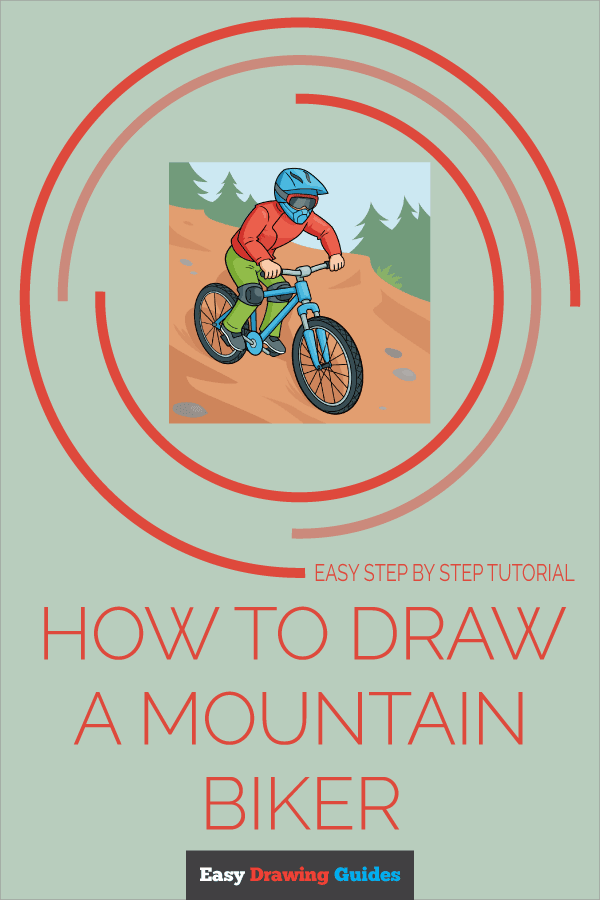
Learn how to draw a great looking Mountain Biker with easy drawing instructions and video tutorial.
By following the simple steps, you too can easily draw a perfect Mountain Biker.
Step-by-Step Instructions for Drawing a Mountain Biker
How to Draw a Great Looking Mountain Biker for Kids and Beginners - Step 1
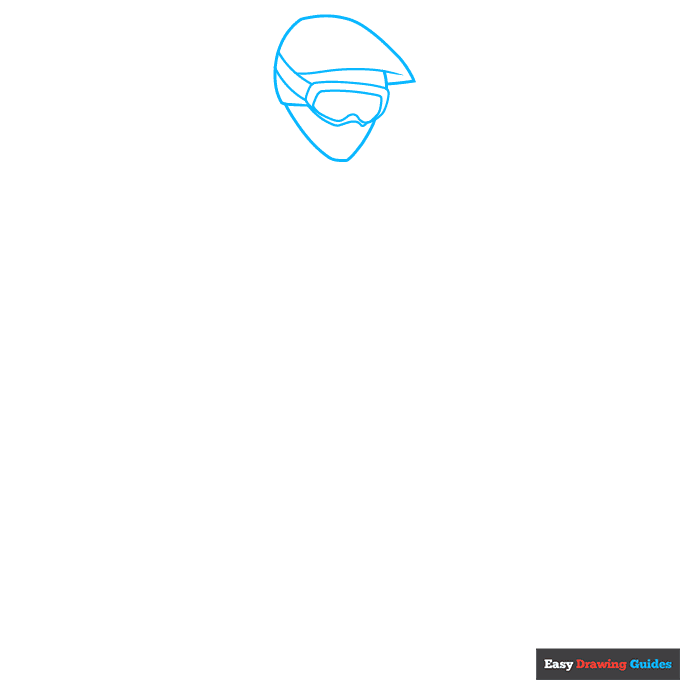
1. Draw a teardrop shape. For the goggles, sketch a rectangle with a W-shape on the bottom, then outline this shape and draw a diagonal rectangle on the left. Add a triangle below the goggles.
Drawing Step 2
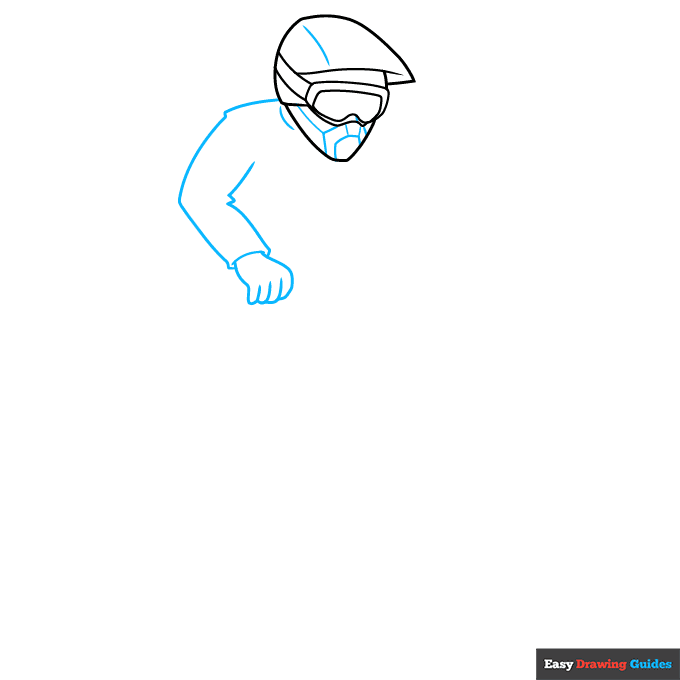
2. Sketch lines and shapes inside the mask and helmet. Draw a straight line for the shoulder, then add two sideways V-shapes for the arm. Sketch a curve near the neck and a triangle on the elbow.
For the hand, draw four semi-ovals and connect them to the sleeve with curved lines.
Unlock AD FREE and PRINTABLE drawing and coloring tutorials
- 1,900+ drawing & coloring PDFs
- 50+ ebooks
- Ad-free website
Drawing Step 3

3. Outline the right side of the body with a curve and two small triangles, adding a rounded triangle on the left. Draw the right arm with four curves and a tiny triangle. Use semi-ovals for the fingers.
Sketch a cylinder between the hands, then complete the handlebars with longer cylinders.
Drawing Step 4

4. Outline the wheel with two ovals. Draw another cylinder below the handlebars, then sketch an upside-down U-shape and connect them with short dashes. Add long cylinders on each side of the wheel.
Connect the cylinders at the bottom with a circle and small cylinder.
Drawing Step 5

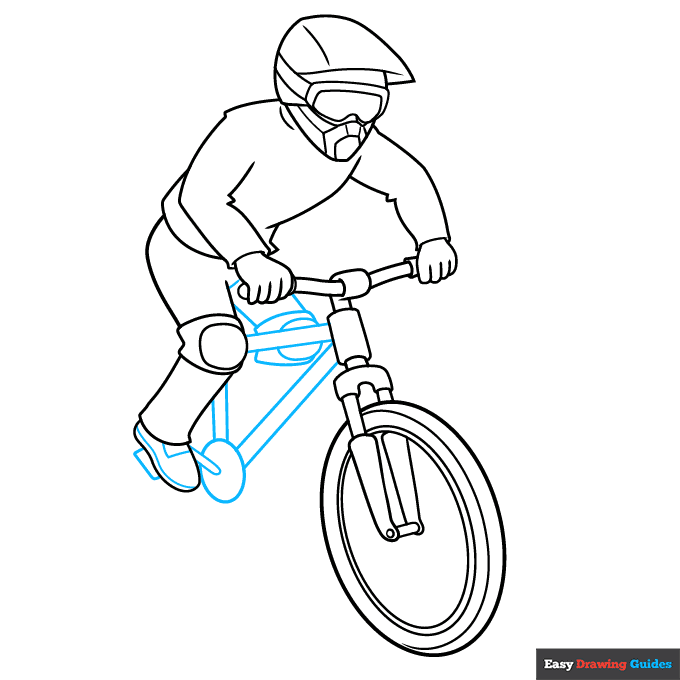
5. Sketch an oval and a curve inside the tire. Draw the left leg with four diagonal lines. On the knee, draw an oval and surround it with an oblong shape.
Outline the shoe with an oval that has a bump on the left side.
Drawing Step 6
6. For the right leg, sketch three diagonal lines and an oval attached to a rectangle. Draw an oval beside the left shoe, then add a rectangle and three cylinders. Sketch a curve and rectangle on the shoe.
Drawing Step 7
7. Draw two large ovals, a small oval and a triangle behind the left leg. Complete the right leg with a rectangle and oval-shaped shoe. Draw a curve and rectangle inside the shoe.
Add a rectangle and small cylinder below the right foot.
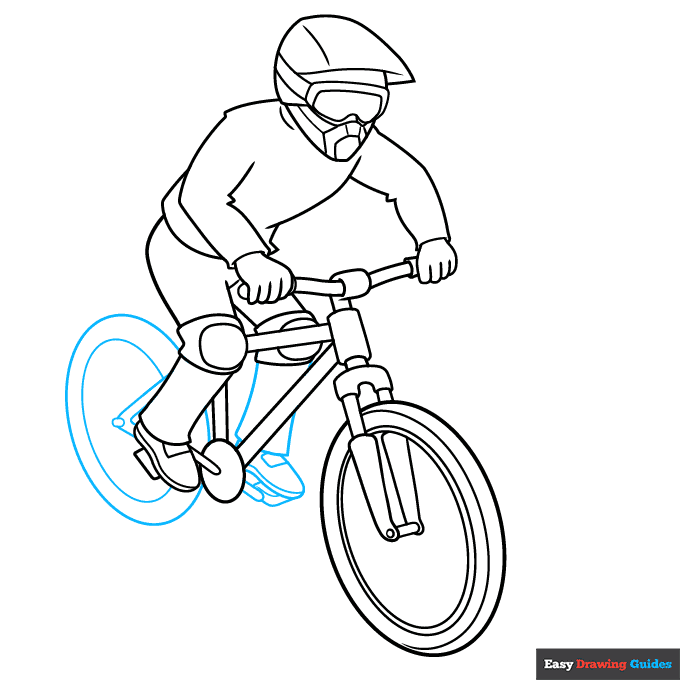
Add More Details to Your Mountain Biker Picture - Step 8
8. Sketch an oval and a curve inside the left tire. Draw lines inside the wheels.
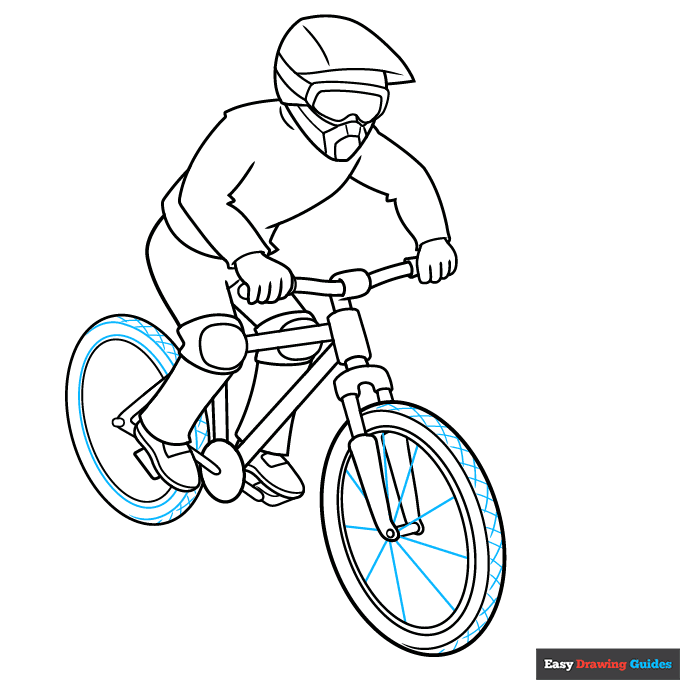
Complete the Outline of Your Mountain Biker Drawing - Step 9
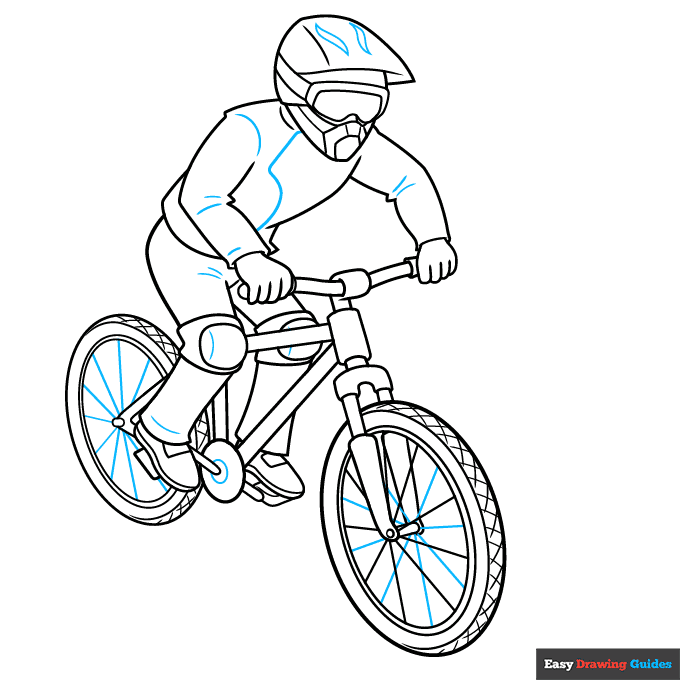
9. Add more lines inside the wheels, then sketch more lines and shapes inside the bike and clothing. Outline your step-by-step mountain biker with black ink.
Color Your Mountain Biker Drawing
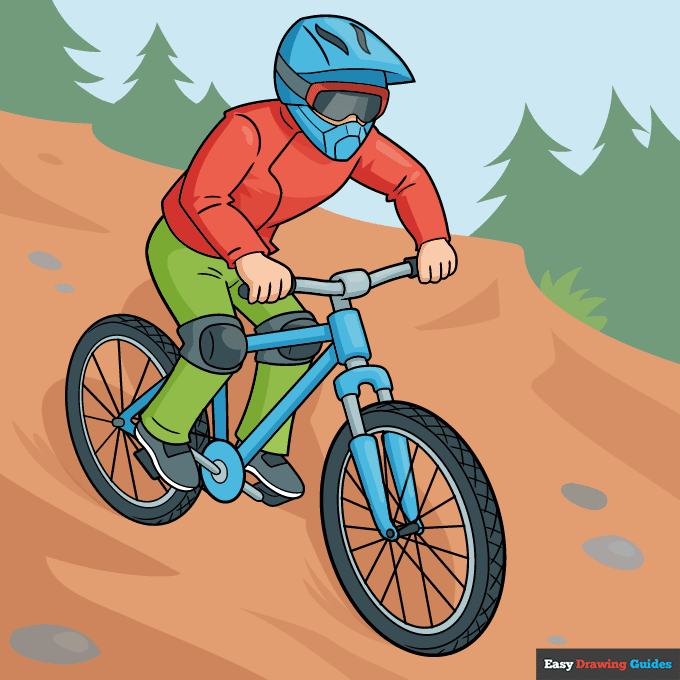
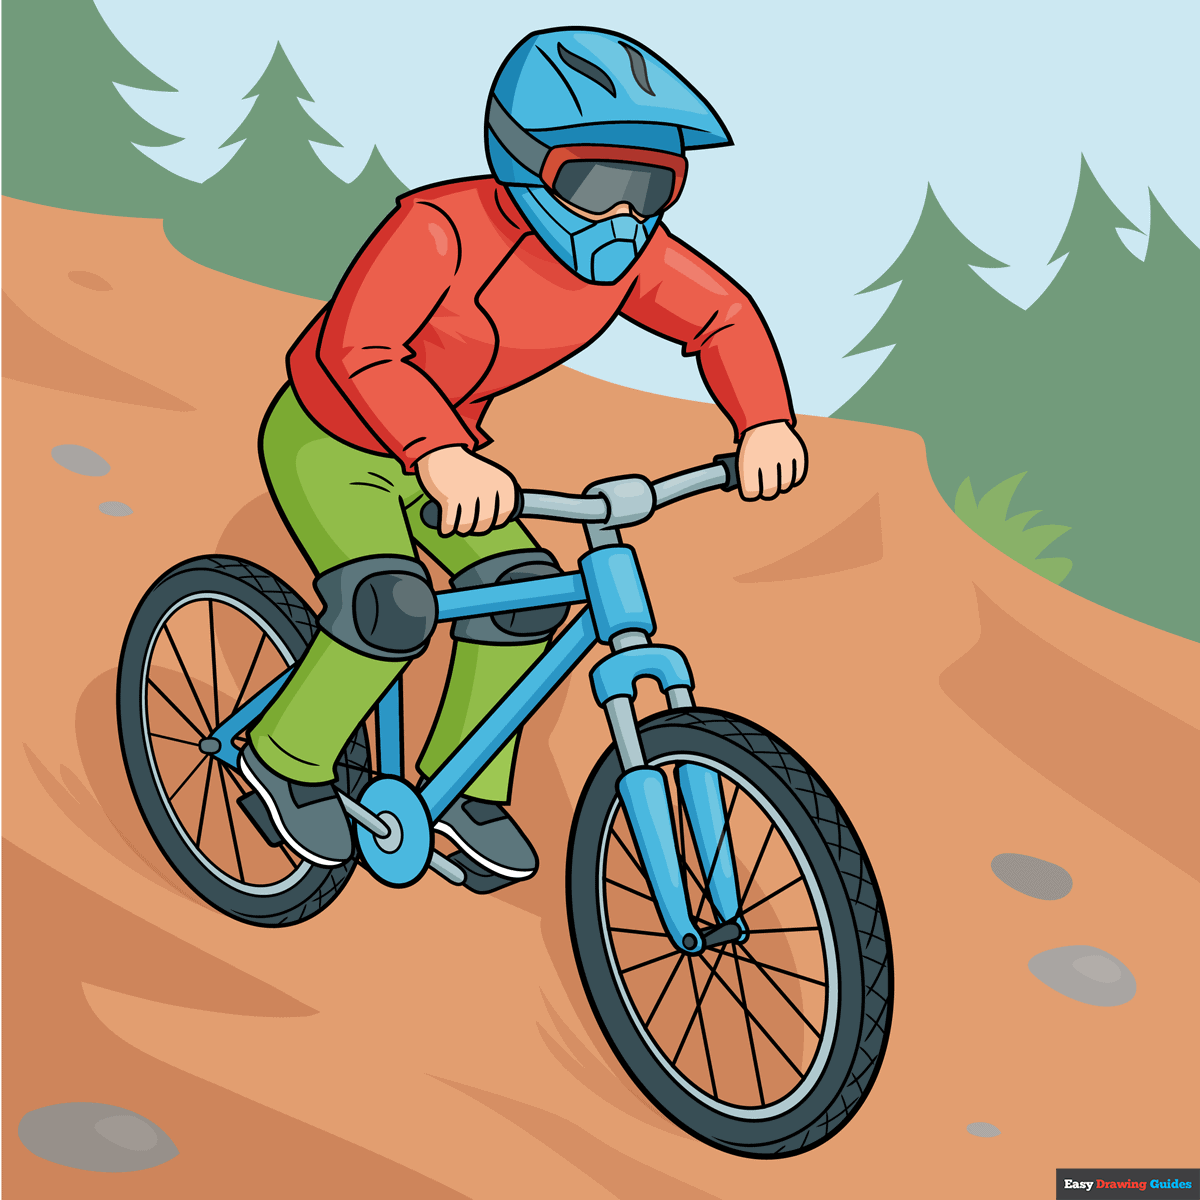
Color your easy mountain biker with your preferred skin color. Use blue and grey for the bike, then make the clothing blue, red, grey and green. Add shades of brown, green, grey and blue for the landscape.
Watch 'How to Draw a Mountain Biker' Video Tutorial
Learn More About The Mountain Biker Drawing
Instead of parks and bike lanes, mountain bikers tackle rugged terrain. Learn how to draw a mountain biker equipped with safety gear.
A forest landscape surrounds this mountain biker as he rides down the path.
Use the guide to draw shadows around the bike, then outline them with your coloring tool before you start shading. The shadows should blend in with the background.
The wheels might look tricky, but all you'll need is a few ovals and several straight lines.
A single curve on the front of each tire creates a three-dimensional appearance. Try using a ruler to make the spokes straight and even.
If you love biking, learn how to draw a bike by itself or visit this dirt bike drawing guide.
Mountain Biker Drawing Tutorial - Easy & Fun Printable Pages
Join now and get immediate access to thousands of printable drawing instruction and practice pages!
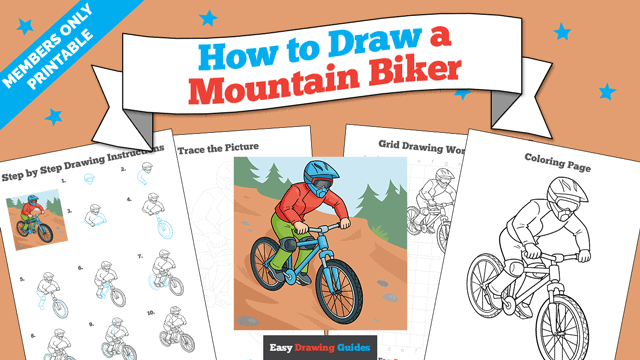
Learn how to get access to thousands of printable pages!

MEMBER TROUBLESHOOTING
Still seeing ads or not being able to download the PDF?
First, check that you're logged in. You can log in on the member login page.
If you're still not able to download the PDF, the likely solution is to reload the page.
You can do this by clicking the browser reload button.
It is a circular arrow-shaped icon at the top of the browser window, typically found in the upper-left side (you can also use keyboard shortcuts: Ctrl+R on PC and Command+R on Mac).