Learn how to draw a great looking Pioneer Wagon with easy drawing instructions and video tutorial.
By following the simple steps, you too can easily draw a perfect Pioneer Wagon.
Step-by-Step Instructions for Drawing a Pioneer Wagon
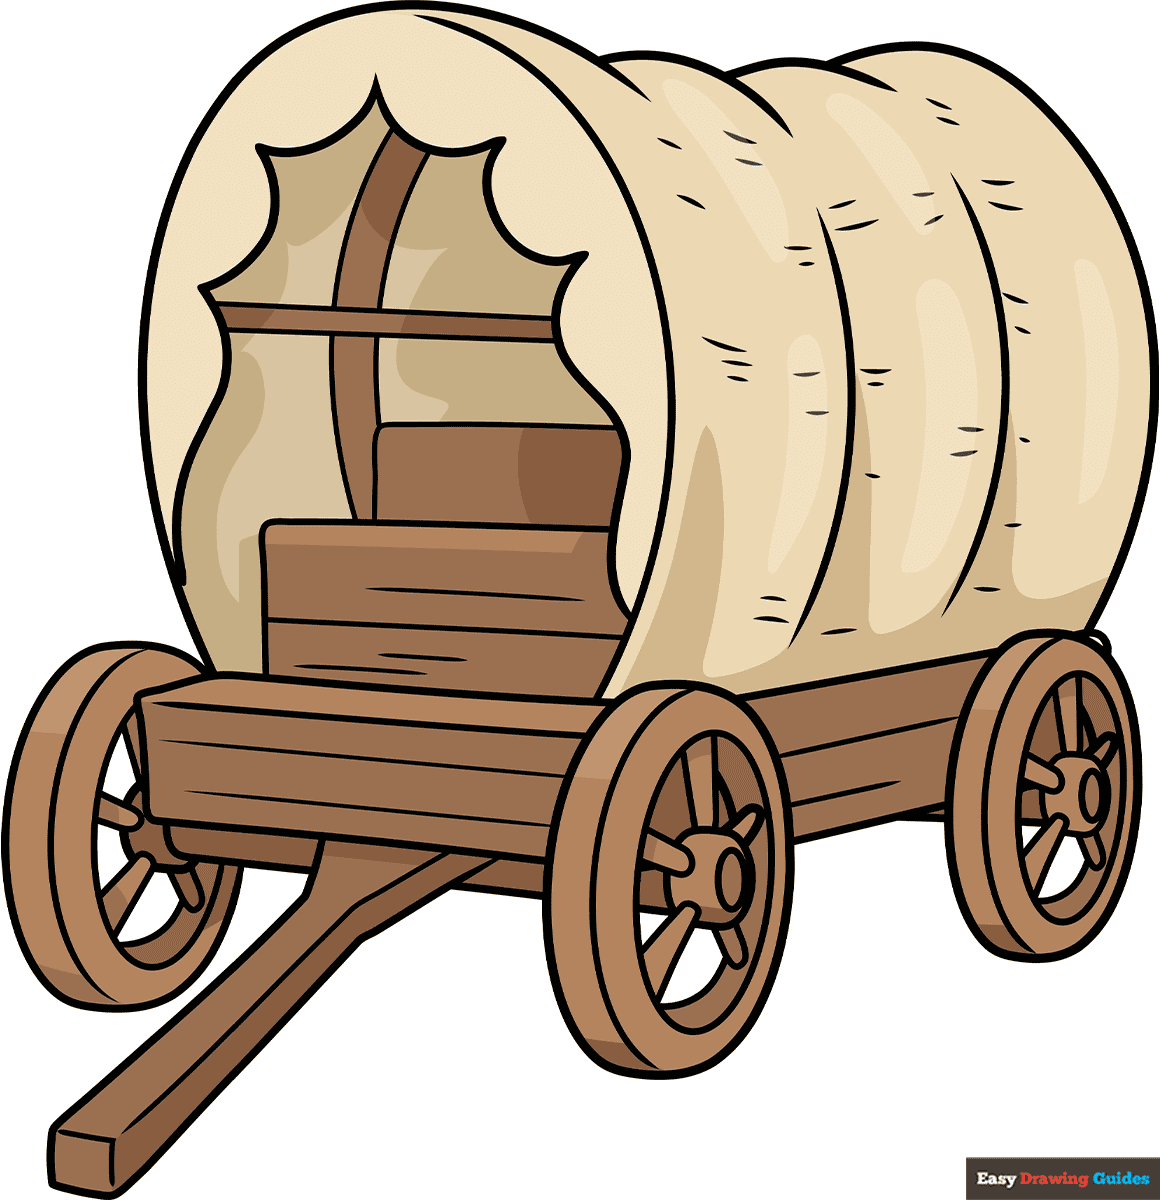
How to Draw a Great Looking Pioneer Wagon for Kids and Beginners - Step 1
1. Begin the pioneer wagon outline by drawing two curved lines in an arch shape. They shouldn't meet at the top, but one should pass over the other.
From there, draw two more overlapping curved lines. This is the canvas cover.
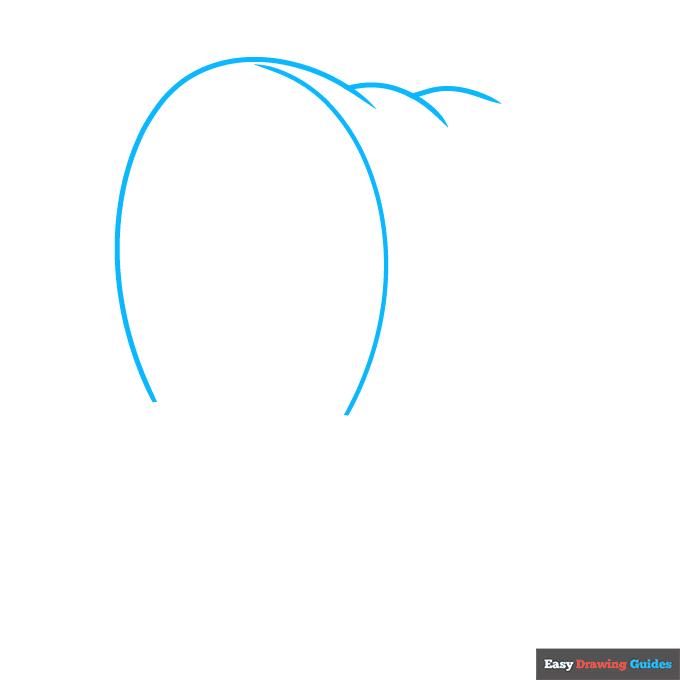
Drawing Step 2
2. Draw another long curved line to complete the back of the cover. At the front, draw an oval with a line across it to give the three-dimensional impression of a wheel.
Beside it, use straight lines to draw a rectangular prism across the front of the wagon's opening.
Unlock AD FREE and PRINTABLE drawing and coloring tutorials
- 1,900+ drawing & coloring PDFs
- 50+ ebooks
- Ad-free website
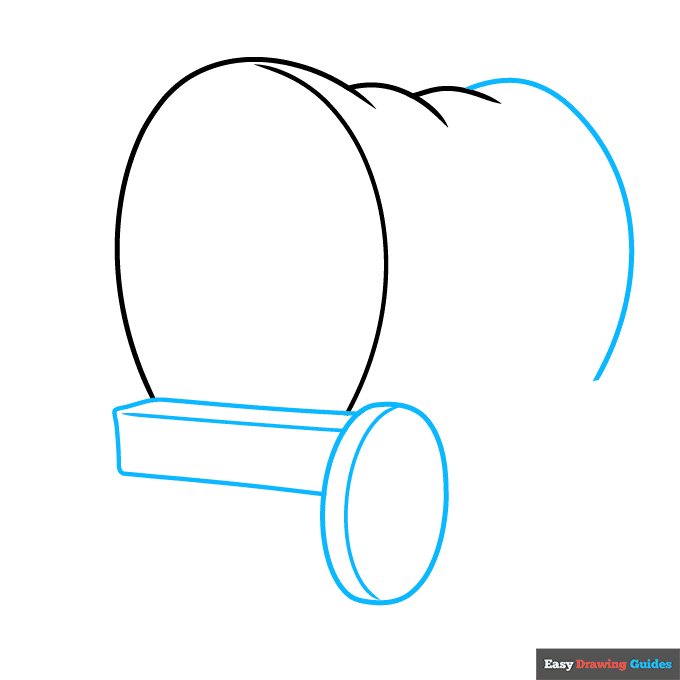
Drawing Step 3
3. Draw an oval inside the first wheel, then draw two more ovals. Draw an oval inside the front wheel and a curved line across it.
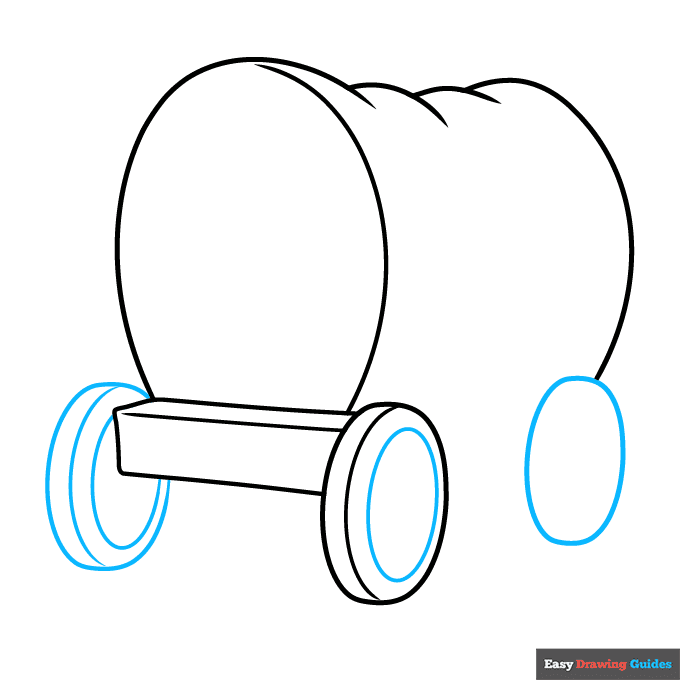
Drawing Step 4
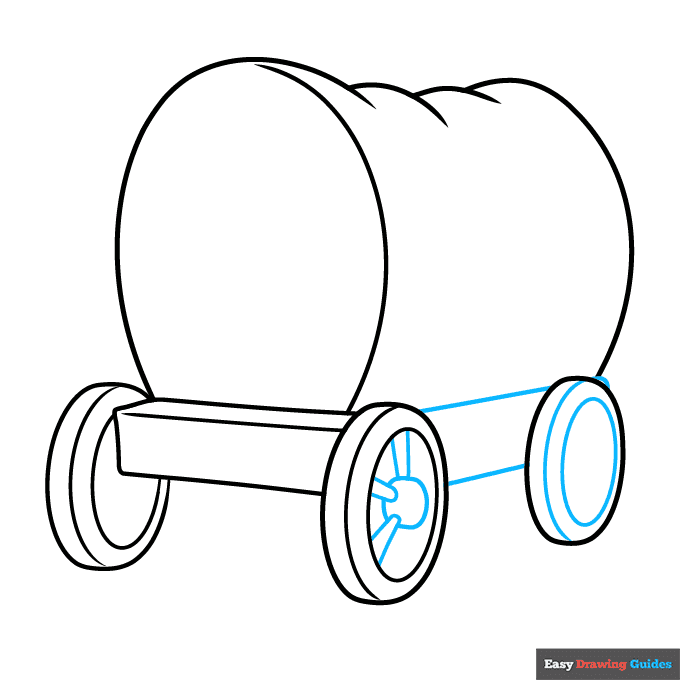
4. Draw an oval inside and a line across the rear wheel. In the front wheel, draw a round shape with pairs of straight lines extended from it.
These are the wheel's spokes. Then, draw two straight lines between the wheels.
Drawing Step 5
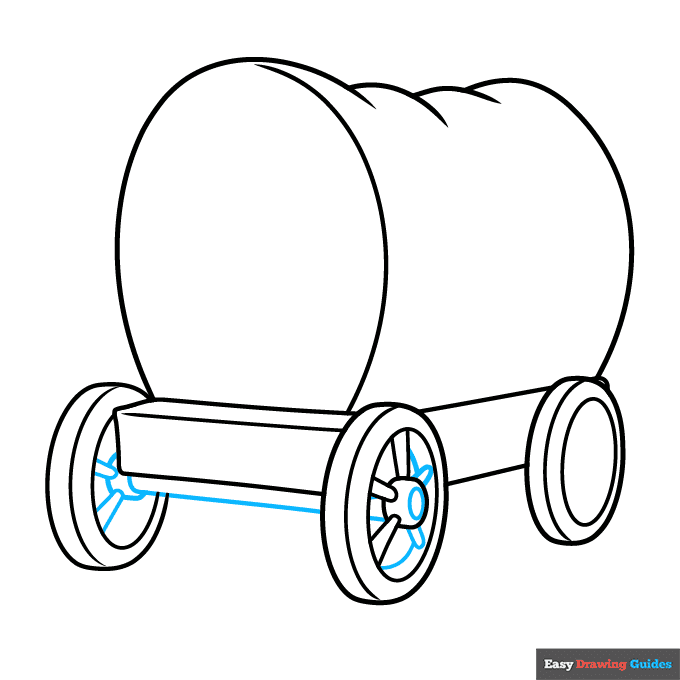
5. Finish the front wheel, drawing a small oval in the hub, two more spokes, and the edge of the wheel.
Start drawing the hubs and spokes in the opposite wheel, with a long, straight line between them to indicate the axle.
Drawing Step 6
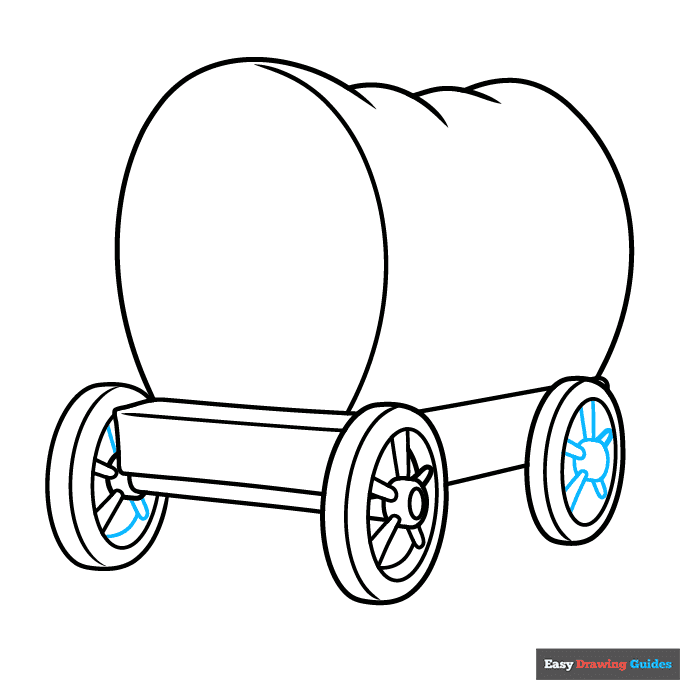
6. Finish the wheel, then draw the hubs and spokes in the rear wheel.
Drawing Step 7
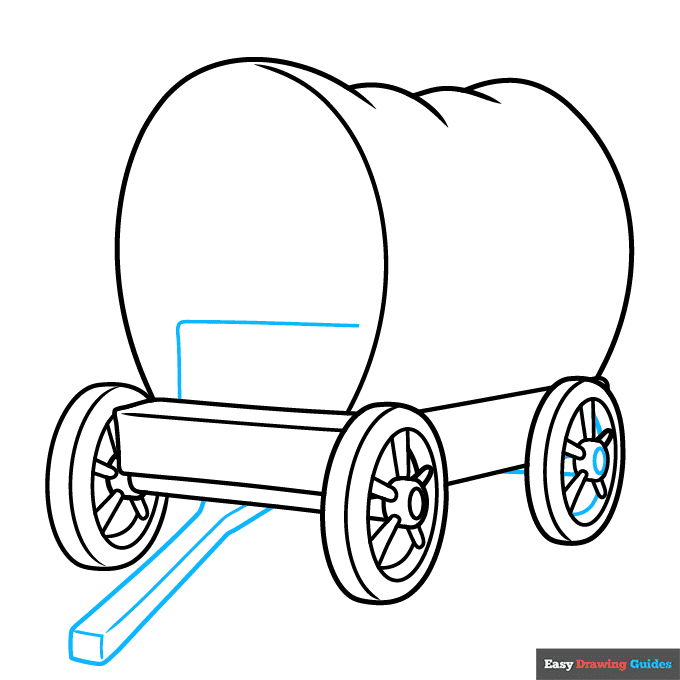
7. Finish the wheel. Then, use curved and straight lines to draw a long, narrow, irregular rectangular prism at the front of the wagon.
This is the tongue you hitch the horses to so they can pull the wagon. Draw an "L" shaped line inside the wagon. This is the driver's seat.
Add More Details to Your Pioneer Wagon Picture - Step 8
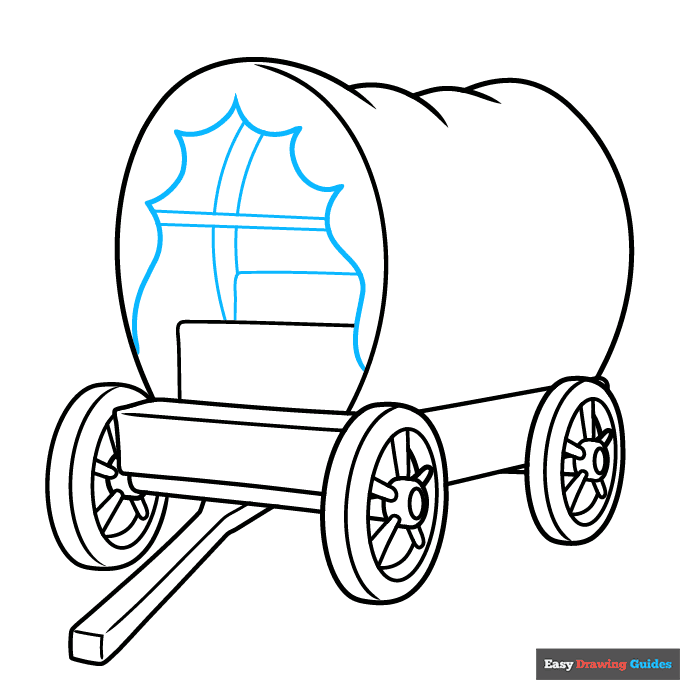
8. Draw a series of lines to indicate the edges of the fabric. Inside, draw pairs of lines to indicate the wooden supports for the cover.
Complete the Outline of Your Pioneer Wagon Drawing - Step 9
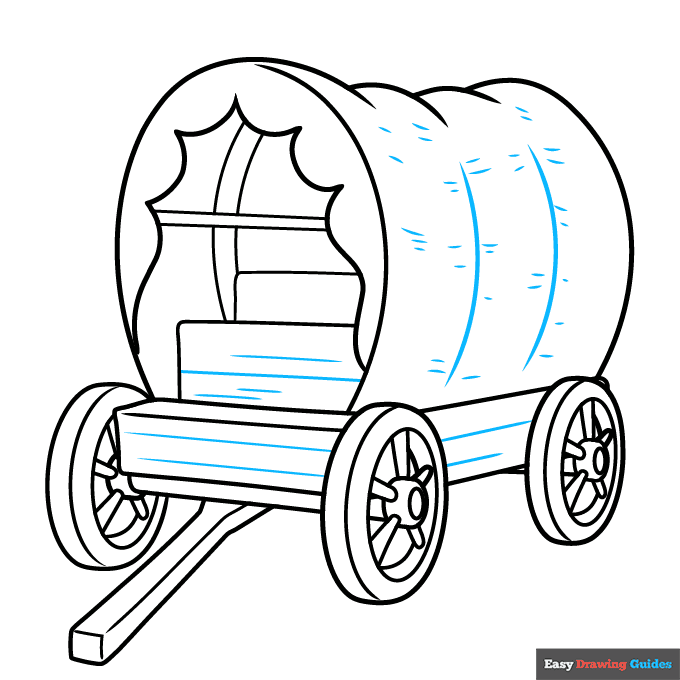
9. Use long and short lines to texture the wood of the wagon and the fabric of the canvas.
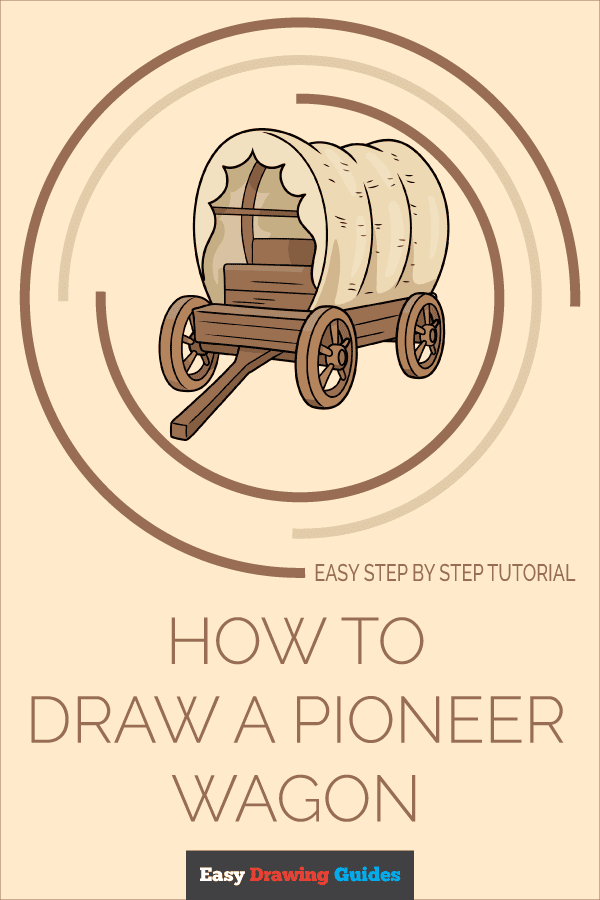
Color Your Pioneer Wagon Drawing

Your pioneer wagon outline is now complete. Color your drawing. The wooden wagons were usually brown with white or tan tops.
Watch 'How to Draw a Pioneer Wagon' Video Tutorial
Learn More About The Pioneer Wagon Drawing
Are you part of the Oregon Trail generation? Or are you studying the pioneer days of the American West in school? Either way, you can learn how to draw a pioneer wagon with the help of this easy, step-by-step drawing tutorial.
The Conestoga wagon or prairie schooner was a wooden wagon with a canvas fabric top. It was pulled by horses, and people used it to travel long distances long before cars were invented.
The wagons were heavy, so six to eight horses were often used to pull one wagon. Learn how to draw a horse.
Sometimes, the wagons were pulled by oxen, a type of bull. You can learn how to draw a bull.
Pioneer Wagon Drawing Tutorial - Easy & Fun Printable Pages
Join now and get immediate access to thousands of printable drawing instruction and practice pages!
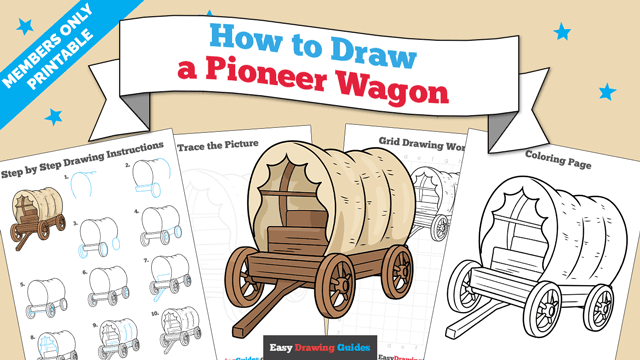
Learn how to get access to thousands of printable pages!

MEMBER TROUBLESHOOTING
Still seeing ads or not being able to download the PDF?
First, check that you're logged in. You can log in on the member login page.
If you're still not able to download the PDF, the likely solution is to reload the page.
You can do this by clicking the browser reload button.
It is a circular arrow-shaped icon at the top of the browser window, typically found in the upper-left side (you can also use keyboard shortcuts: Ctrl+R on PC and Command+R on Mac).