Learn how to draw a great looking Plant Cell with easy drawing instructions and video tutorial.
By following the simple steps, you too can easily draw a perfect Plant Cell.
Step-by-Step Instructions for Drawing a Plant Cell
How to Draw a Great Looking Plant Cell for Kids and Beginners - Step 1
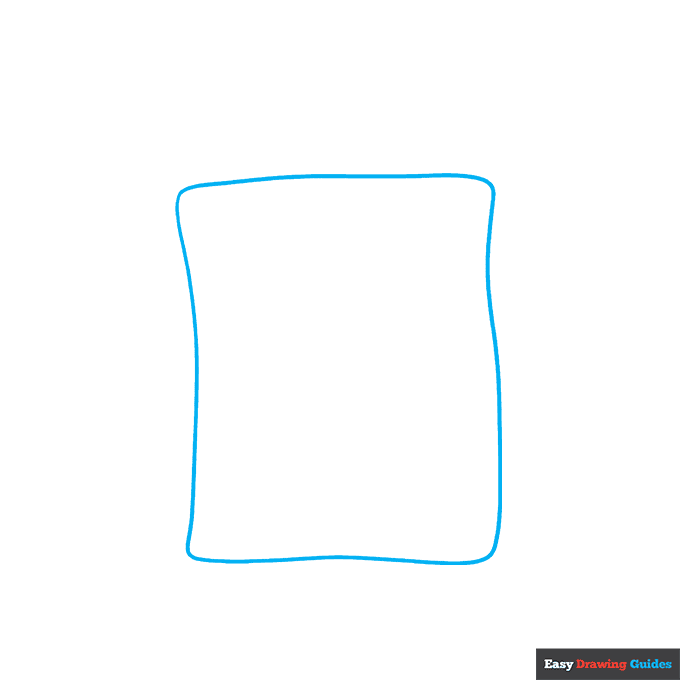
1. Begin the plant cell outline by drawing a wavy rectangle. Plant cells are usually rectangular because they have a rigid cell wall.
Drawing Step 2
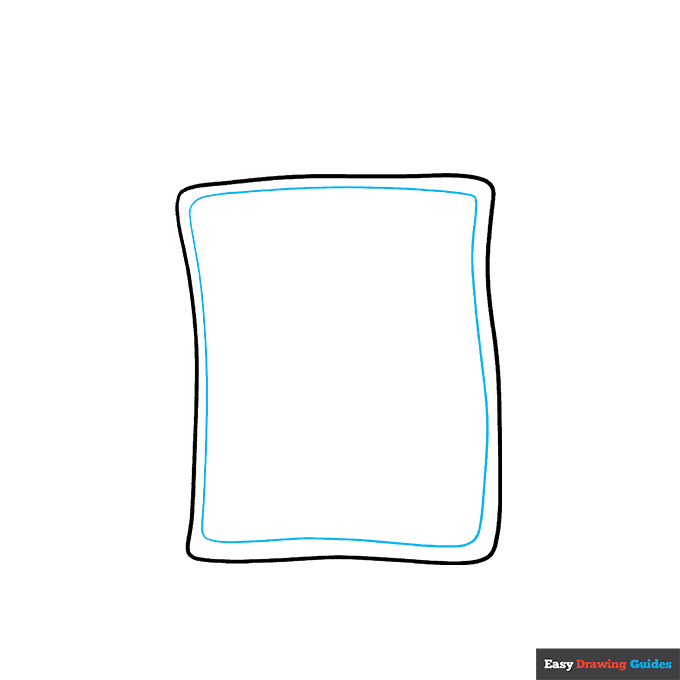
2. Draw another wavy rectangle inside the first. This is the cell membrane.
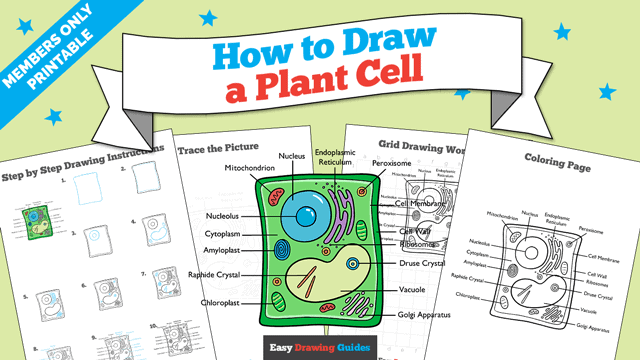
Unlock AD FREE and PRINTABLE drawing and coloring tutorials
- 1,900+ drawing & coloring PDFs
- 50+ ebooks
- Ad-free website
Drawing Step 3
3. Draw a circle within a circle inside the cell. These are the nucleus and the nucleolus.
Drawing Step 4
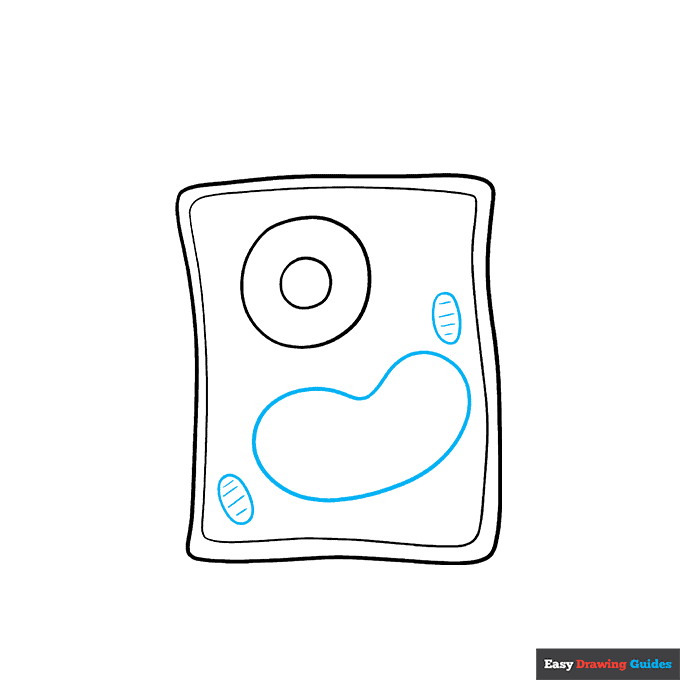
4. Draw a large, irregular peanut shape. This is a vacuole. Alongside it, draw two ovals and band them with parallel lines. These are the chloroplasts.
Drawing Step 5
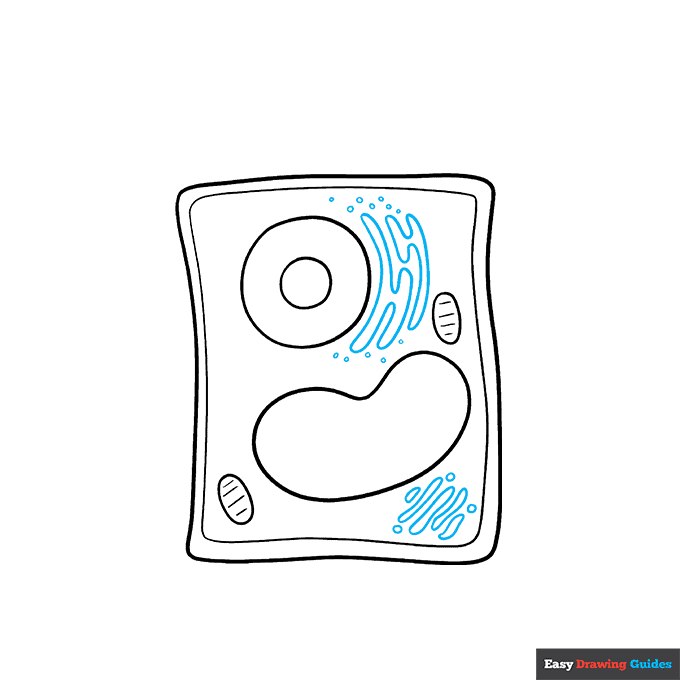
5. Use wavy lines to enclose a number of squiggly parallel lines below the vacuole.
Then, use curved lines to draw interlocking zigzag shapes curled around one side of the nucleus. Enclose small circles around each.
The first organelle is the Golgi apparatus, and the second is the endoplasmic reticulum.
Drawing Step 6
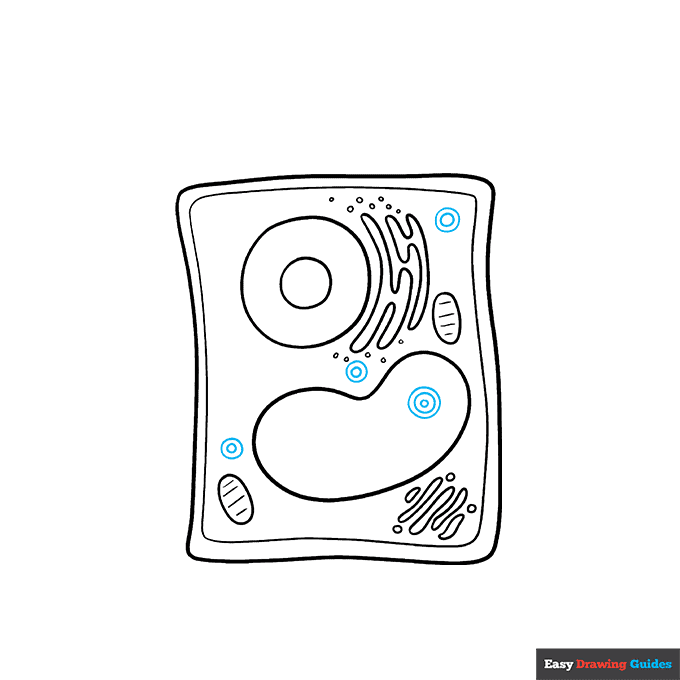
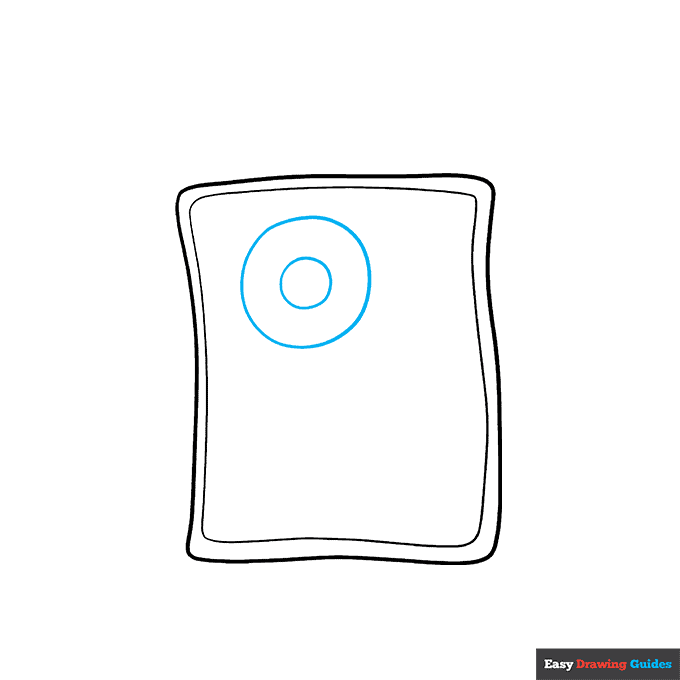
6. Draw three small circles within circles in the cytoplasm. Then, draw three successively smaller circles inside the vacuole. The former are peroxisomes, while the latter is a druse crystal.
Drawing Step 7
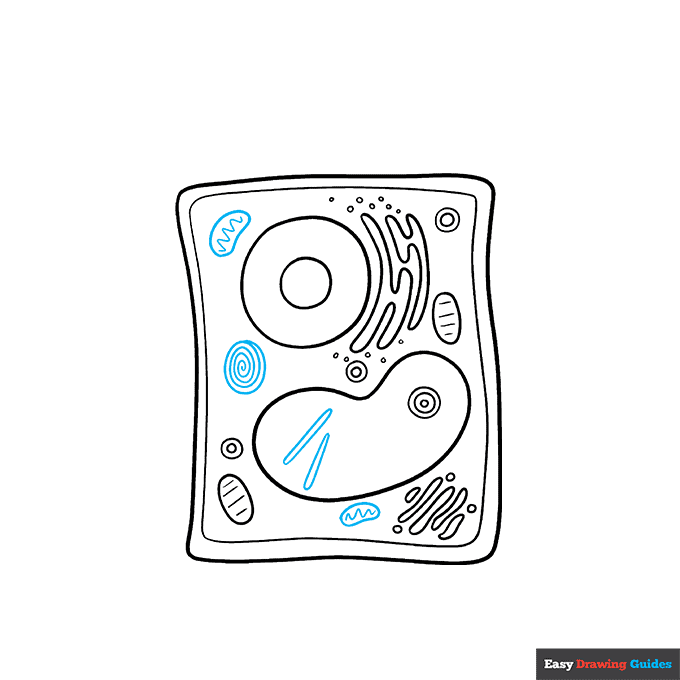
7. Draw two irregular oval shapes in the cytoplasm. Draw a wavy line down the center of each, forming the mitochondria.
Then draw a spiral line that ends by meeting itself, forming a circle. This is the amyloplast. Finally, enclose two thick, straight lines with rounded ends inside the vacuole. These are raphide crystals.
Add More Details to Your Plant Cell Picture - Step 8
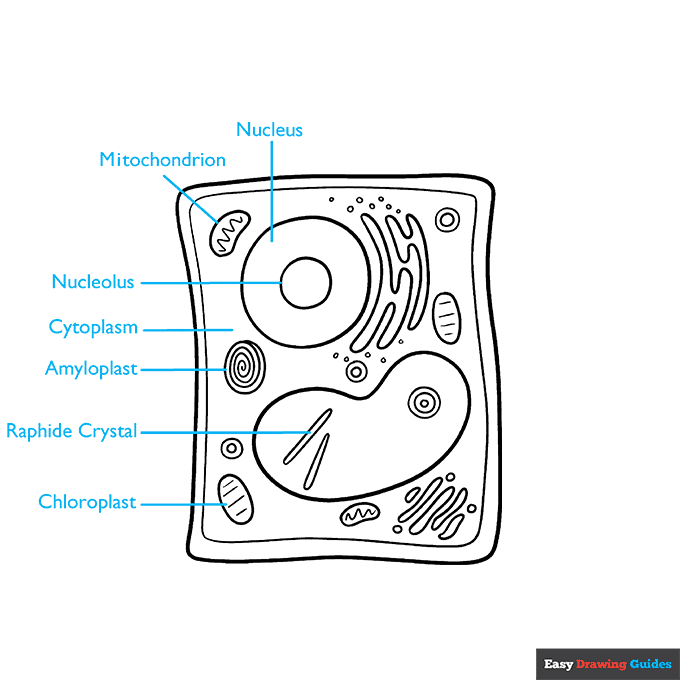
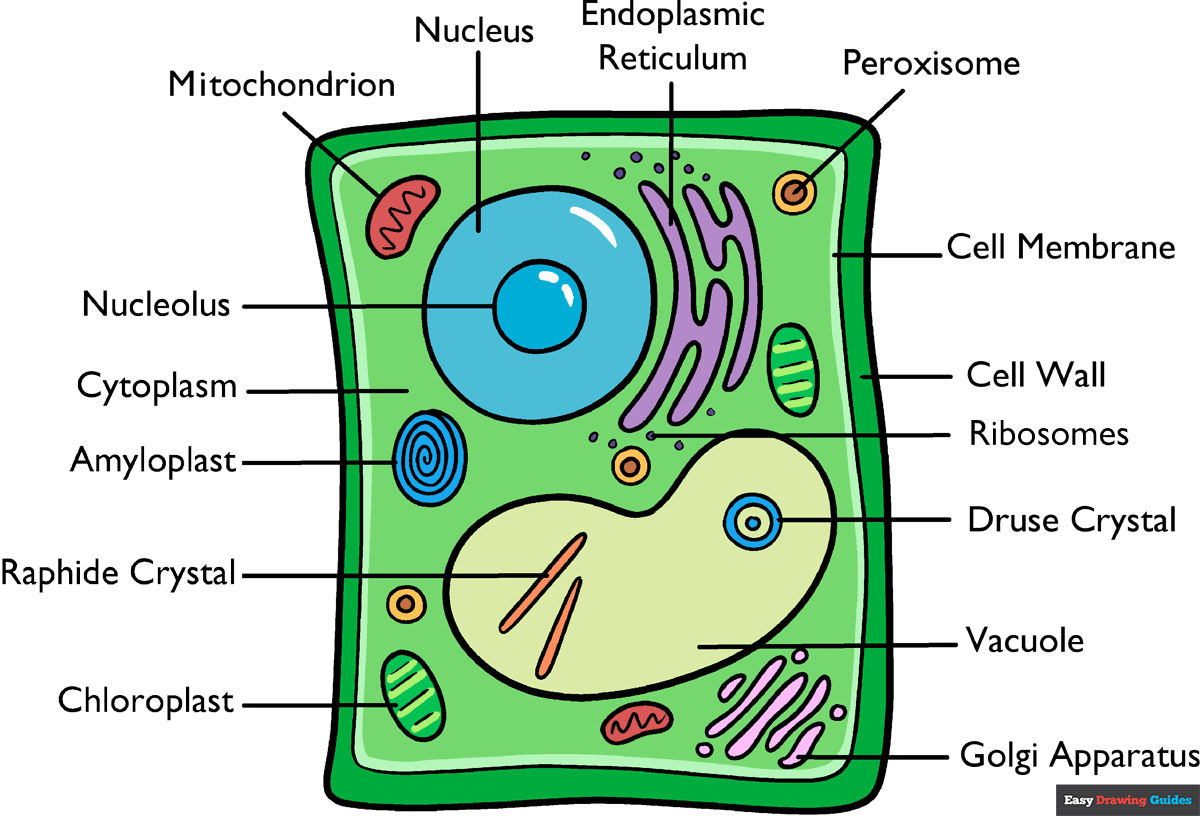
8. Begin labeling the organelles and other parts of the cell. Beginning with the chloroplast and moving clockwise, label the raphide crystal, amyloplast, cytoplasm, nucleolus, mitochondrion, and nucleus.
Draw a straight line from each vocabulary term to the cell part it describes.
Complete the Outline of Your Plant Cell Drawing - Step 9
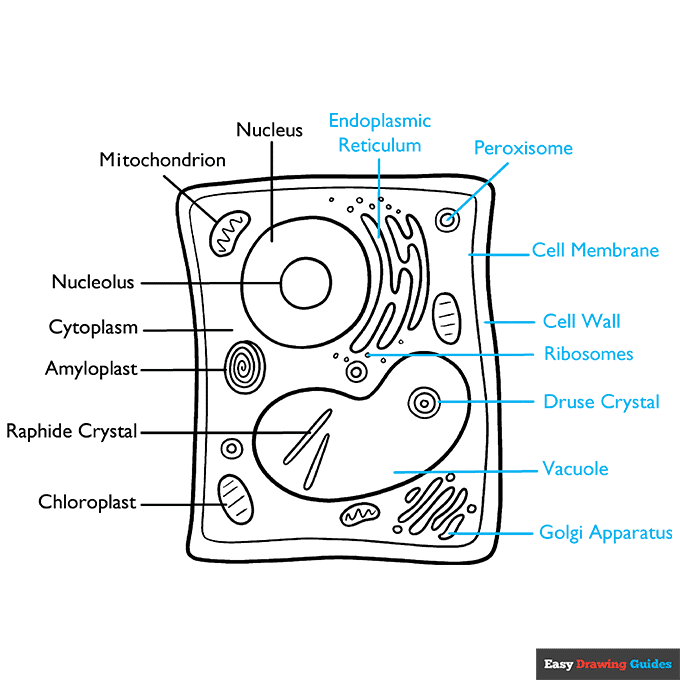
9. Continue labeling the parts of the cell, moving clockwise. Label the endoplasmic reticulum, peroxisome, cell membrane, cell wall, ribosomes, druse crystal, vacuole, and Golgi apparatus.
Color Your Plant Cell Drawing
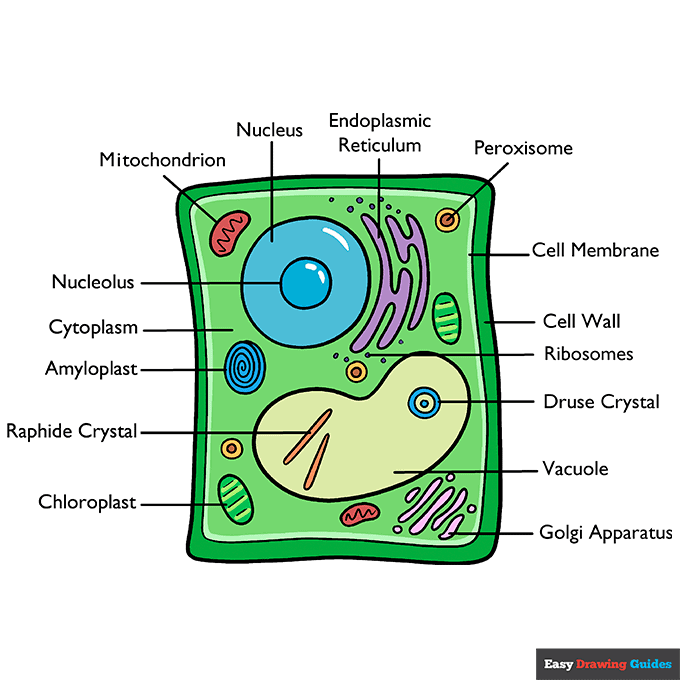
Your cartoon plant cell outline is now complete. Color your diagram. Make sure you make each of the organelles a different color so that you can easily tell them apart.
The chloroplasts, of course, should be green, because they are filled with green chlorophyll.
Watch 'How to Draw a Plant Cell' Video Tutorial
Learn More About The Plant Cell Drawing
Plant physiology is one of the most difficult concepts in biology. You can learn about plants the easy way thanks to this easy, step-by-step plant cell drawing tutorial.
One of the first things you may notice is the square shape of this cell. It is different than eukaryotic cells like the one in this animal cell drawing.
You'll also notice that each type of cell shares some parts, called organelles, while others are unique to either plants or animals.
Of course, there is so much more to learn about plants. Once you've looked at a plant cell on the microscopic level, you can explore this plant diagram drawing to learn all its parts on the macro level.
You can even explore how plants fit into their ecosystems at large with this food chain drawing.
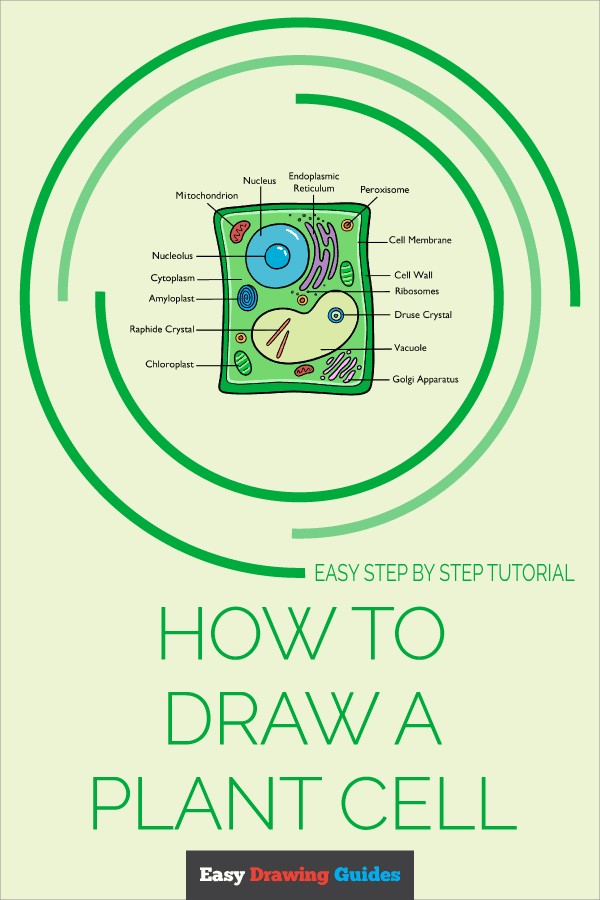
Plant Cell Drawing Tutorial - Easy & Fun Printable Pages
Join now and get immediate access to thousands of printable drawing instruction and practice pages!
Learn how to get access to thousands of printable pages!

MEMBER TROUBLESHOOTING
Still seeing ads or not being able to download the PDF?
First, check that you're logged in. You can log in on the member login page.
If you're still not able to download the PDF, the likely solution is to reload the page.
You can do this by clicking the browser reload button.
It is a circular arrow-shaped icon at the top of the browser window, typically found in the upper-left side (you can also use keyboard shortcuts: Ctrl+R on PC and Command+R on Mac).