Learn how to draw a great looking Shovel with easy drawing instructions and video tutorial.
By following the simple steps, you too can easily draw a perfect Shovel.
Step-by-Step Instructions for Drawing a Shovel

How to Draw a Great Looking Shovel for Kids and Beginners - Step 1
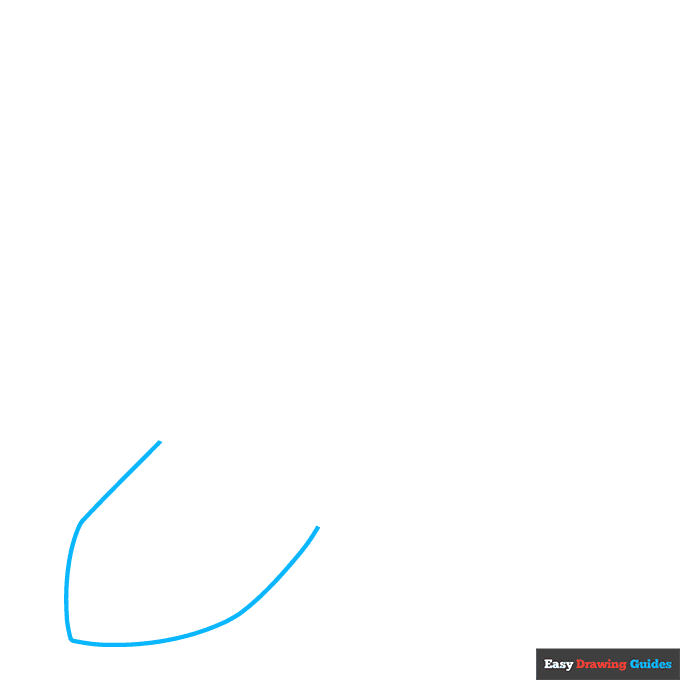
1. Begin the shovel outline by drawing two curved lines that meet at a point. This will become the cutting edge of the shovel. Notice how the lines form "corners" on either side of the point.
Drawing Step 2
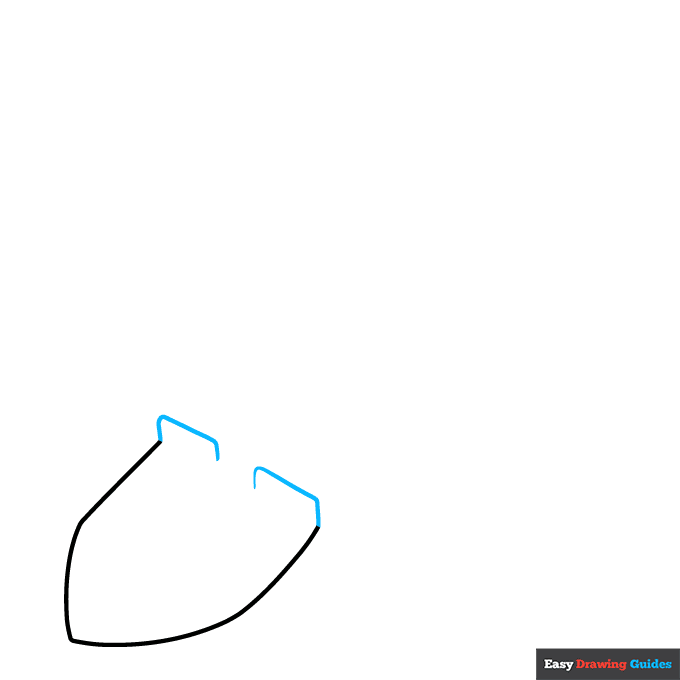
2. Use straight and curved lines to draw two small, incomplete rectangles with rounded corners at the back of the shovel blade. These are the steps or footsteps that you step on to force the shovel into the ground.
Unlock AD FREE and PRINTABLE drawing and coloring tutorials
- 1,900+ drawing & coloring PDFs
- 50+ ebooks
- Ad-free website
Drawing Step 3
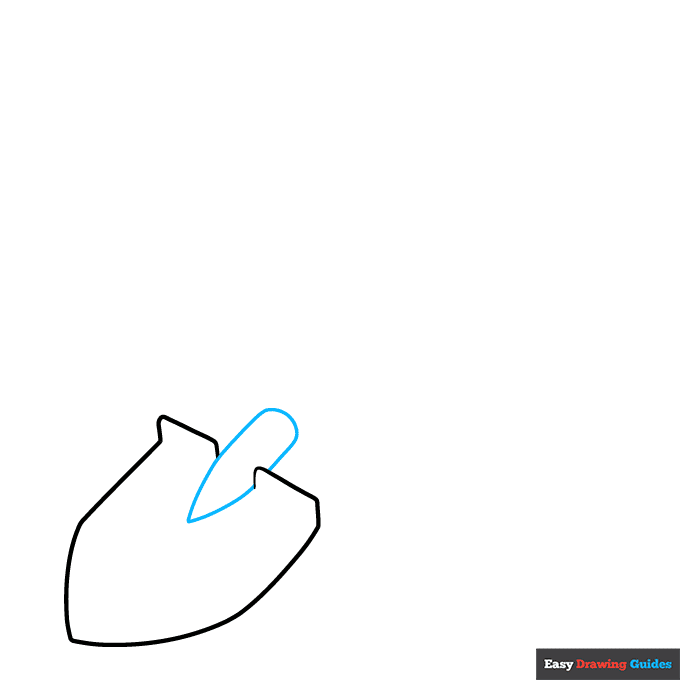
3. Draw a "V" shaped line between the steps. On the opposite side, continue the lines of the "V" to enclose a cylinder shape. This is the socket that holds the handle in place.
Drawing Step 4
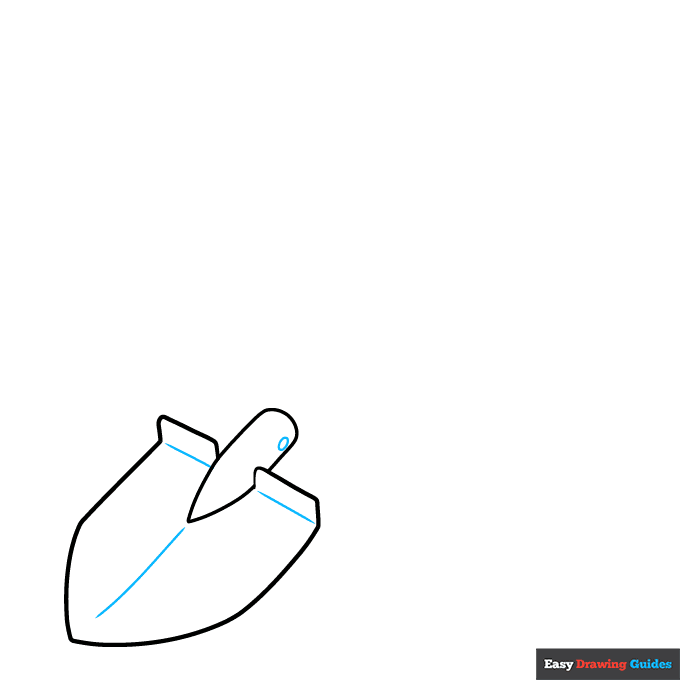
4. Draw straight lines down the middle of the shovel and at the base of each step. Draw a small oval to indicate the fastener on the side of the socket.
Drawing Step 5
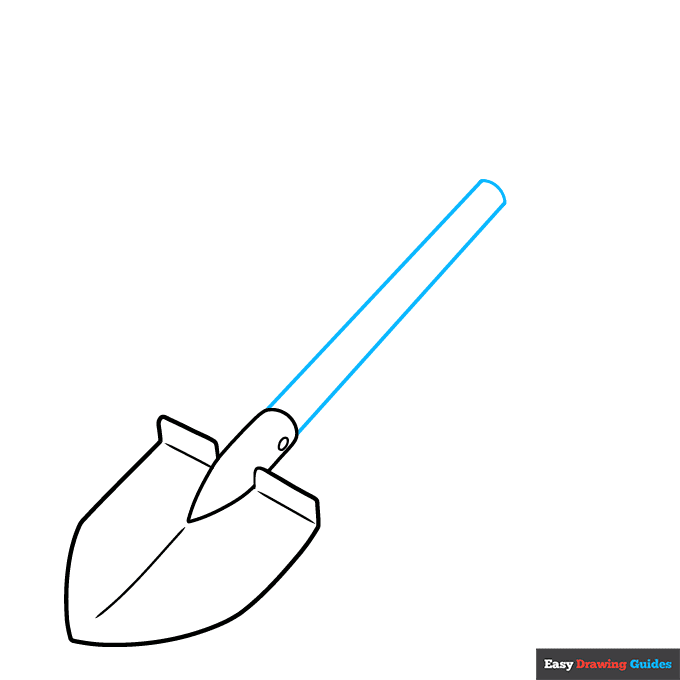
5. Extend two long, straight, parallel lines from the socket. Connect them on the end with a short curved line. This is the shovel's handle or shaft.
Drawing Step 6
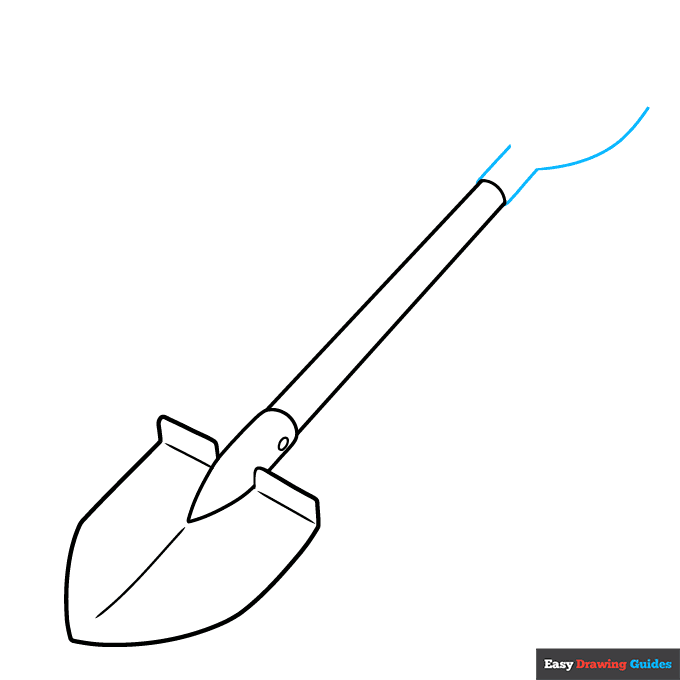
6. Extend two short, straight lines from the end of the shaft. From one, extend a curved line. This begins the handle grip.
Drawing Step 7
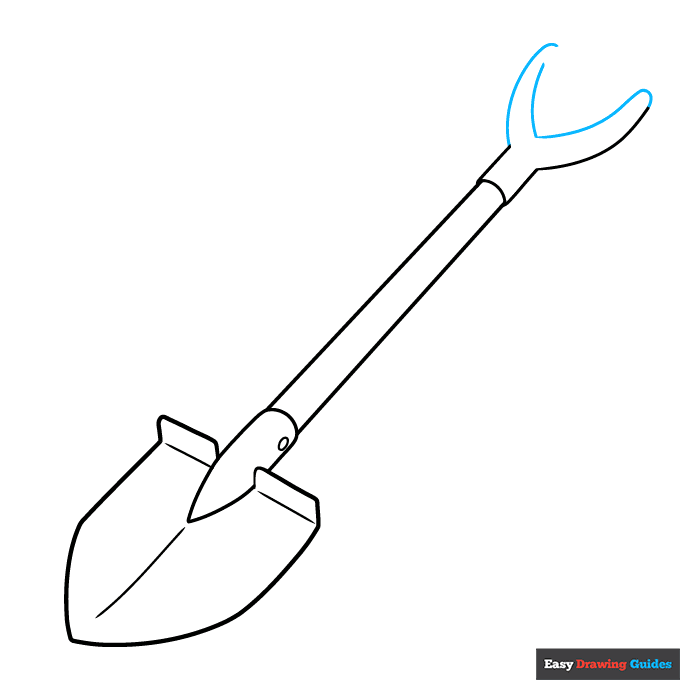
7. Draw another curved line on the opposite side, and a curved "V" shaped line between them. Connect the lines with a short curved line.
Add More Details to Your Shovel Picture - Step 8
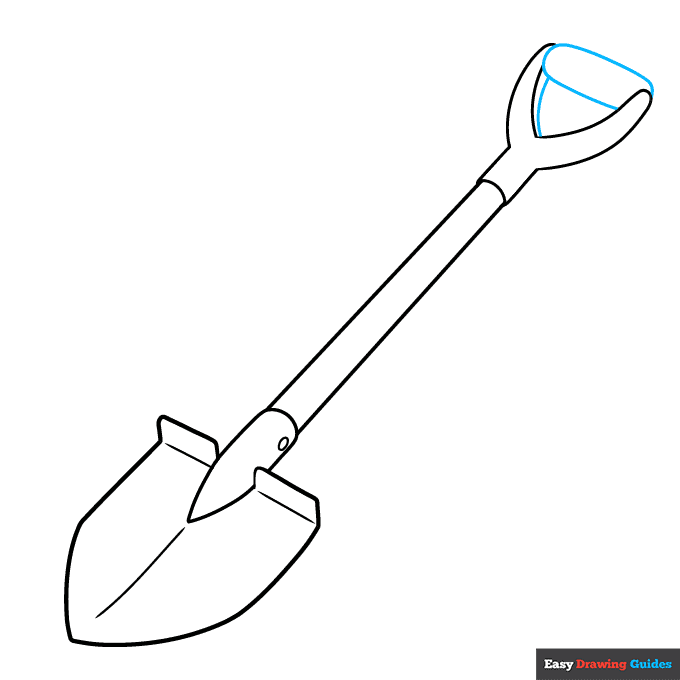
8. Use curved lines to enclose a cylinder shape between the ends of the handle grip. Use another curved line to give it a three-dimensional appearance.
Complete the Outline of Your Shovel Drawing - Step 9
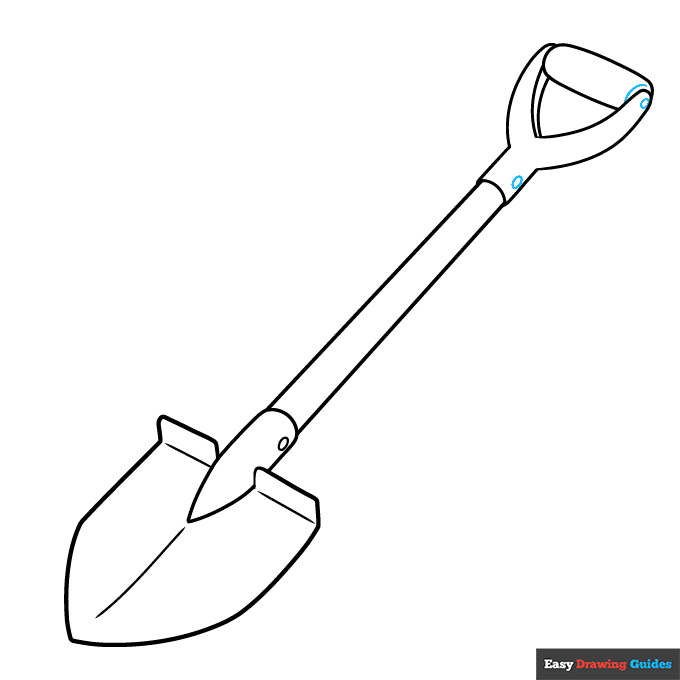
9. Detail the grip with a short curved line at one end, giving it a cylindrical shape. Draw ovals at the top and bottom of the handle grip to indicate the fasteners.
Color Your Shovel Drawing
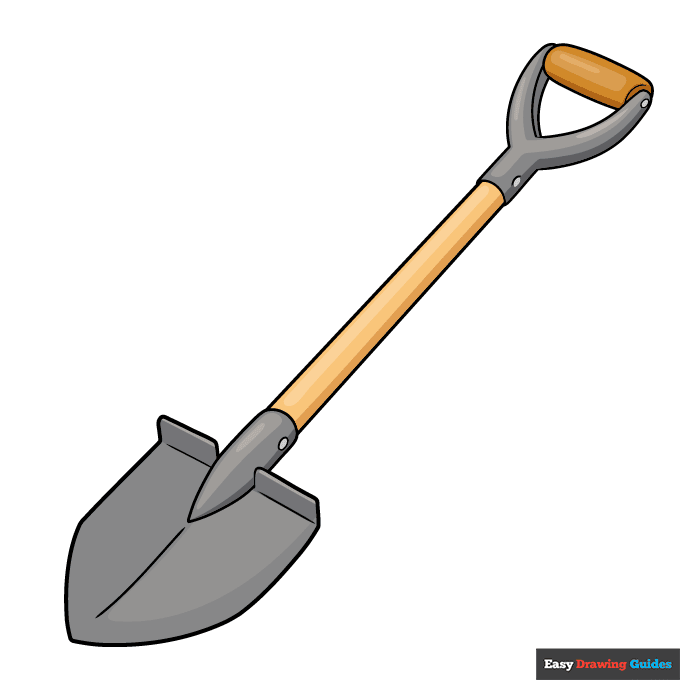
Your shovel outline is now complete. Color your drawing. Some shovels are made of metal and wood - they are usually brown and grey. Others are made from painted metal and composite materials. They can be any color!
Watch 'How to Draw a Shovel' Video Tutorial
Learn More About The Shovel Drawing
Can you dig it? Yes, you can, with the help of this easy, step-by-step shovel drawing tutorial.
Shovels are one of the oldest tools. They've been around ever since people started farming. This particular type of shovel is called a round pound. It can be used for lots of different things.
Where might you use this shovel? In this archaeologist drawing, he's using a shovel to dig up a dinosaur skeleton.
There are lots of projects where you might need to use hand tools. Collect some more with this hammer and saw drawing.
Shovel Drawing Tutorial - Easy & Fun Printable Pages
Join now and get immediate access to thousands of printable drawing instruction and practice pages!
Learn how to get access to thousands of printable pages!

MEMBER TROUBLESHOOTING
Still seeing ads or not being able to download the PDF?
First, check that you're logged in. You can log in on the member login page.
If you're still not able to download the PDF, the likely solution is to reload the page.
You can do this by clicking the browser reload button.
It is a circular arrow-shaped icon at the top of the browser window, typically found in the upper-left side (you can also use keyboard shortcuts: Ctrl+R on PC and Command+R on Mac).