
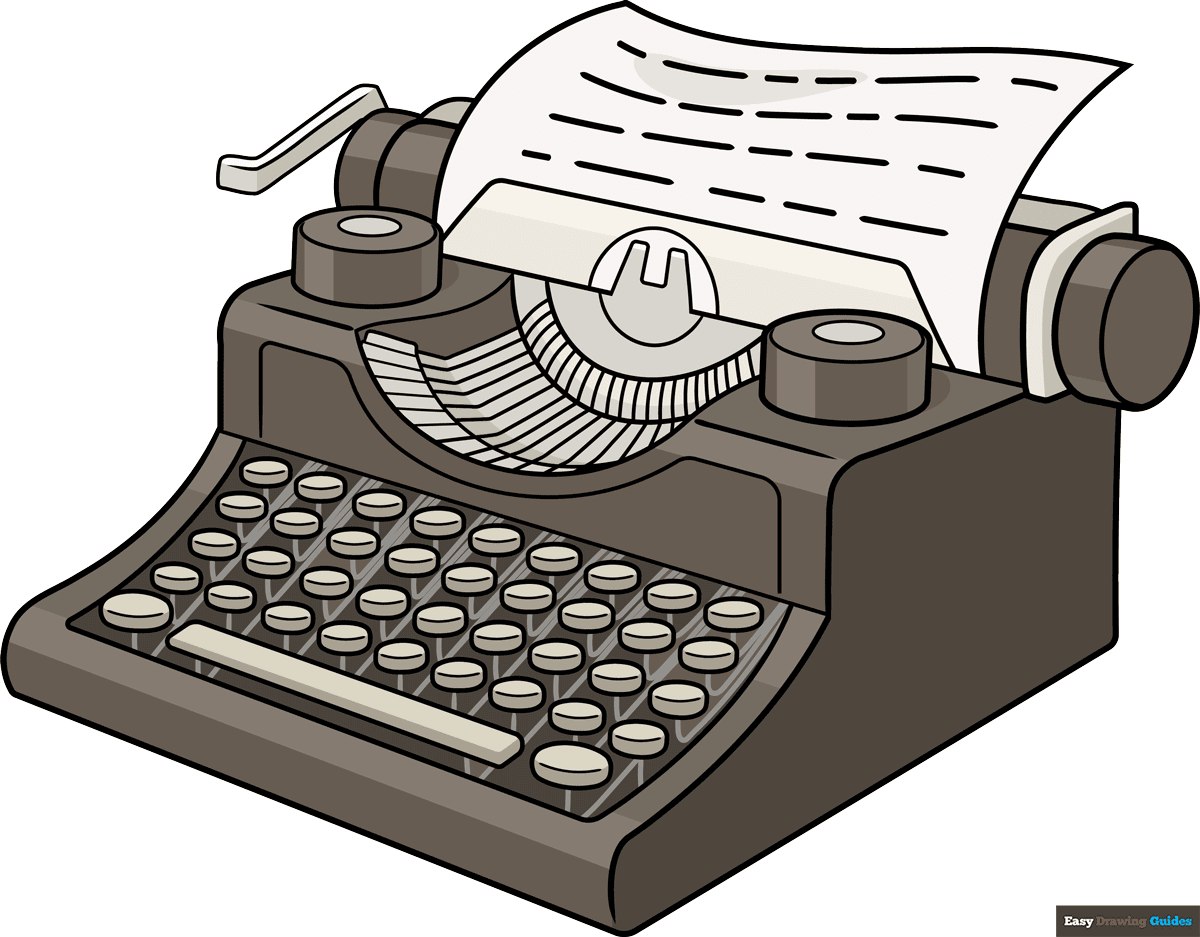
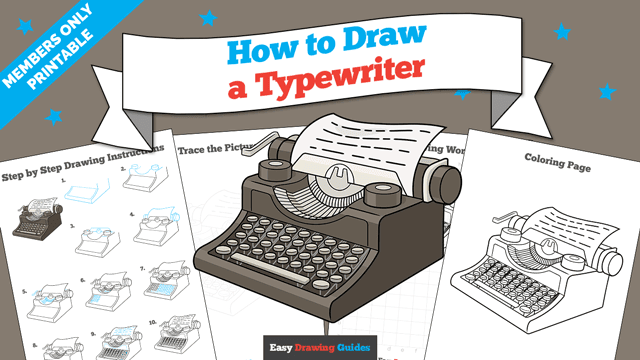
Learn how to draw a great looking Typewriter with easy drawing instructions and video tutorial.
By following the simple steps, you too can easily draw a perfect Typewriter.
Step-by-Step Instructions for Drawing a Typewriter
How to Draw a Great Looking Typewriter for Kids and Beginners - Step 1
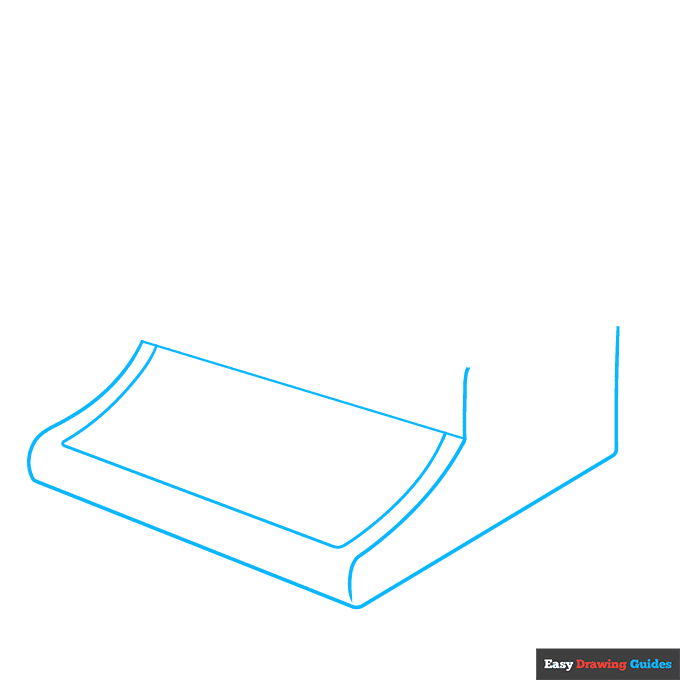
1. Begin the typewriter outline by drawing a curved rectangle. This will become the keyboard. Use long curved lines and straight lines to enclose the cubelike shape around it.
Drawing Step 2
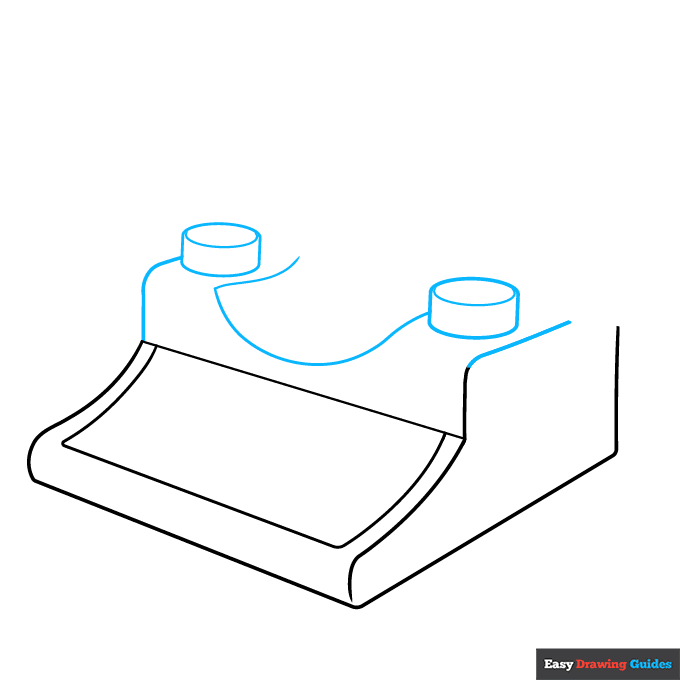
2. Draw two ovals above the rectangle. Draw vertical straight lines below them, and connect the lines to form two small cylinders.
These are the ribbon spools that hold the ribbons of ink. Then, use curved lines between the cylinders and to extend the sides of the typewriter.
Unlock AD FREE and PRINTABLE drawing and coloring tutorials
- 2,600+ drawing & coloring PDFs
- 50+ ebooks
- Ad-free website
Drawing Step 3
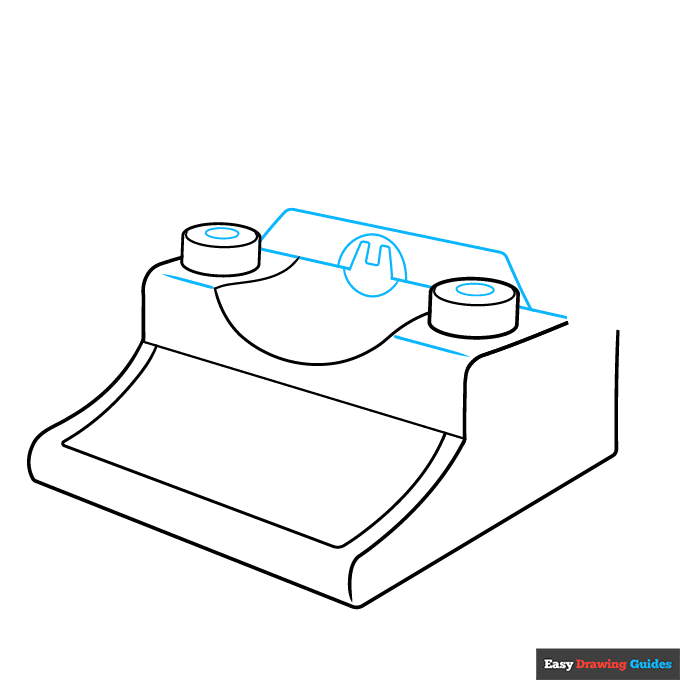
3. Across the back of the typewriter, draw straight lines with a shape like the top of a letter "H" in the middle.
Draw half-circles above and below the "H" and a trapezoid on top of it all. Draw straight lines at the front of the typewriter and small ovals on the tops of the spools.
Drawing Step 4
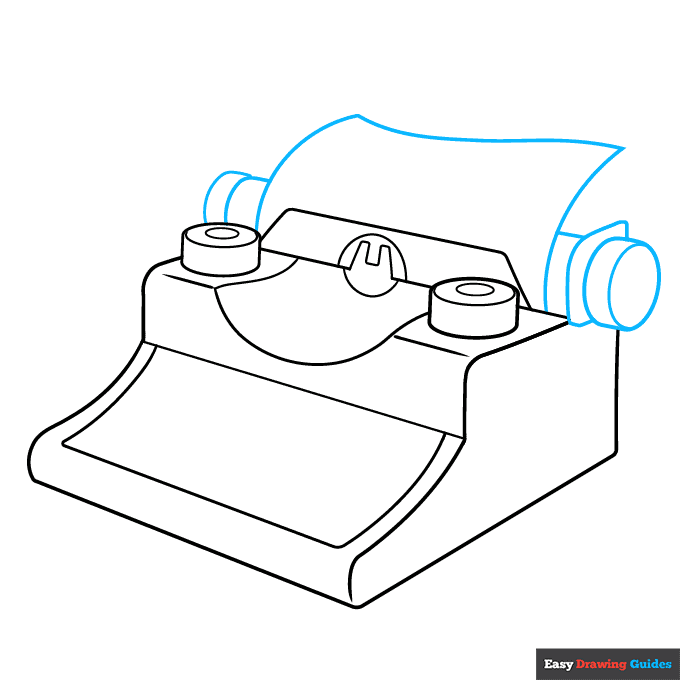
4. Use curved lines to draw the rectangular shape of a piece of paper going through the typewriter. On each side, draw layers of a cylinder. This is called the platen roller.
Drawing Step 5
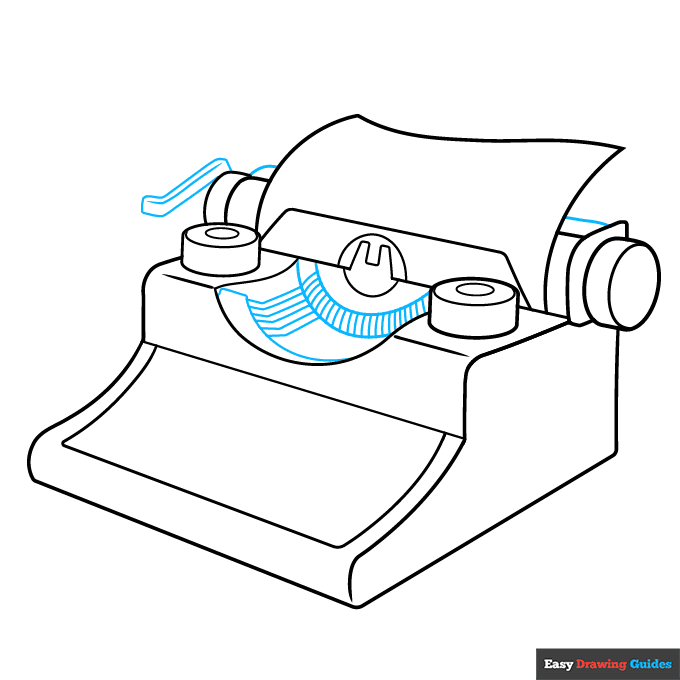
5. Use curved lines to enclose shapes behind the roller and an "L" shaped level called the carriage return at one end.
Then, draw parallel curved lines in the space between the spools. Draw lines or bent lines between them. These are the typebars that rise to print letters on the paper.
Drawing Step 6
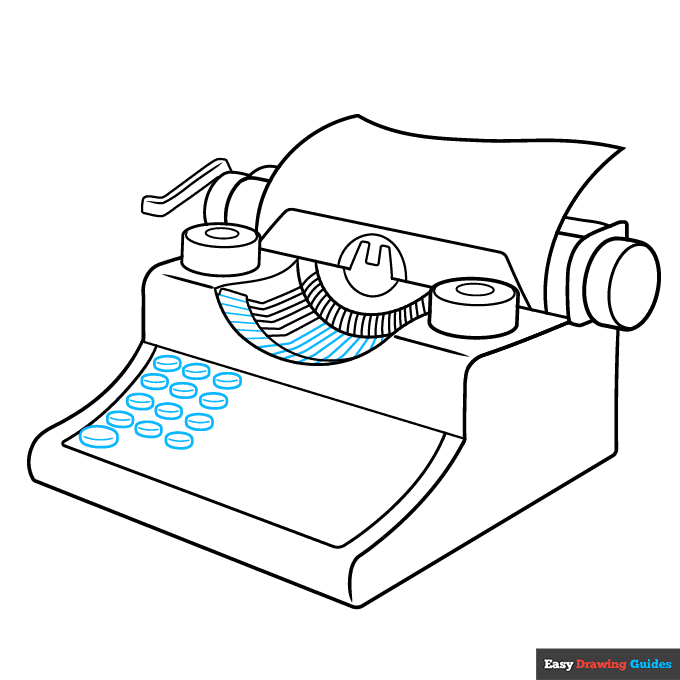
6. Continue filling the typebar space with parallel lines. Then, begin filling the keyboard with oval-shaped keys. Draw a curved line across each one to give it a three-dimensional appearance.
Drawing Step 7
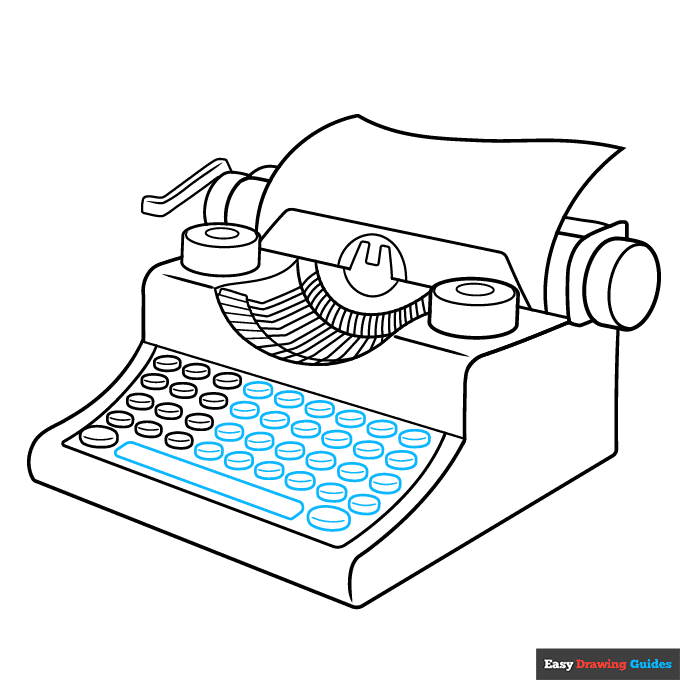
7. Draw a long rectangle at the bottom of the keyboard to indicate the spacebar. Then, finish filling the keyboard with ovals and drawing a curved line across each one.
Add More Details to Your Typewriter Picture - Step 8
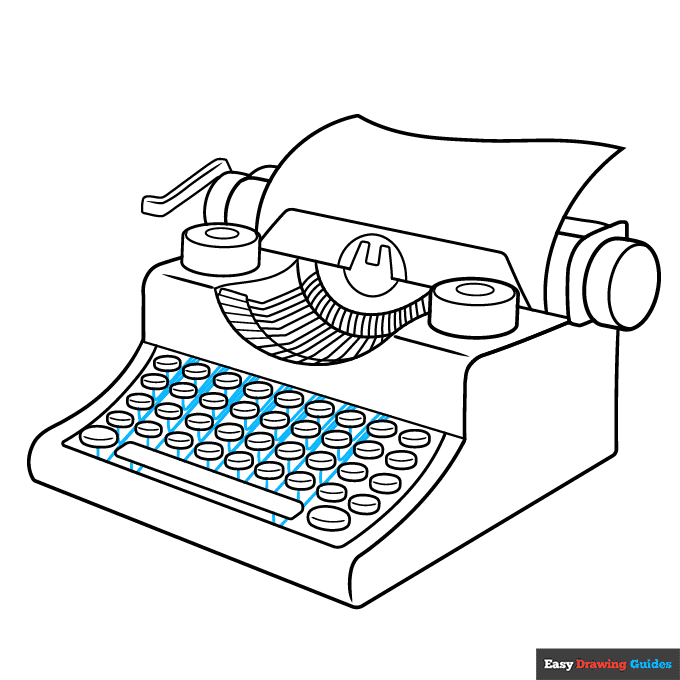
8. Draw straight, diagonal lines between the keys. Then, draw vertical lines to indicate the bars on which the keys are set.
Complete the Outline of Your Typewriter Drawing - Step 9
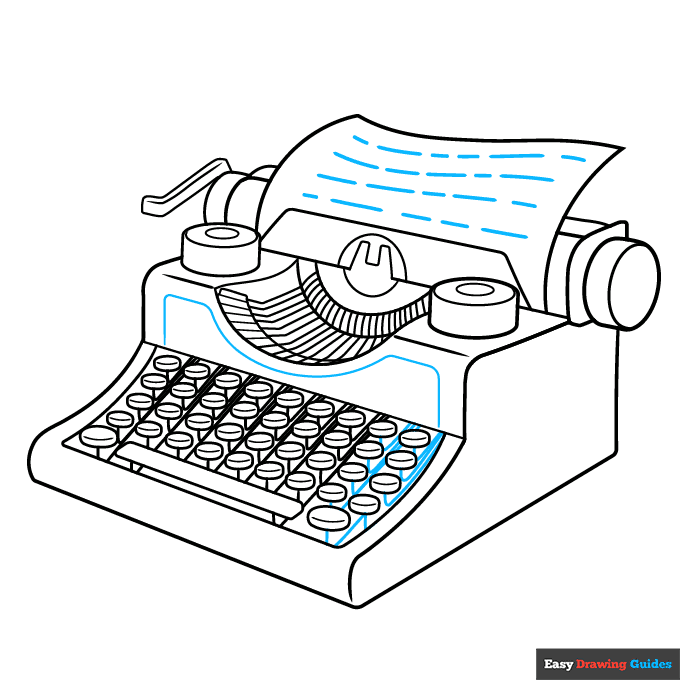
9. Finish drawing lines between and below the keys. Detail the front of the typewriter with a long line basically parallel to its sides and top. Then, draw long and short lines on the paper to indicate words that have been typed. If you want, you can write a message instead.
Color Your Typewriter Drawing
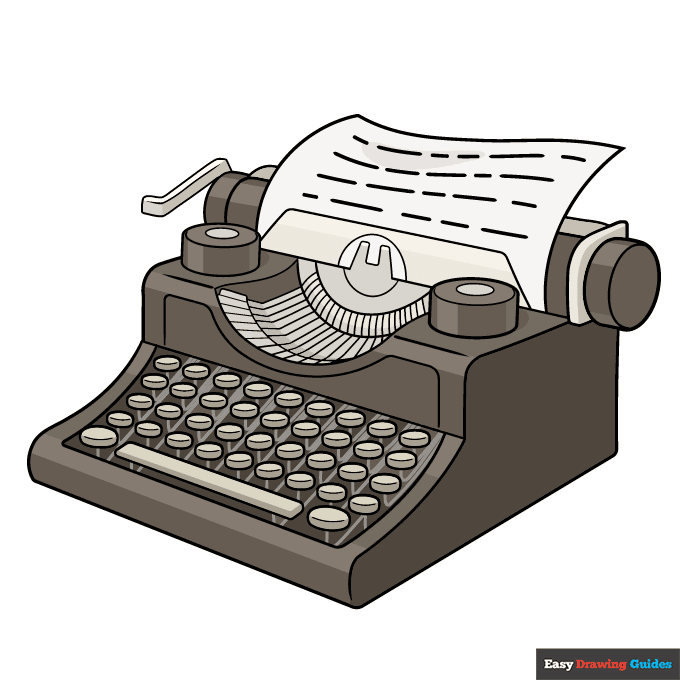
Your cartoon typewriter outline is now complete. Color your drawing. Typewriters were often black, but could also be painted green, white, or other colors.
Watch 'How to Draw a Typewriter' Video Tutorial
Learn More About The Typewriter Drawing
You can take things back to the "good old days" and set up an old-school, analog vibe with this retro typewriter drawing. Our step-by-step drawing guide will show you how.
Typewriters were machines that allowed you to type words on paper; you can see the paper and keyboard in this picture.
Unlike computers, however, typewriters did not have a screen. They also didn't have a "backspace" button. If you made a mistake, you had to start over or paint white over the mistake and feed it back into the typewriter.
You can create a laptop computer drawing to compare how far typing systems have come.
Typewriter Drawing Tutorial - Easy & Fun Printable Pages
Join now and get immediate access to thousands of printable drawing instruction and practice pages!
Learn how to get access to thousands of printable pages!

MEMBER TROUBLESHOOTING
Still seeing ads or not being able to download the PDF?
First, check that you're logged in. You can log in on the member login page.
If you're still not able to download the PDF, the likely solution is to reload the page.
You can do this by clicking the browser reload button.
It is a circular arrow-shaped icon at the top of the browser window, typically found in the upper-left side (you can also use keyboard shortcuts: Ctrl+R on PC and Command+R on Mac).