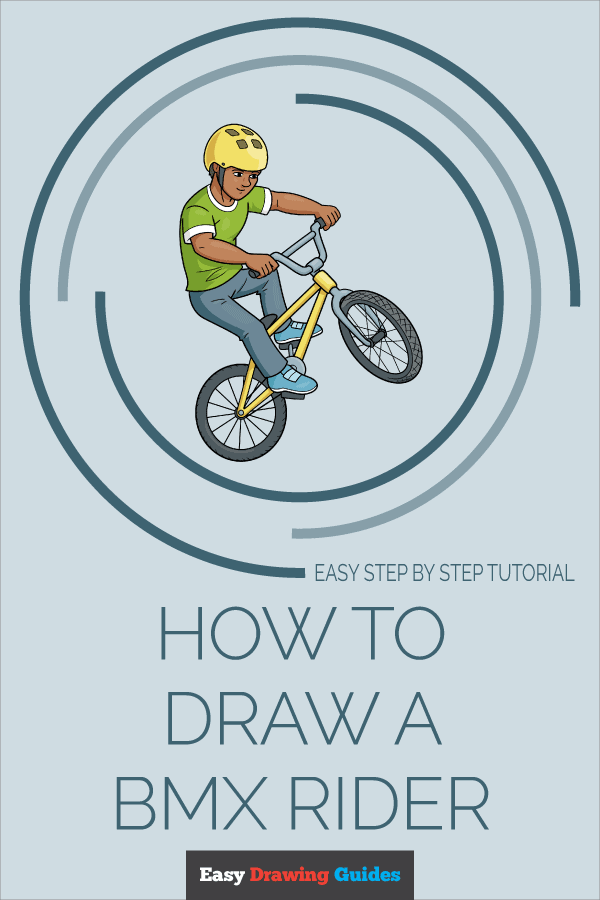
Learn how to draw a great looking BMX Rider with easy drawing instructions and video tutorial.
By following the simple steps, you too can easily draw a perfect BMX Rider.
Step-by-Step Instructions for Drawing a BMX Rider

How to Draw a Great Looking BMX Rider for Kids and Beginners - Step 1
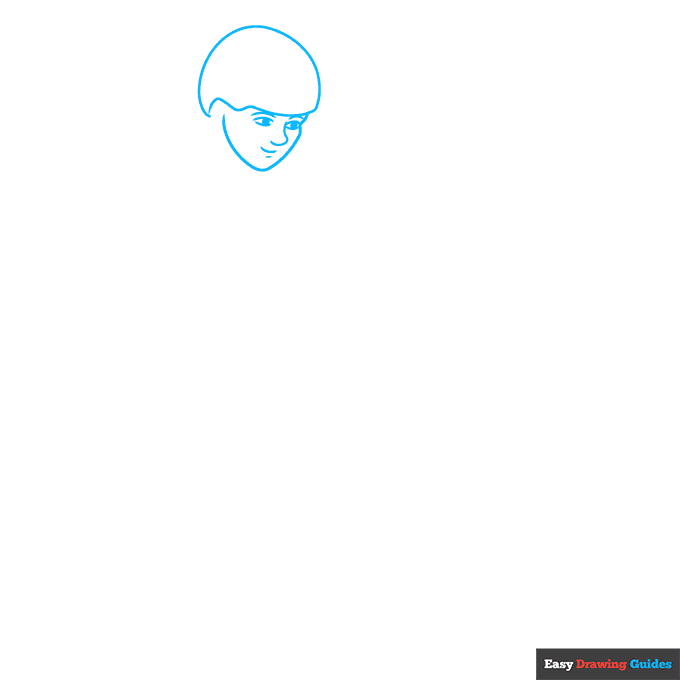
1. In the top-left corner, sketch a dome with a crooked bottom like a cracked egg.
Add two lemon shapes with circles inside them, and draw a hook shape next to the right eye. Draw curves above the eyes and below the nose.
Outline most of the face with a rounded triangle.
Drawing Step 2
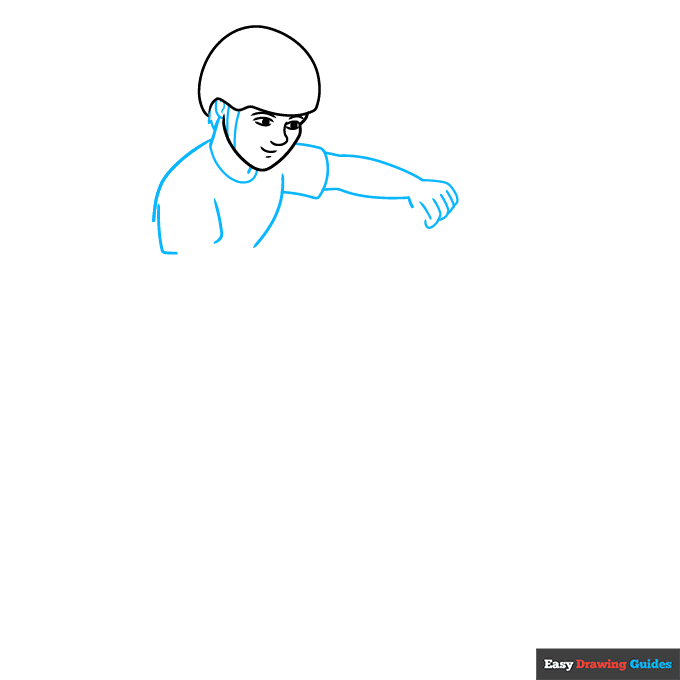
2. Add an oval and a curve for the ear, then draw two triangles on the left and a rectangle on the right. Sketch the neck with two vertical lines. Draw a semi-oval around them.
Sketch two curves for the chest, and use incomplete rectangles for the sleeves. For the arm, add two wavy lines and four rectangles.
Unlock AD FREE and PRINTABLE drawing and coloring tutorials
- 1,900+ drawing & coloring PDFs
- 50+ ebooks
- Ad-free website
Drawing Step 3
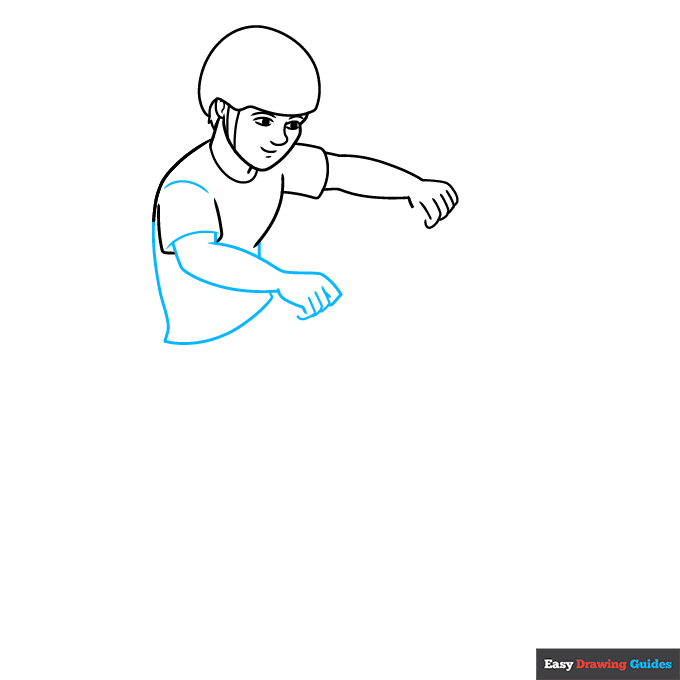
3. Outline the left sleeve with two curves. Complete the torso with two vertical lines and one horizontal line.
Use two curves and two short vertical lines for the arm, and draw the fingers with small triangles. Sketch a short curve for the palm.
Drawing Step 4

4. Draw the handle with a U-shape, adding cylinders on the handlebars and connecting them with another cylinder. Attach a horizontal and vertical cylinder to the bottom of the U-shape.
Drawing Step 5
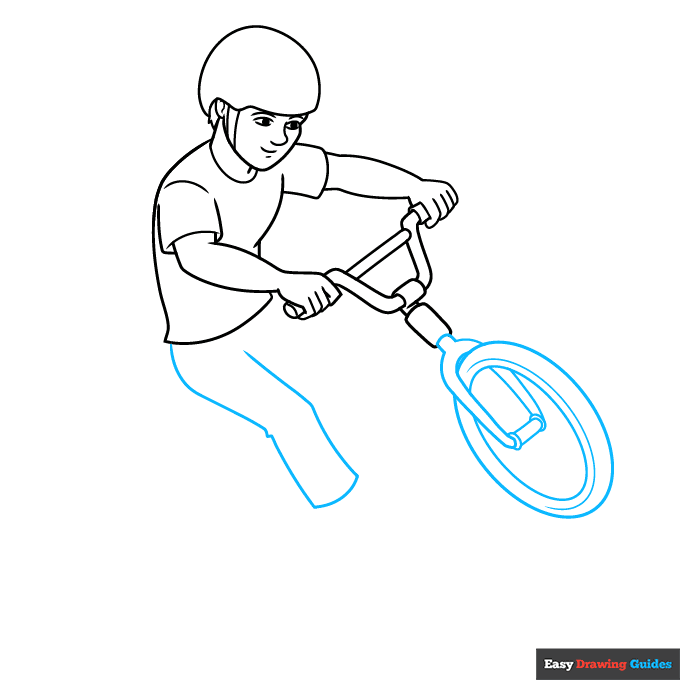
5. Sketch the left leg with diagonal lines, and connect them with a curve. To the right, sketch a large oval surrounding a smaller oval, and draw a curve inside this ring.
Add an upside-down U-shape with a small cylinder and two ovals between the prongs.
Drawing Step 6

6. For the shoe, draw an oval with a bump on the left. Sketch lines and rectangles inside the shoe, then add an oval behind the shoe and a dome behind the knee.
Use straight lines to form a diamond shape.
Drawing Step 7
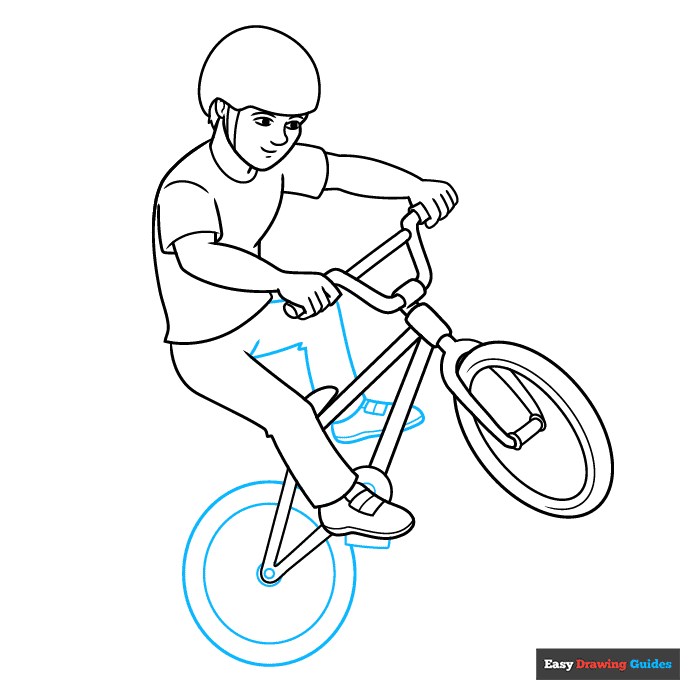
7. Outline the right leg with straight lines and a small triangle. Repeat the earlier step for the right shoe, then draw a ring with tiny circles in the center. Add a semi-circle behind the left foot and a rectangle below.
Add More Details to Your BMX Rider Picture - Step 8
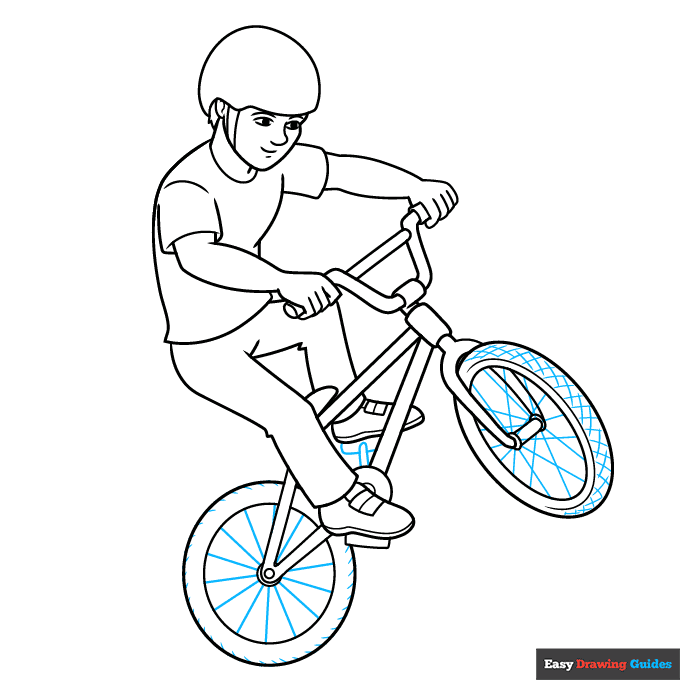
8. Draw a rectangle and small cylinder beneath the right foot. Add several lines inside the wheels.
Complete the Outline of Your BMX Rider Drawing - Step 9
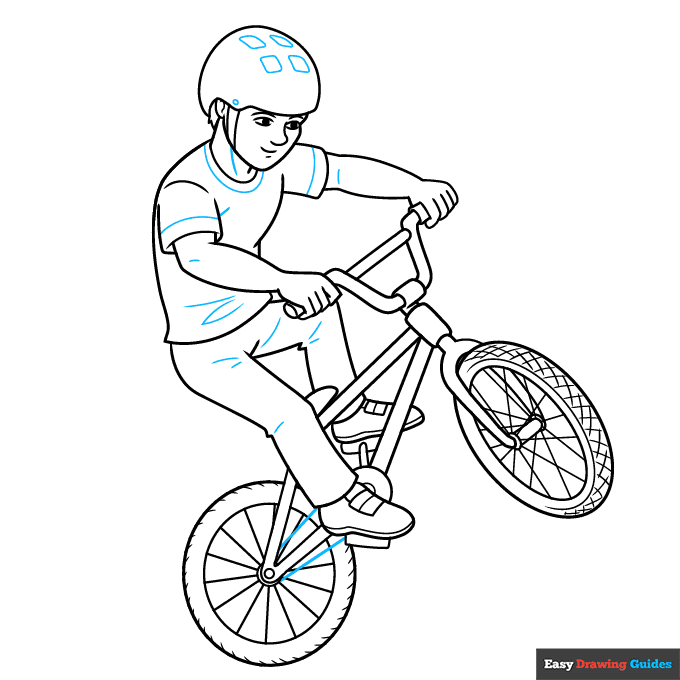
9. Add four squares and a small circle to the helmet. Draw two straight lines behind the left shoe, and sketch more lines inside the clothes and body. Outline your step-by-step BMX rider drawing with black ink.
Color Your BMX Rider Drawing
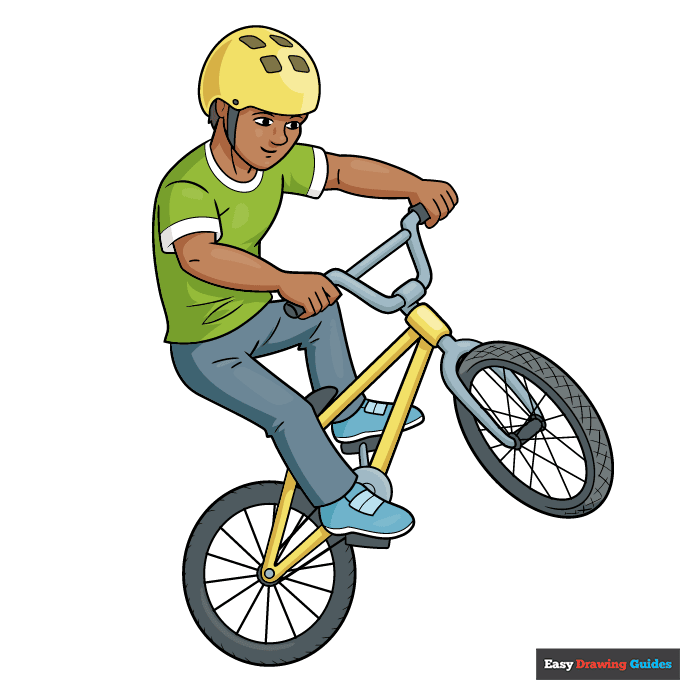
Color your easy BMX rider with your favorite hair and skin color. Make the bike yellow and grey, and use blue, yellow, grey and green for the clothes.
Watch 'How to Draw a BMX Rider' Video Tutorial
Learn More About The BMX Rider Drawing
Fast, exciting and played by professionals, bicycle motocross (BMX) turns bike riding into an adventure. Learn how to draw a BMX rider who can pop a wheelie.
While both wheels on this BMX bike are the same size, one resembles a circle while the other has an oval shape.
This shows that the bottom wheel faces you from the side as the top wheel tilts to the right, creating the illusion of movement. The way the bike tilts upward also suggests that it's vaulting into the air.
For more action, learn how to draw a dirt bike or visit this cartoon bicycle drawing tutorial.
BMX Rider Drawing Tutorial - Easy & Fun Printable Pages
Join now and get immediate access to thousands of printable drawing instruction and practice pages!
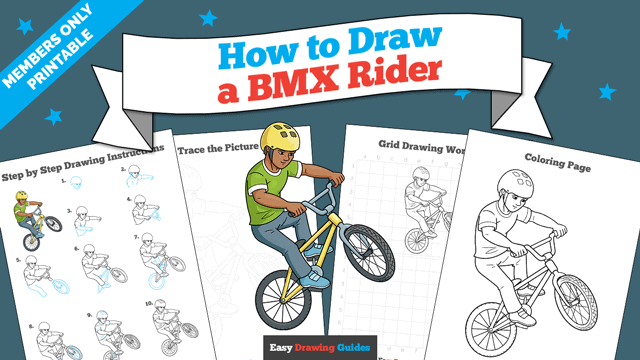
Learn how to get access to thousands of printable pages!

MEMBER TROUBLESHOOTING
Still seeing ads or not being able to download the PDF?
First, check that you're logged in. You can log in on the member login page.
If you're still not able to download the PDF, the likely solution is to reload the page.
You can do this by clicking the browser reload button.
It is a circular arrow-shaped icon at the top of the browser window, typically found in the upper-left side (you can also use keyboard shortcuts: Ctrl+R on PC and Command+R on Mac).