Learn how to draw a great looking ZZ Plant with easy drawing instructions and video tutorial.
By following the simple steps, you too can easily draw a perfect ZZ Plant.
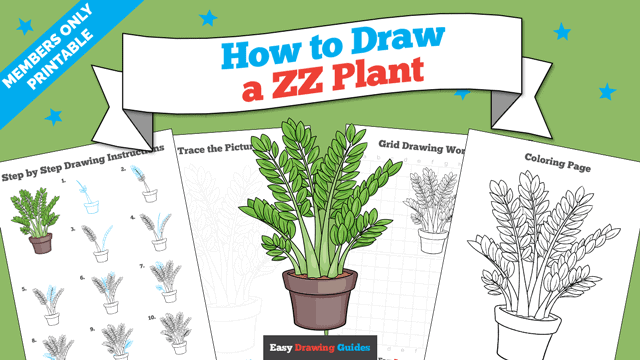
Step-by-Step Instructions for Drawing a ZZ Plant
How to Draw a Great Looking ZZ Plant for Kids and Beginners - Step 1
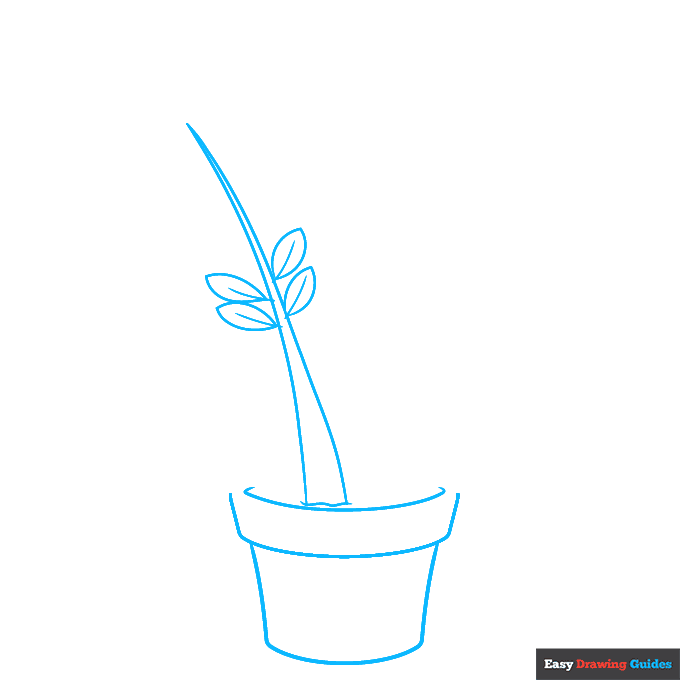
1. Begin the cartoon ZZ plant outline by drawing its flower pot. Use curved lines to enclose the rectangular bottom and rim of the pot. Notice that the lines at the top of the pot don’t quite meet.
Draw a wavy line to indicate the soil, and extend two curved lines from it. Allow them to meet at a sharp point, forming the first stem.
Draw four teardrop-shaped leaves on its sides, and draw a curved line down the center of each.
Drawing Step 2

2. Continue drawing leaves along the stem, all the way to the top. Draw a curved line down the center of each.
Unlock AD FREE and PRINTABLE drawing and coloring tutorials
- 1,900+ drawing & coloring PDFs
- 50+ ebooks
- Ad-free website
Drawing Step 3
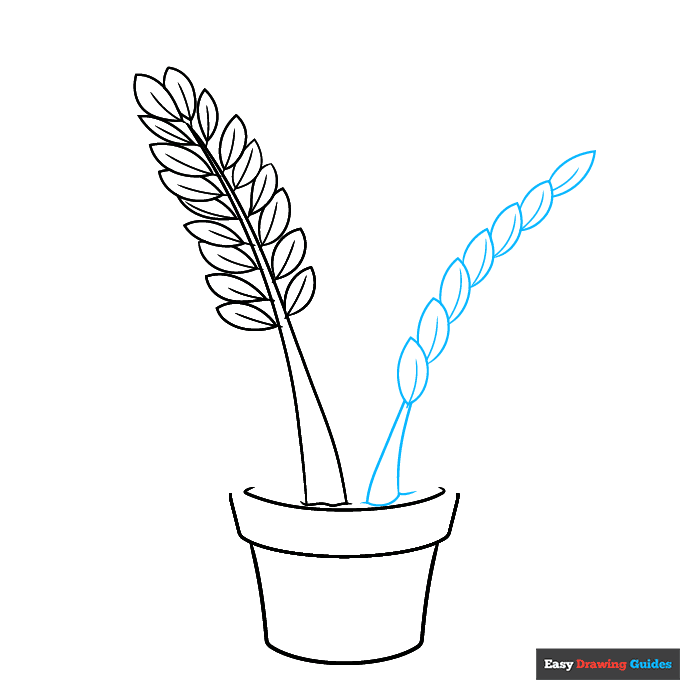
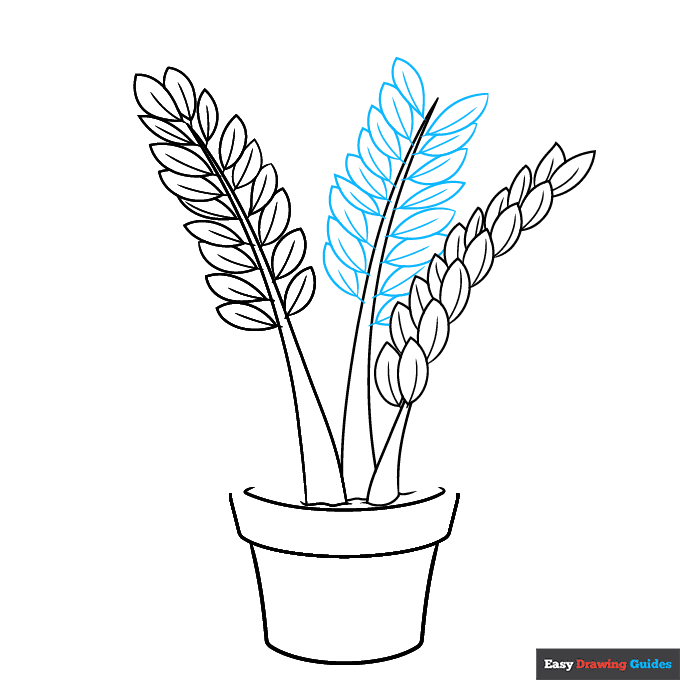
3. Use curved lines to enclose a loosely triangular shape—another stem. On top of it, stack overlapping teardrop-shaped leaves. Draw a curved vein down the center of each.
Drawing Step 4
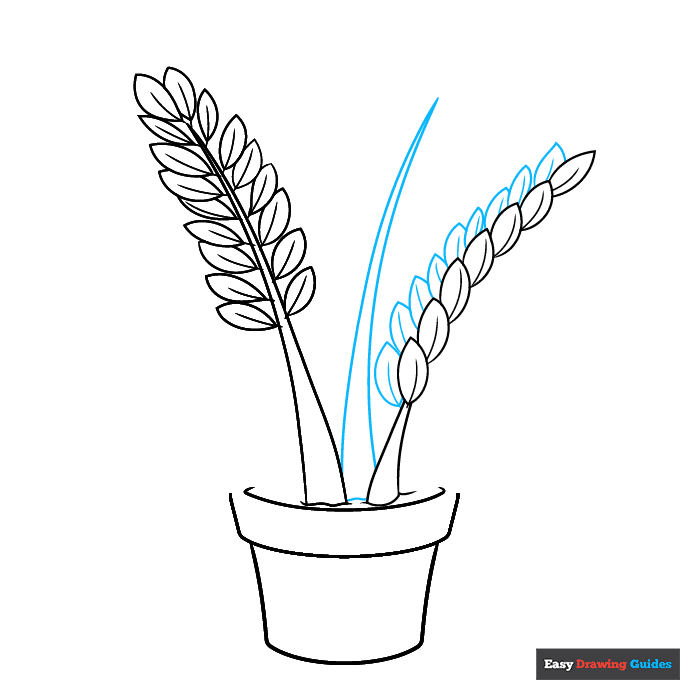
4. Draw another set of leaves partially hidden by the first. Then, extend a pair of lines between the two stems, allowing them to meet at a point.
Drawing Step 5
5. Draw leaves on each side of the stem, with a curved line down the center of each.
Drawing Step 6

6. Draw two more leaves at the top of the stem. Then, use curved lines to draw a fourth stem and the leaves on each side of it.
Drawing Step 7
7. Draw more leaves at the top of the fourth stem. Then, draw another small stem and its leaves.
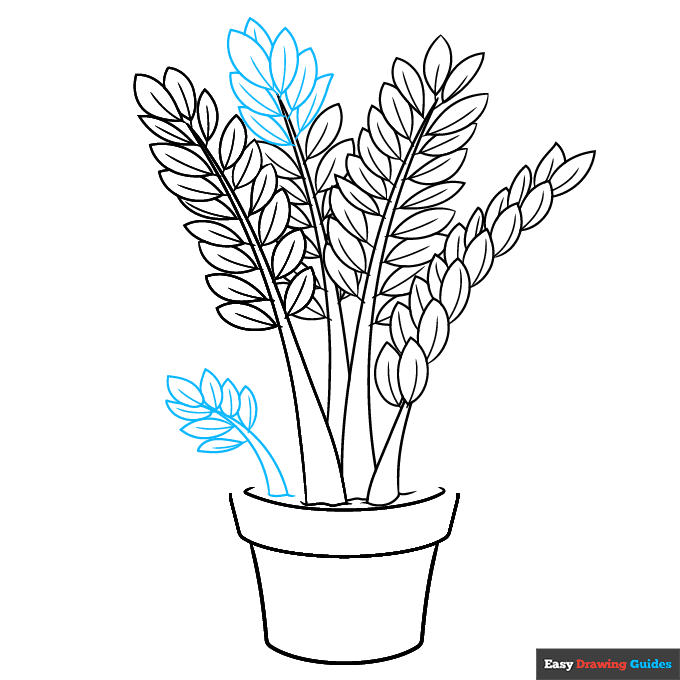
Add More Details to Your ZZ Plant Picture - Step 8

8. Draw yet another stem and its leaves.
Complete the Outline of Your ZZ Plant Drawing - Step 9

9. Draw a seventh and final short stem and its leaves. Then use curved lines to complete the top of the flower pot.
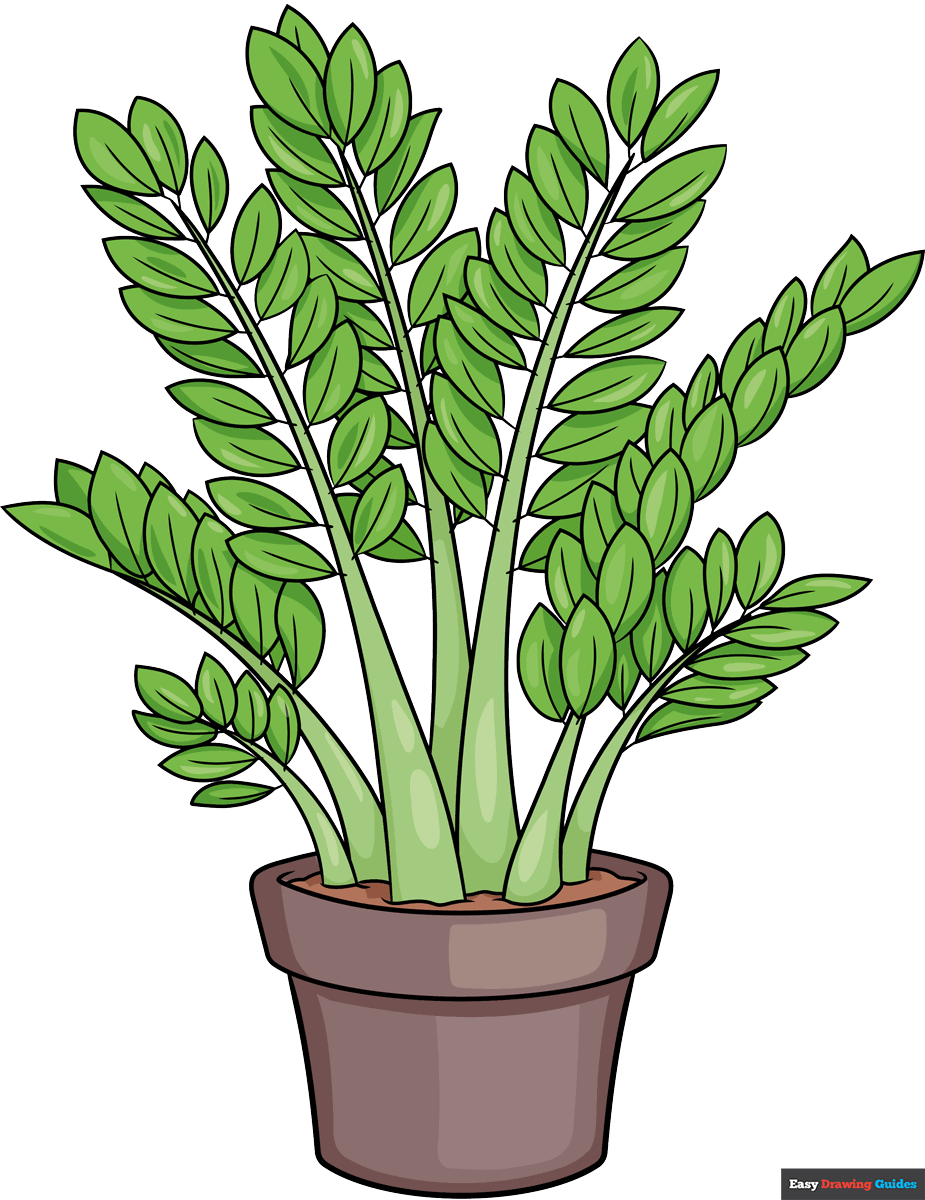
Color Your ZZ Plant Drawing
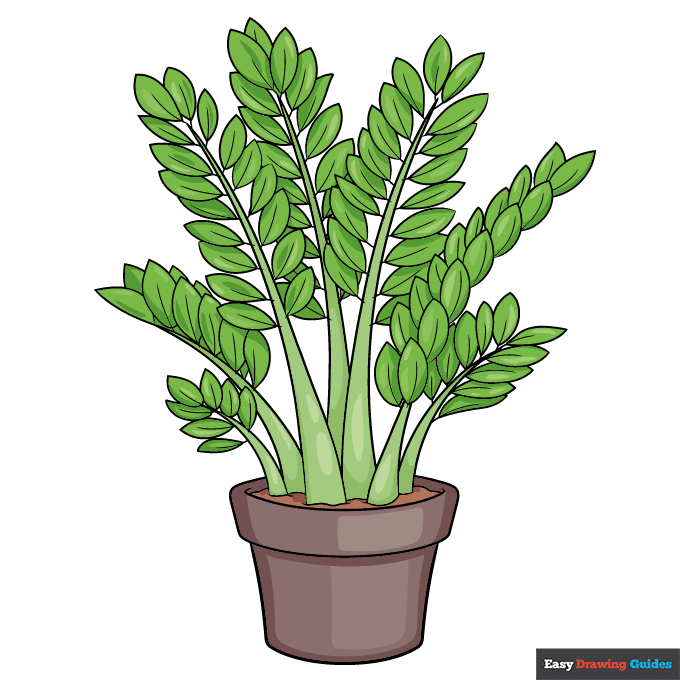
Your cartoon ZZ plant outline is now complete. Color your drawing. ZZ plants have dark, shiny green leaves and green or brown stems.
Watch 'How to Draw a ZZ Plant' Video Tutorial
Learn More About The ZZ Plant Drawing
The ZZ plant is popular as a house plant because it doesn't require much care. A drawing of the plant needs even less!
You can learn how to draw a ZZ plant with the help of this easy, step-by-step plant drawing tutorial.
The ZZ Plant, also called eternity plant or Zanzibar gem, named for the initials of its scientific name Zamioculas zamiifolia, consists of small leaves positioned across from one another on strong stems.
Did you know? ZZ plants can survive for months without water. When it gets thirsty, water it with this water drops drawing!
Once you've mastered the ZZ plant, expand your plant parenting skills with this potted hibiscus drawing.
ZZ Plant Drawing Tutorial - Easy & Fun Printable Pages
Join now and get immediate access to thousands of printable drawing instruction and practice pages!
Learn how to get access to thousands of printable pages!

MEMBER TROUBLESHOOTING
Still seeing ads or not being able to download the PDF?
First, check that you're logged in. You can log in on the member login page.
If you're still not able to download the PDF, the likely solution is to reload the page.
You can do this by clicking the browser reload button.
It is a circular arrow-shaped icon at the top of the browser window, typically found in the upper-left side (you can also use keyboard shortcuts: Ctrl+R on PC and Command+R on Mac).