Learn how to draw a great looking Archer with easy drawing instructions and video tutorial.
By following the simple steps, you too can easily draw a perfect Archer.
Step-by-Step Instructions for Drawing an Archer

How to Draw a Great Looking Archer for Kids and Beginners - Step 1
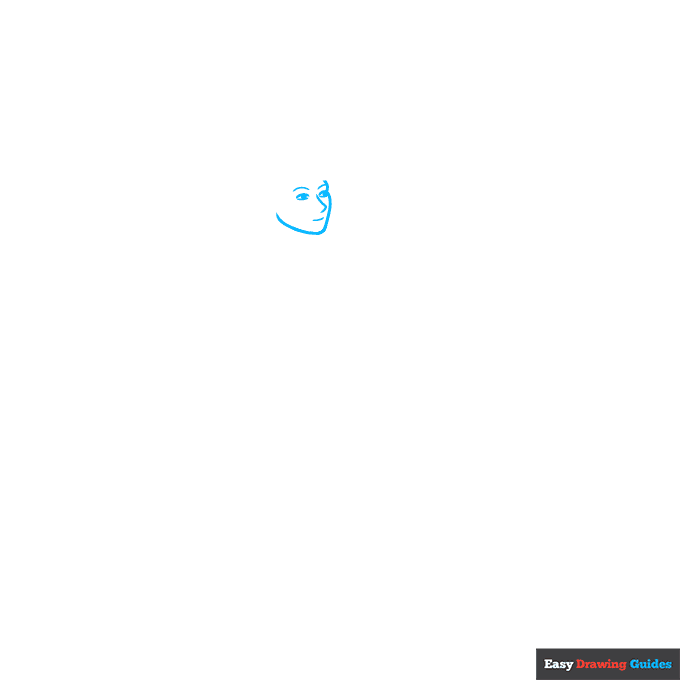
1. Begin the archer outline by drawing the face. Use curved lines for the outline of the face, the eyebrows, nose, mouth, and the outline of the eyes. Shade a small circle inside each eye.
Drawing Step 2

2. Use a series of overlapping curved lines to sketch the hair and the back of the neck.
Unlock AD FREE and PRINTABLE drawing and coloring tutorials
- 1,900+ drawing & coloring PDFs
- 50+ ebooks
- Ad-free website
Drawing Step 3
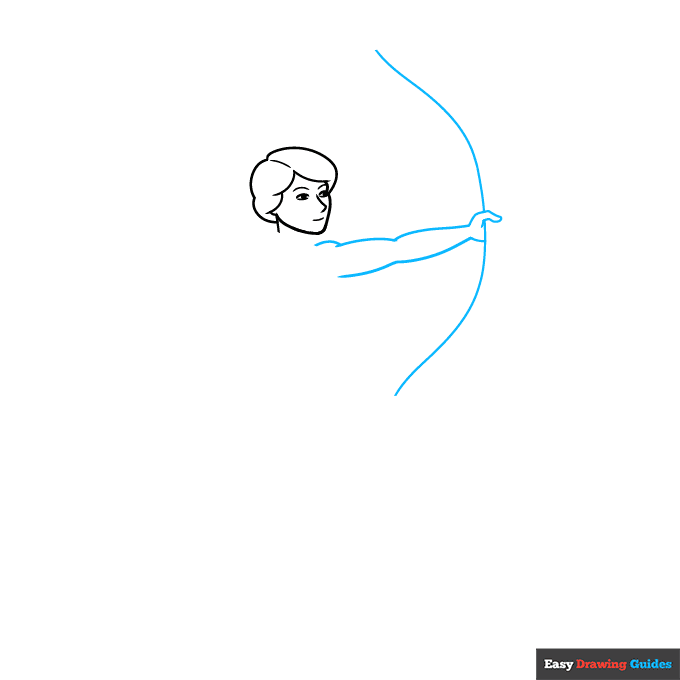
3. Next, draw the archer's muscular arm. Use overlapping curved lines for the shoulder muscle, upper arm, lower arm, and thumb. Then, extend long curved lines above and below the thumb to begin the bow.
Drawing Step 4
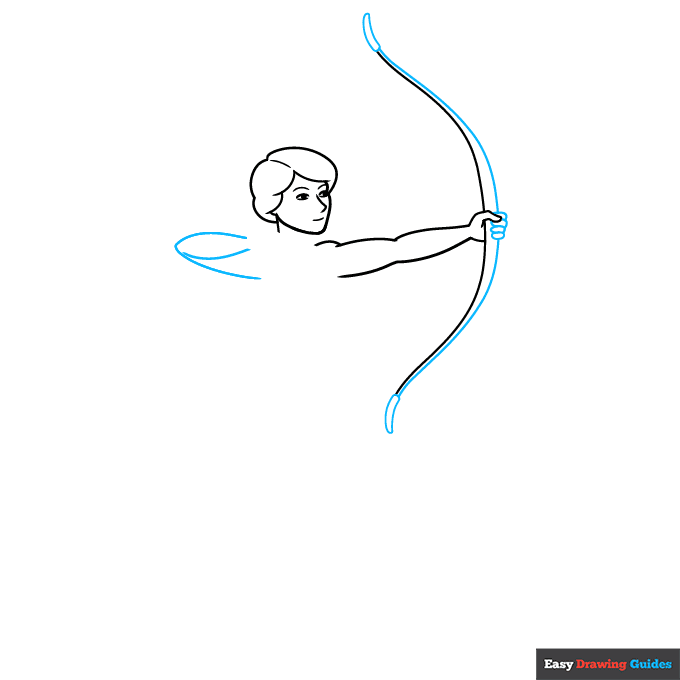
4. Draw a rounded "V" shaped line to outline the remaining arm, bent at the elbow. Draw a line across it, but not touching it, to demarcate the lower arm.
Draw four small ovals, two partially covered by the thumb, to form the fingers of the hand.
From the fingers, extend curved lines loosely parallel to the first side of the bow. Connect the lines at each end by enclosing curved shapes.
Drawing Step 5

5. Use a series of overlapping curved lines to create the fingers of the remaining hand.
Then extend two narrowly spaced parallel lines from the hand to the bow, and a bit past the bow. Draw a teardrop-shaped arrowhead at the end of the arrow.
Drawing Step 6
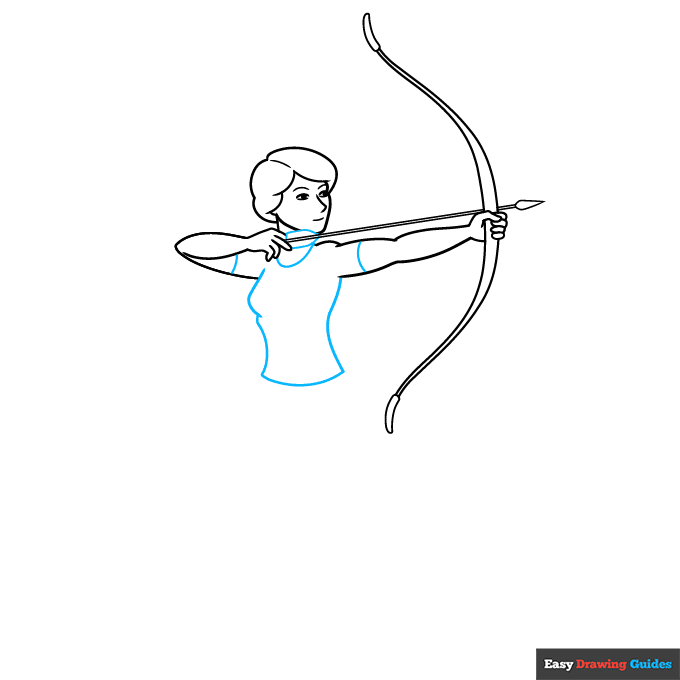
6. Use curved lines to enclose the featherlike fletching at the end of the arrow, erasing as necessary. Then, use curved lines to enclose the neck, sleeves, and torso of the woman's shirt.
Drawing Step 7
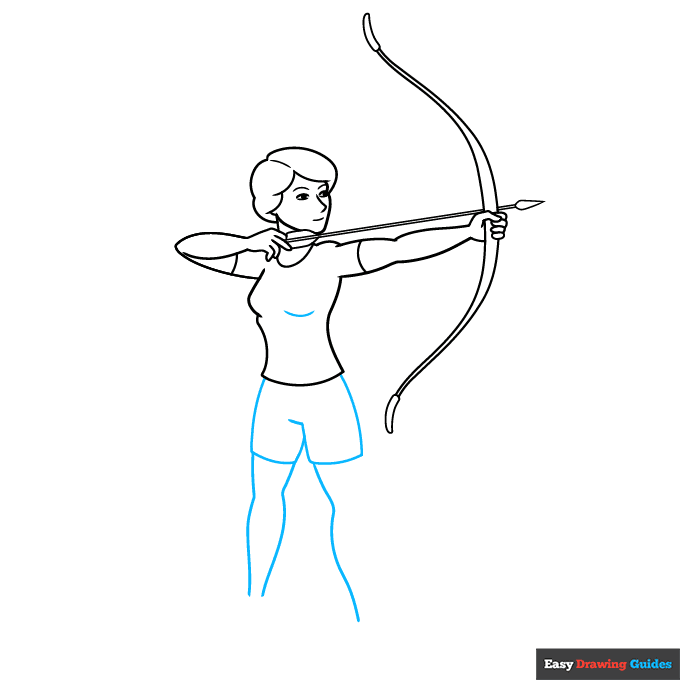
7. Use overlapping curved lines to sketch the archer's shorts and legs.
Add More Details to Your Archer Picture - Step 8
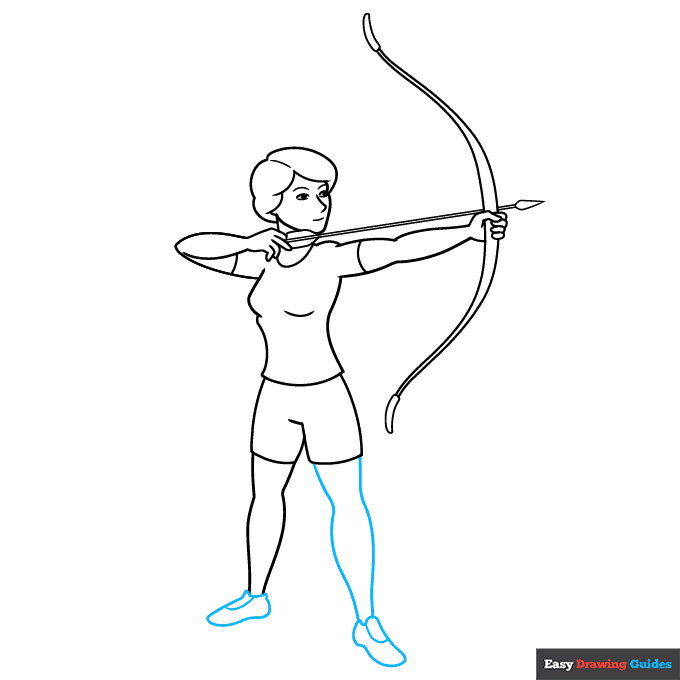
8. Complete the remaining leg using long curved lines. Then, enclose the irregular shapes of the shoes. Draw a curved line across the top of each shoe.
Complete the Outline of Your Archer Drawing - Step 9
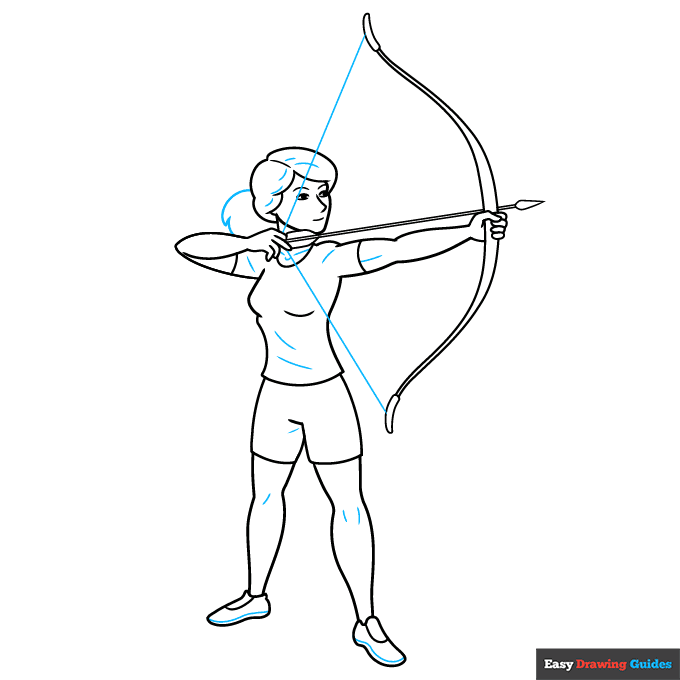
9. Draw straight lines between the curved ends of the bow and the point where the archer's hand meets the arrow.
This is the bowstring. Then using curved lines to enclose her ponytail and to contour her hair, clothing, muscles, collarbones, knees, and the soles of her shoes.
Color Your Archer Drawing
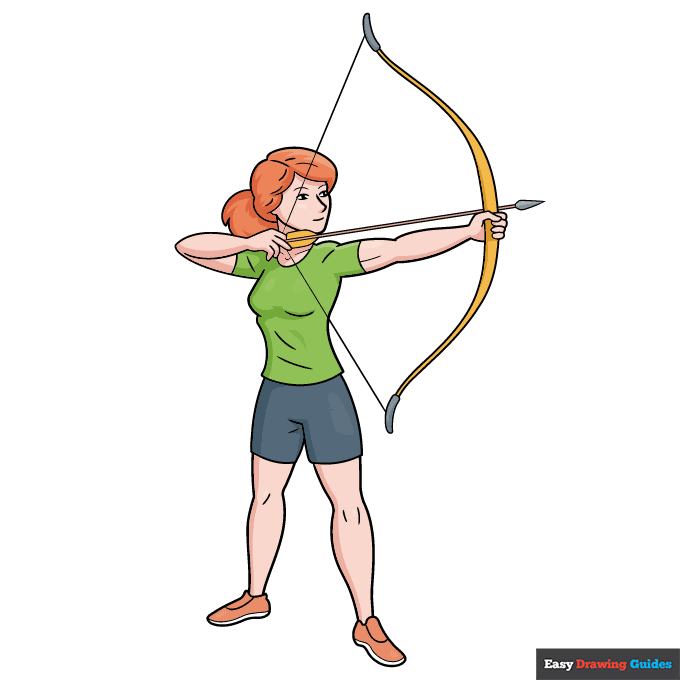
Your cartoon archer outline is now complete. Color your athlete.
Watch 'How to Draw an Archer' Video Tutorial
Learn More About The Archer Drawing
How brave are you? Brave enough to become an archer? Try the sport on for size as you complete this easy archer drawing.
Today, archery is a sport in which a bow is used to shoot arrows at a target. In the past, bows and arrows were also used in hunting and warfare.
The archer is holding a bow and arrow drawing. The bow is made from wood or other tough materials and a special string. The arrow drawing has a sharp point and vanes on the back that stabilize its flight.
You'll notice that this archer is a female. We've shaded her hair red as if she were a modern counterpart of this drawing of Merida from Disney's Brave.
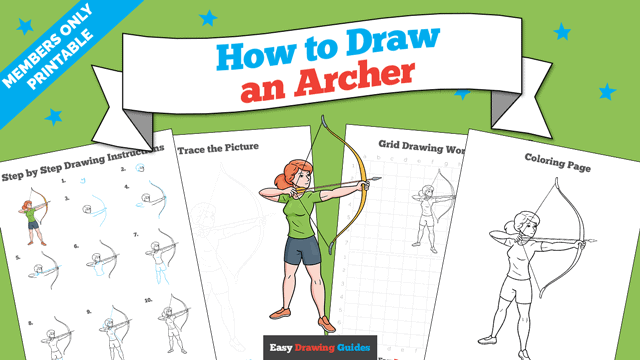
Archer Drawing Tutorial - Easy & Fun Printable Pages
Join now and get immediate access to thousands of printable drawing instruction and practice pages!
Learn how to get access to thousands of printable pages!

MEMBER TROUBLESHOOTING
Still seeing ads or not being able to download the PDF?
First, check that you're logged in. You can log in on the member login page.
If you're still not able to download the PDF, the likely solution is to reload the page.
You can do this by clicking the browser reload button.
It is a circular arrow-shaped icon at the top of the browser window, typically found in the upper-left side (you can also use keyboard shortcuts: Ctrl+R on PC and Command+R on Mac).