Learn how to draw a great looking Orange Blossom with easy drawing instructions and video tutorial.
By following the simple steps, you too can easily draw a perfect Orange Blossom.
Step-by-Step Instructions for Drawing an Orange Blossom
How to Draw a Great Looking Orange Blossom for Kids and Beginners - Step 1
1. Begin the orange blossom outline by drawing the petals. Use curved lines to sketch the three teardrop shapes, flattened on the bottoms.
Drawing Step 2

2. Draw the stamens - a small circle for each pollen-bearing anther and two curved lines for the filament that supports it.
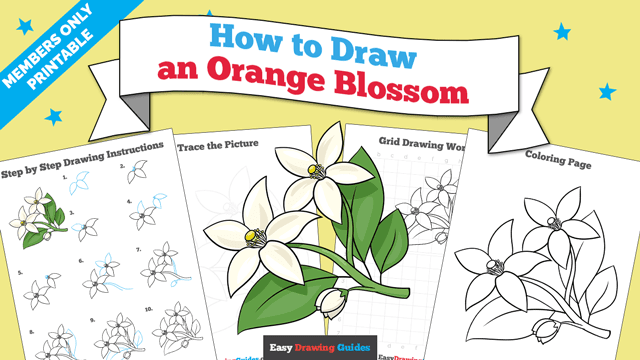
Unlock AD FREE and PRINTABLE drawing and coloring tutorials
- 1,900+ drawing & coloring PDFs
- 50+ ebooks
- Ad-free website
Drawing Step 3
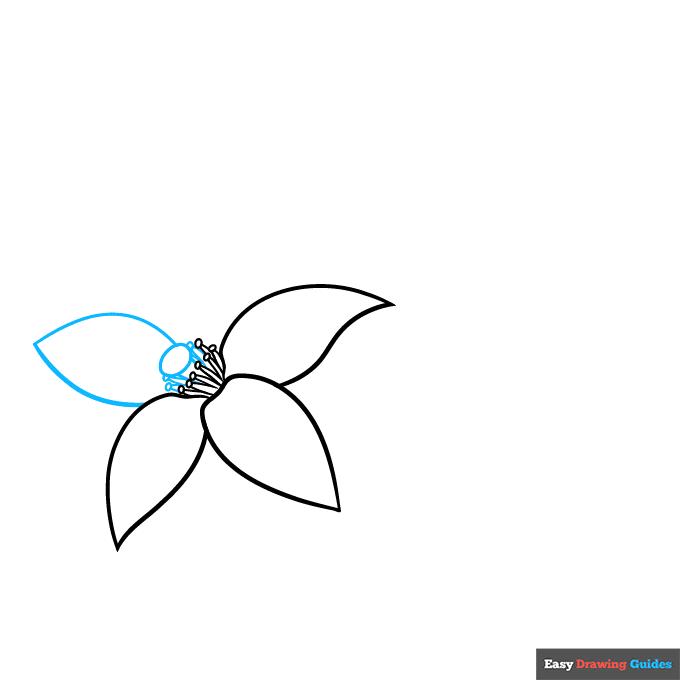
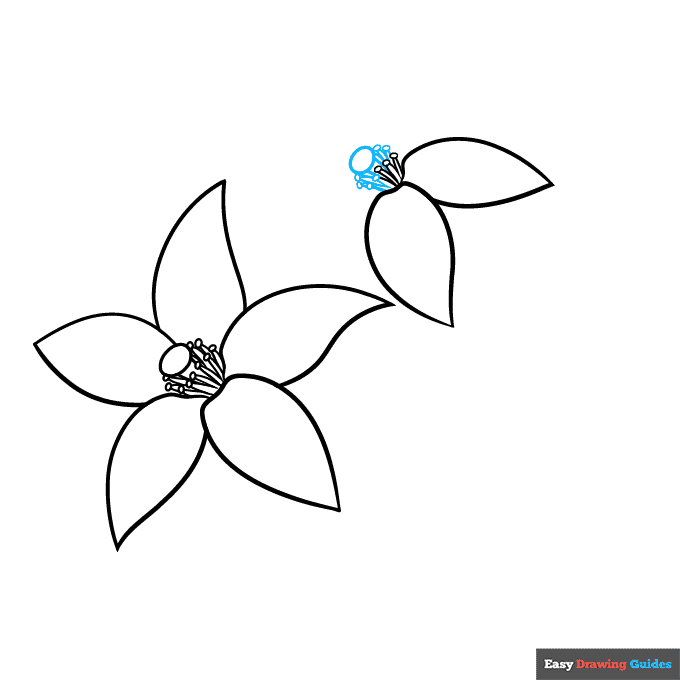
3. Draw an oval for the stigma in the middle of the flower, with more stamens around it. Then draw another teardrop-shaped petal, using two lines that meet at a point.
Drawing Step 4
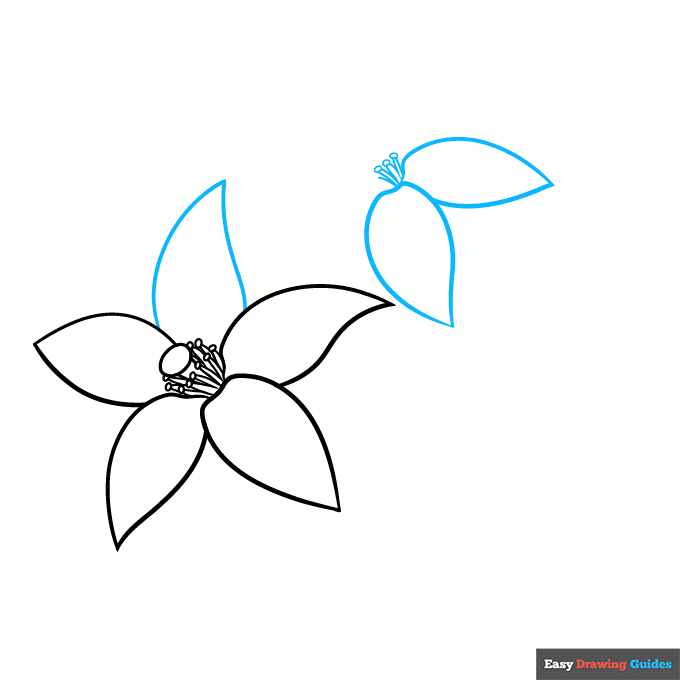
4. Draw the fifth and final petal, using two curved lines that meet at a point. Then, begin drawing another blossom. Draw two petals and begin sketching the circles and filaments of the stamens.
Drawing Step 5
5. Draw an oval and more stamens in the center of the flower.
Drawing Step 6
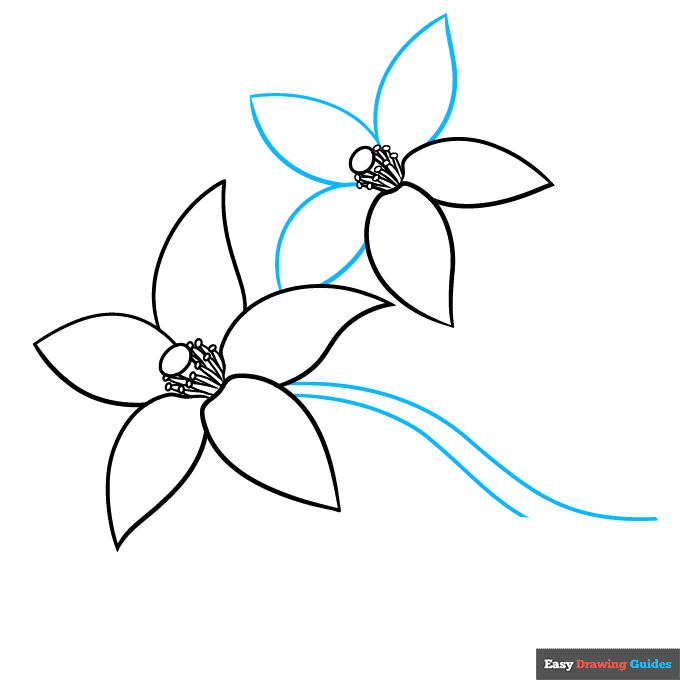
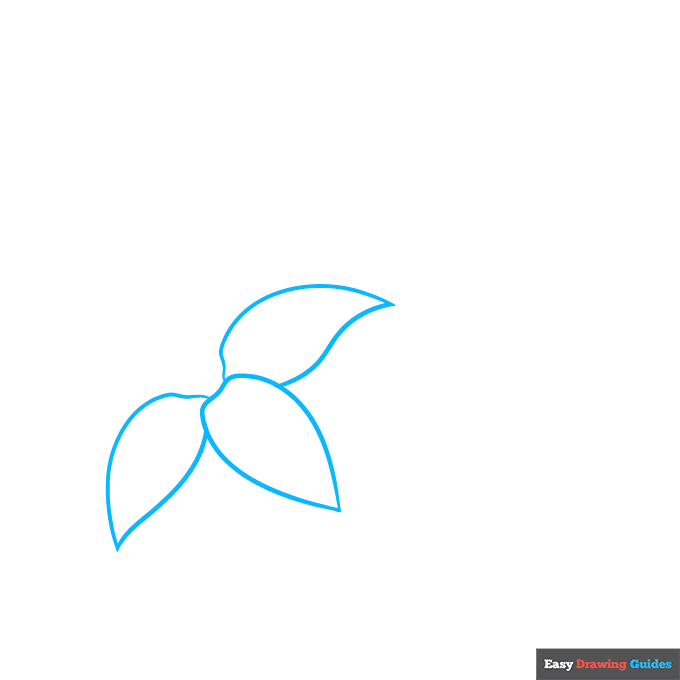
6. Draw three more petals, using two curved lines that meet at a point for each one. Then, draw wavy, parallel lines connecting to the first flower. This is the twig that it is growing on.
Drawing Step 7

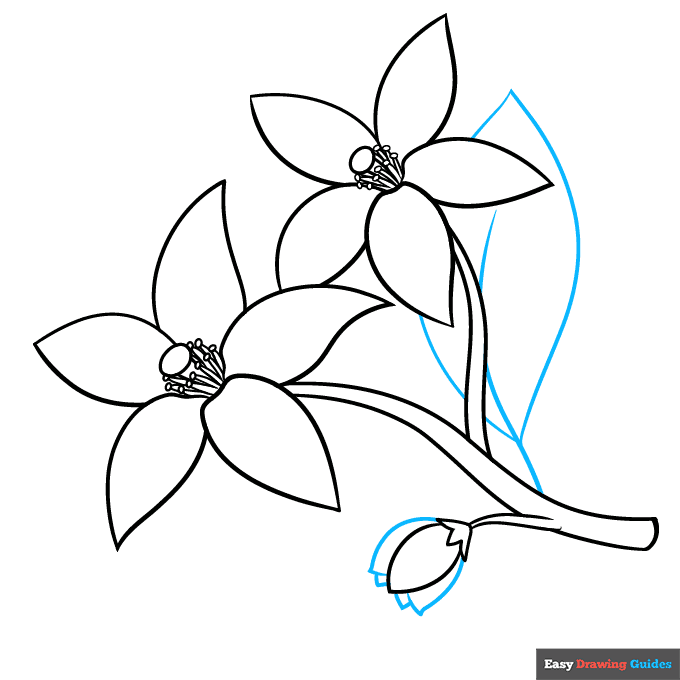
7. Draw two curved lines from the first set to the second flower, creating a branching twig. Draw another twig below the first. At the tip, use short lines to enclose a triangle shape with three points on the bottom.
Then, extend two lines that meet at a point. This is an unopened blossom. Complete the twig with a curved line.
Add More Details to Your Orange Blossom Picture - Step 8
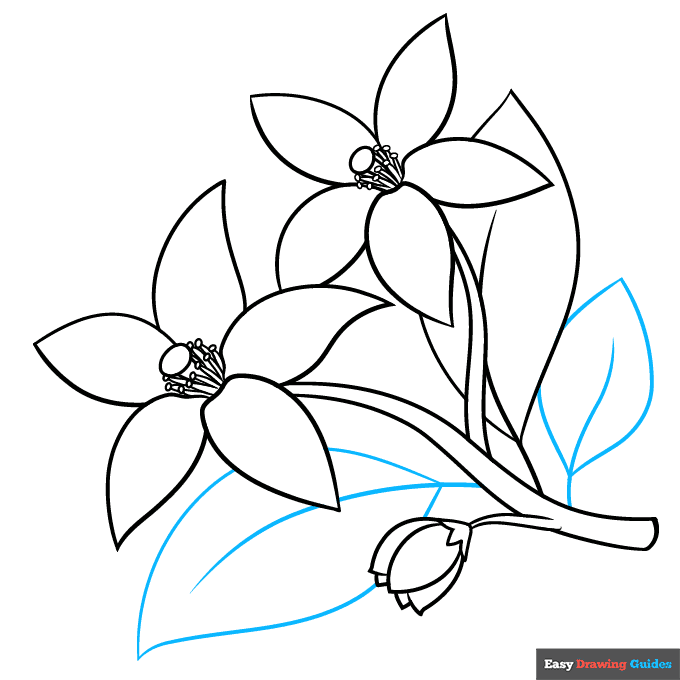
8. Use curved lines that meet at points to draw four more petals on the unopened flower, two partially hidden behind the others.
Then, draw a leaf behind the flowers. Use a long curved line for its central vein, and two lines that meet at a point for its outer edge.
Complete the Outline of Your Orange Blossom Drawing - Step 9
9. Draw two more leaves. Again, use long curved lines for the central veins and outer edges.
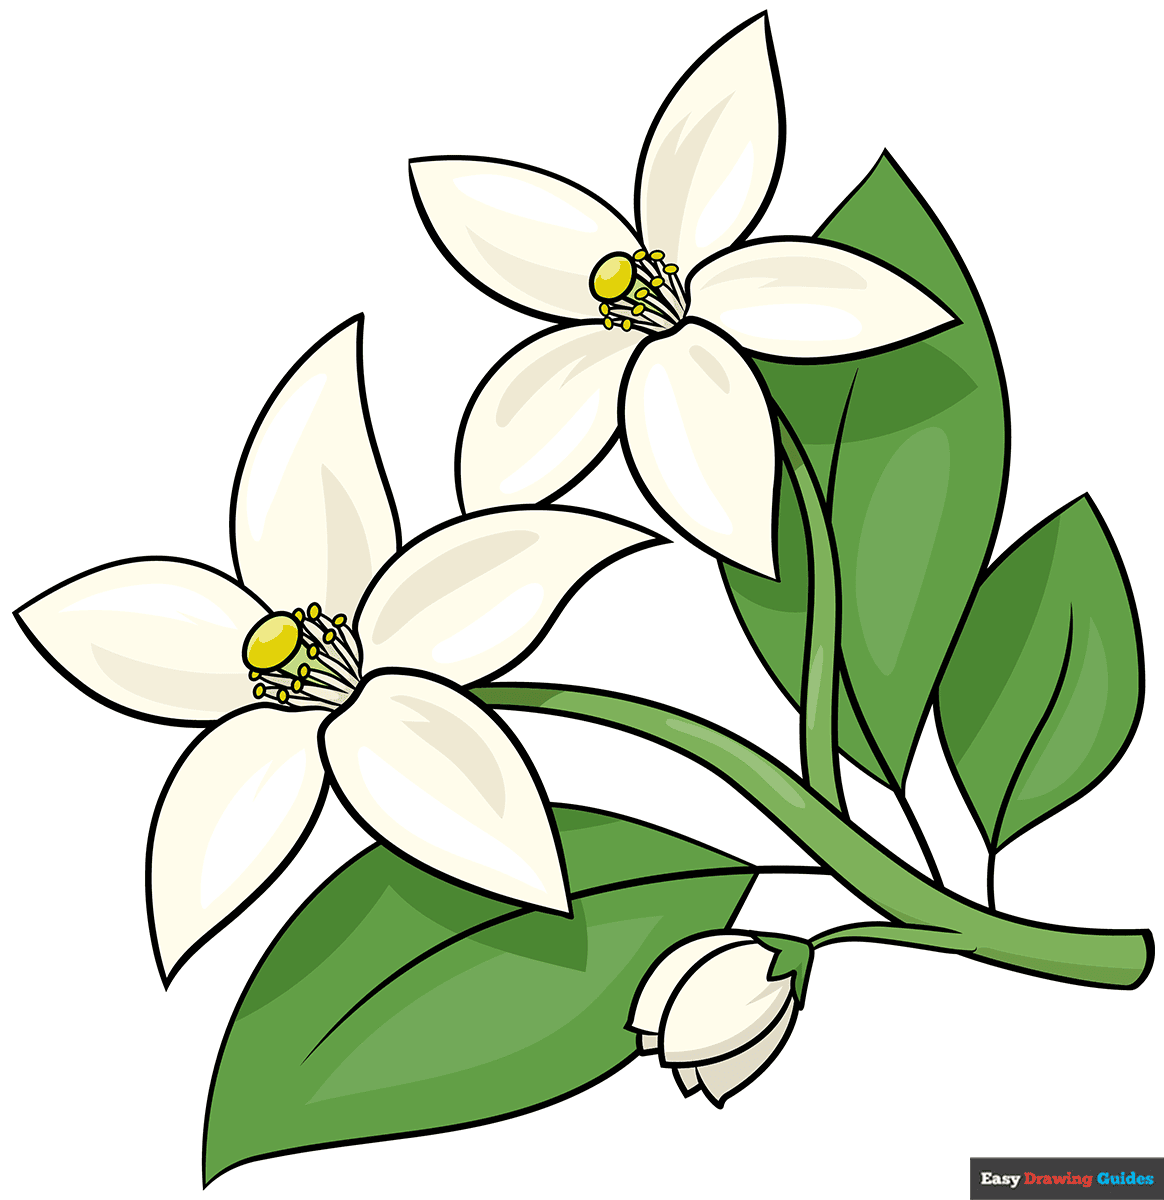
Color Your Orange Blossom Drawing
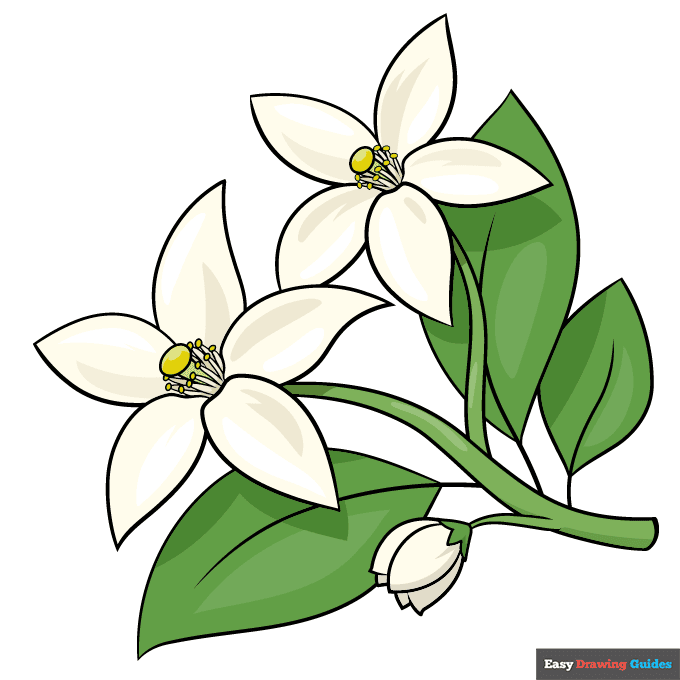
Your orange blossom outline is now complete. Color your drawing. Despite the name, these flowers aren't orange - they are white.
Watch 'How to Draw an Orange Blossom' Video Tutorial
Learn More About The Orange Blossom Drawing
You can bring home a tropical vibe when you learn how to draw an orange blossom. This easy, step-by-step guide can help.
Oranges grow on trees, but before the tree can make the fruit, it has to make flowers. Orange blossoms are small flowers shaped like five-pointed stars.
Orange and jasmine flowers look similar, but jasmine flowers only have four leaves. Can you tell the difference in this jasmine flower drawing?
You can learn how to draw an orange tree hanging with fruit. You can also take an up-close look with this orange drawing. One of the oranges is sliced to let you see what it looks like inside.
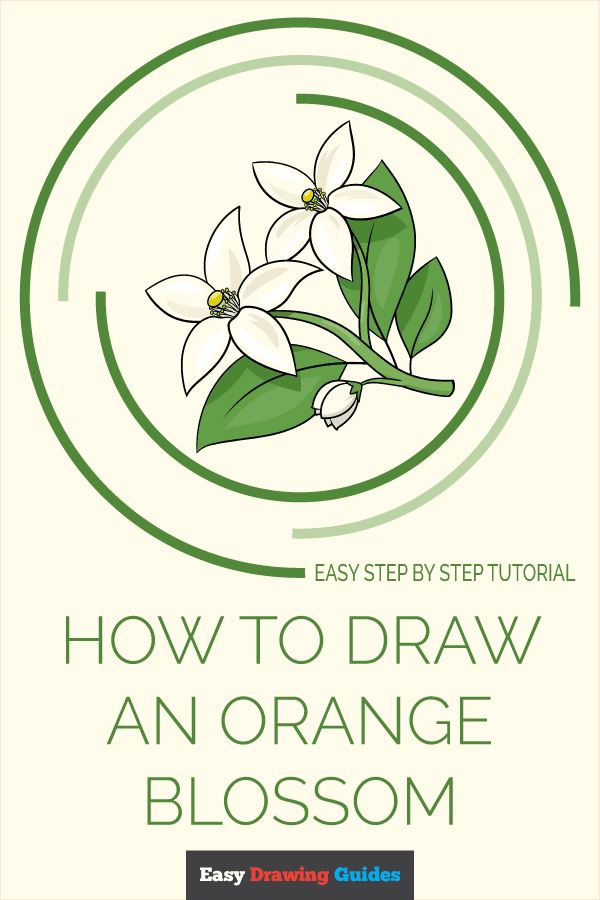
Orange Blossom Drawing Tutorial - Easy & Fun Printable Pages
Join now and get immediate access to thousands of printable drawing instruction and practice pages!
Learn how to get access to thousands of printable pages!

MEMBER TROUBLESHOOTING
Still seeing ads or not being able to download the PDF?
First, check that you're logged in. You can log in on the member login page.
If you're still not able to download the PDF, the likely solution is to reload the page.
You can do this by clicking the browser reload button.
It is a circular arrow-shaped icon at the top of the browser window, typically found in the upper-left side (you can also use keyboard shortcuts: Ctrl+R on PC and Command+R on Mac).