Learn how to draw a great looking Cartoon Revolver with easy drawing instructions and video tutorial.
By following the simple steps, you too can easily draw a perfect Cartoon Revolver.
Step-by-Step Instructions for Drawing a Gun

How to Draw a Great Looking Cartoon Revolver for Kids and Beginners - Step 1

Begin by drawing a rectangle.
Drawing Step 2

Draw a curved line from the top of the rectangle, extending outside the rectangle. From this point, extend another curved line inwards. Draw two more curved lines along the bottom and corner of the rectangle.
Unlock AD FREE and PRINTABLE drawing and coloring tutorials
- 1,900+ drawing & coloring PDFs
- 50+ ebooks
- Ad-free website
Drawing Step 3

Draw two curved lines beneath the rectangle, matching up to the lines within the rectangle.
Drawing Step 4

Within the oval just formed, enclose an irregular shape using a curved line. This is the gun's trigger.
Drawing Step 5

Erase the guide lines formed by the original rectangle.
Drawing Step 6

Extend two long, curved lines downward from the left side of the figure. Connect the lines using an additional curved line.
Drawing Step 7

In the center of the figure, draw a square. Draw a curved line from corner to corner on the left exterior side of the square.
Drawing Step 8

Draw two straight, parallel lines extending horizontally from the upper right corner of the square. Connect the lines using a short, curved line.
Drawing Step 9

Extend two more parallel lines below the first set. Connect the lines using a short, curved line.
Drawing Step 10

Extend a third set of parallel lines beneath the second set. Connect the lines using a short, curved line.
Drawing Step 11

Draw a long, narrow rectangle extending from the right side of the figure.
Drawing Step 12

Draw another, slightly shorter, narrow rectangle below the first.
Drawing Step 13

Enclose a roughly triangular shape above the gun barrel using a short, curved line.
Drawing Step 14

Draw a short, curved line, enclosing a shape at the top left corner of the gun.
Drawing Step 15

Use a long, curved line to enclose an irregular shape on the left side of the gun.
Drawing Step 16

Draw two small rectangles in the central portion of the gun. Draw a short, horizontal line through the center of each rectangle.
Drawing Step 17
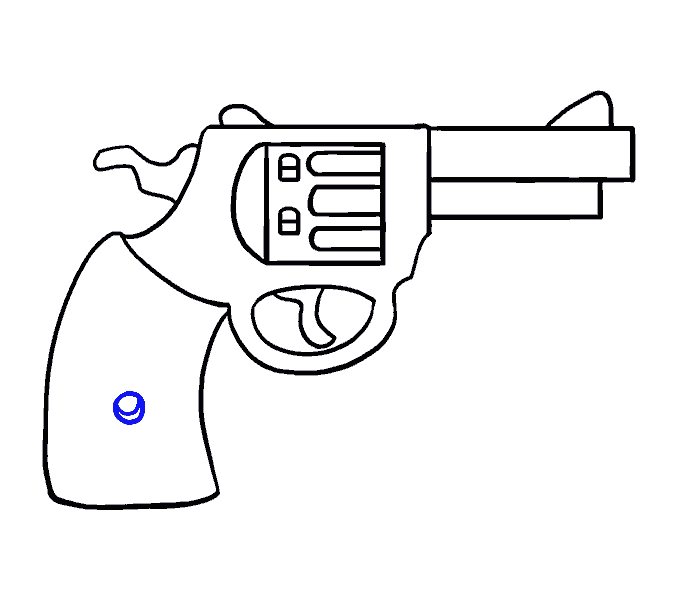
Draw a circle in the middle of the gun grip. Draw a curved line through the middle of the circle.
Drawing Step 18

Texture the gun grip using a cross hatching technique. To draw cross hatching, draw a number of parallel, diagonal lines in one direction. Then, draw parallel, diagonal lines running in the opposite direction, crossing the first lines at perpendicular angles. This forms a tic-tac-toe or checkerboard pattern.
Drawing Step 19

Add detail to the gun. Draw long, straight lines along the gun barrel. Shade the bottom of the barrel and the central portion of the gun using short, closely spaced lines.
Drawing Step 20

Color the gun. To color it in a classic style, shade the handle brown and the gun itself in various shades of grey.
Watch 'How to Draw a Cartoon Revolver' Video Tutorial

Learn More About The Cartoon Revolver Drawing
Bang! Pow! Many early children's cartoons, such as the Looney Tunes, included the use of guns. Iconic characters such as Bugs Bunny, Daffy Duck, Elmer Fudd, Tom and Jerry, Yosemite Sam, Speedy Gonzales, and Wile E. Coyote, were often seen firing these weapons.
More often than not, though, the result was a "bang" with no bullet - perhaps a little flag extending from the tip of the weapon. Some of the more violent scenes have been edited from television re-runs of the cartoon series.
The revolver, the type of gun featured in this step-by-step drawing guide, has been in existence since the 1580's.
The style still in use today was patented by Samuel Colt in 1836. By 1857, Smith and Wesson were also producing weapons based on this patent.
Scroll down for a downloadable PDF of this tutorial.
To draw a cartoon revolver, you will need only a piece of paper and a pencil. You may also wish to acquire an eraser to correct any mistakes, and colored pencils, crayons, or markers to color your completed drawing.
Each step in this simple drawing guide is accompanied by a an illustration. In each picture, lines added in the current step are highlighted in blue; lines drawn in previous steps are shown in black.
You will need to erase some of your early lines, called guide lines, in order to complete the drawing. Therefore, you may wish to sketch lightly at first.
If you liked this drawing tutorial, see also the following guides: Cowboy Hat drawing, Bullet drawing, and Pirate Ship drawing.
Cartoon Revolver Drawing Tutorial - Easy & Fun Printable Pages
Join now and get immediate access to thousands of printable drawing instruction and practice pages!

Learn how to get access to thousands of printable pages!

MEMBER TROUBLESHOOTING
Still seeing ads or not being able to download the PDF?
First, check that you're logged in. You can log in on the member login page.
If you're still not able to download the PDF, the likely solution is to reload the page.
You can do this by clicking the browser reload button.
It is a circular arrow-shaped icon at the top of the browser window, typically found in the upper-left side (you can also use keyboard shortcuts: Ctrl+R on PC and Command+R on Mac).
See a Google Web Story of this Cartoon Revolver Drawing Tutorial.