Learn how to draw a great looking Cello with easy drawing instructions and video tutorial.
By following the simple steps, you too can easily draw a perfect Cello.
Step-by-Step Instructions for Drawing a Cello
How to Draw a Great Looking Cello for Kids and Beginners - Step 1
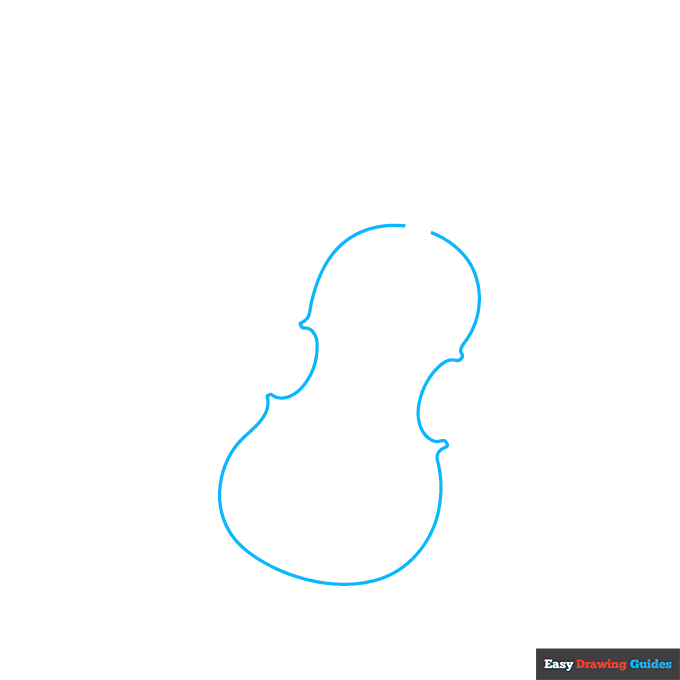
1. Begin the cello outline by drawing the front of the instrument. Use a long curved line to sketch the body of the cello. It is loosely peanut-shaped, with pointed protrusions near the narrow "hips."
Drawing Step 2
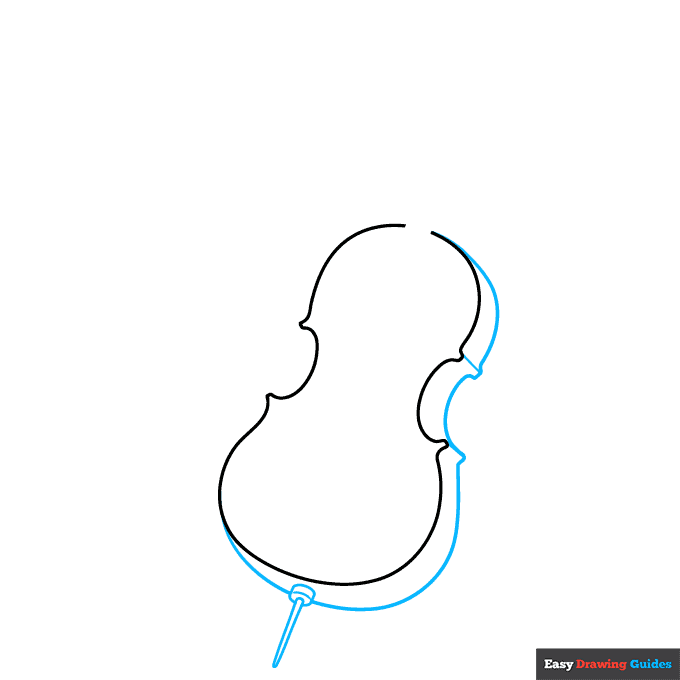
2. Next, draw a curved line loosely parallel to one side of the cello, but connected at the top and bottom. Draw straight lines from the points of the face to the points of the side. This gives the musical instrument a three-dimensional appearance.
At the bottom, draw the end pin, which is used to support the heave instrument when it is played. Use curved lines for the cylindrical base and two long lines that meet at a point.
Unlock AD FREE and PRINTABLE drawing and coloring tutorials
- 1,900+ drawing & coloring PDFs
- 50+ ebooks
- Ad-free website
Drawing Step 3
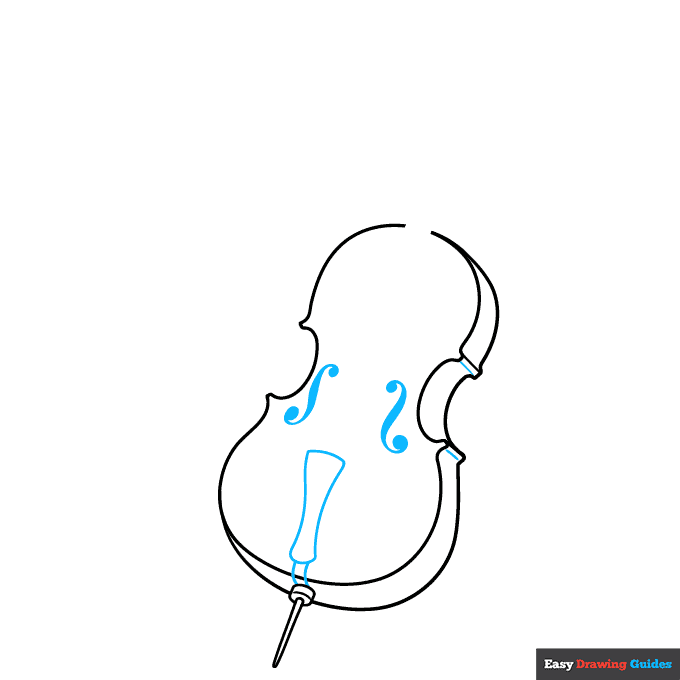
3. Shade two thick, curly "S" shapes. These are called F holes and allow the sound to come out of the instrument's body.
Above the end pin, enclose the irregular shape of the tailpiece. Connect it to the endpin with two curved lines.
Drawing Step 4
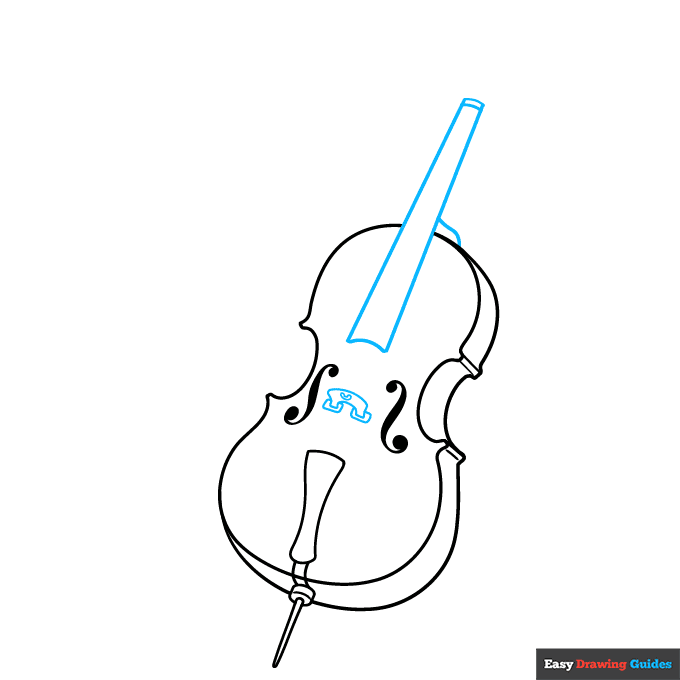
4. Use two long, straight lines to draw the fingerboard, erasing as necessary. Connect them with curved lines at the top and bottom. Draw a curved line at the base of the neck. Then, use curved lines to draw the bridge.
Enclose a small "U" shape on it and small rectangles around its legs.
Drawing Step 5
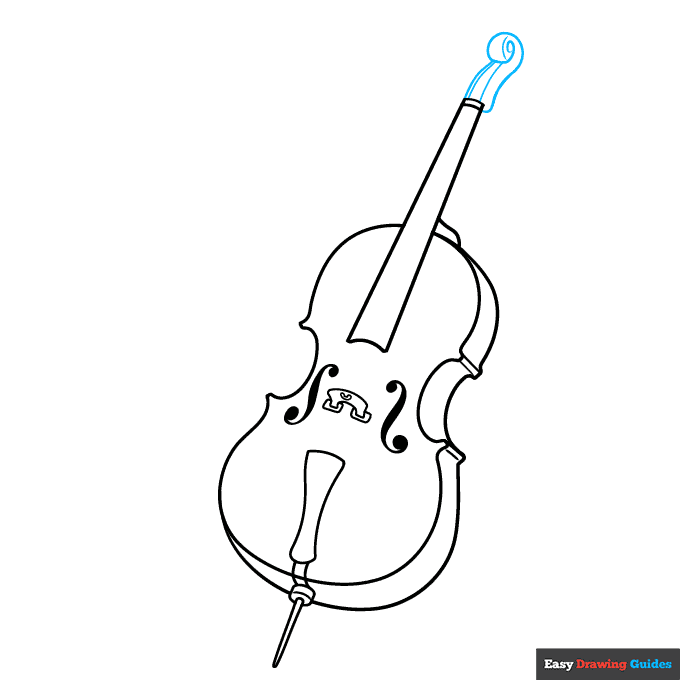
5. Use curved lines to draw the scroll at the top of the neck. Notice how one line curls into a spiral shape, intersecting other lines.
Drawing Step 6
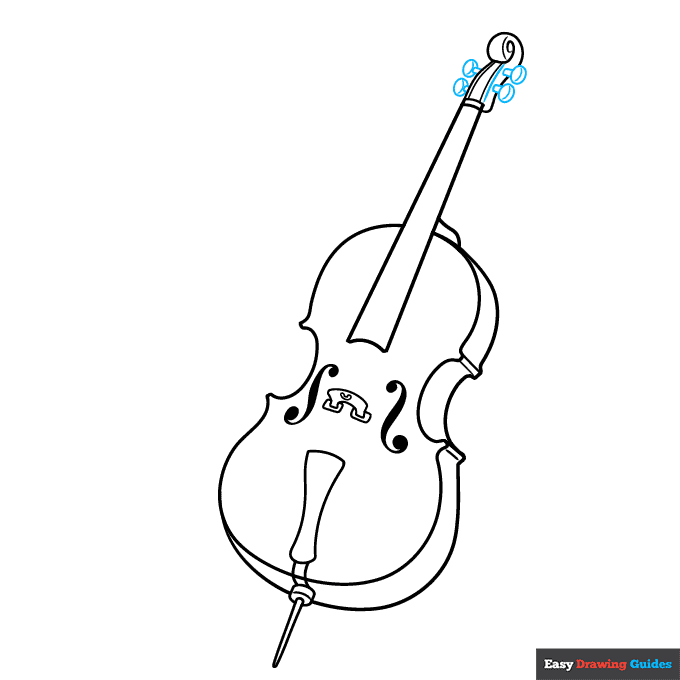
6. Draw the pegs, erasing as necessary. For each peg, draw a small oval with a curved line across it. Draw a short rectangle to connect it to the peg box.
Drawing Step 7

7. Draw small ovals on the tailpiece and small rectangles in the peg box. Then, draw four long lines to indicate the strings.
Add More Details to Your Cello Picture - Step 8
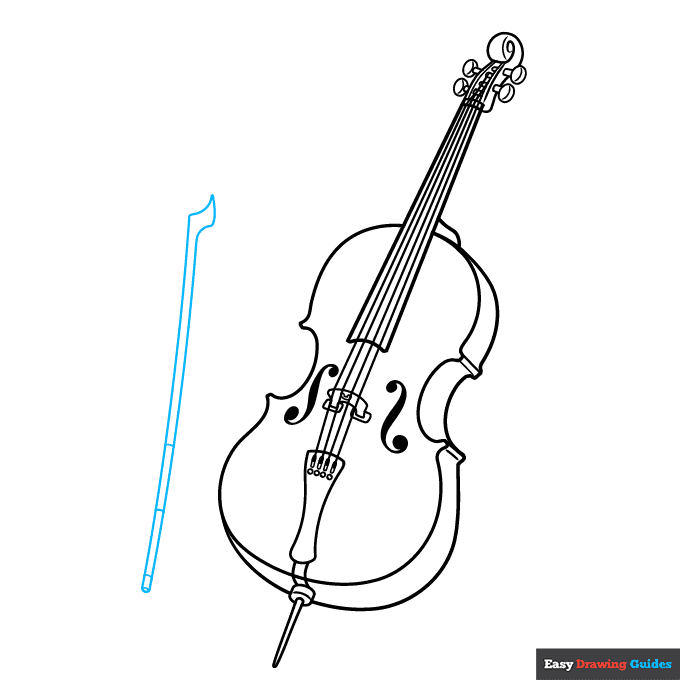
8. Next, draw the bow. Use long, parallel lines. Then draw curved lines at a diagonal angle at one end, and connect them at a sharp point. Band the bow with short lines.
Complete the Outline of Your Cello Drawing - Step 9
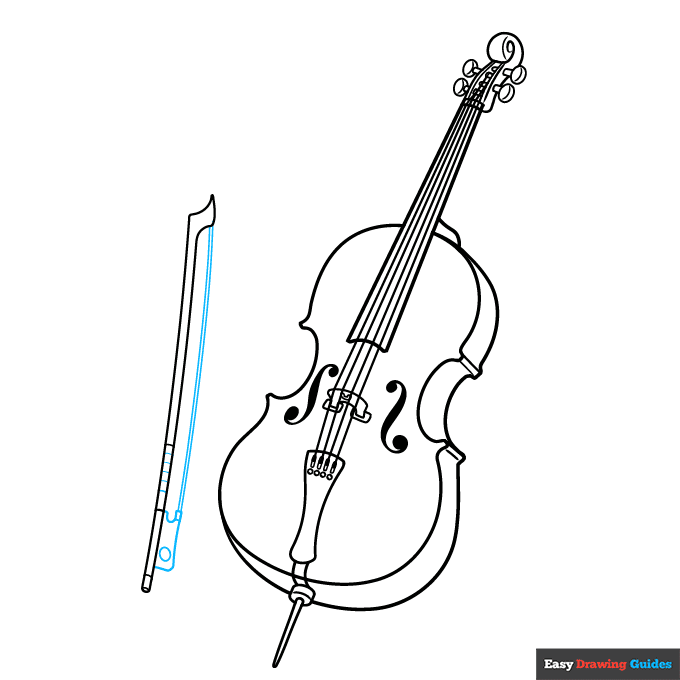
9. Enclose an irregular rectangular shape at the bottom of the bow. Draw an oval on it, then extend parallel lines to the pointed top.
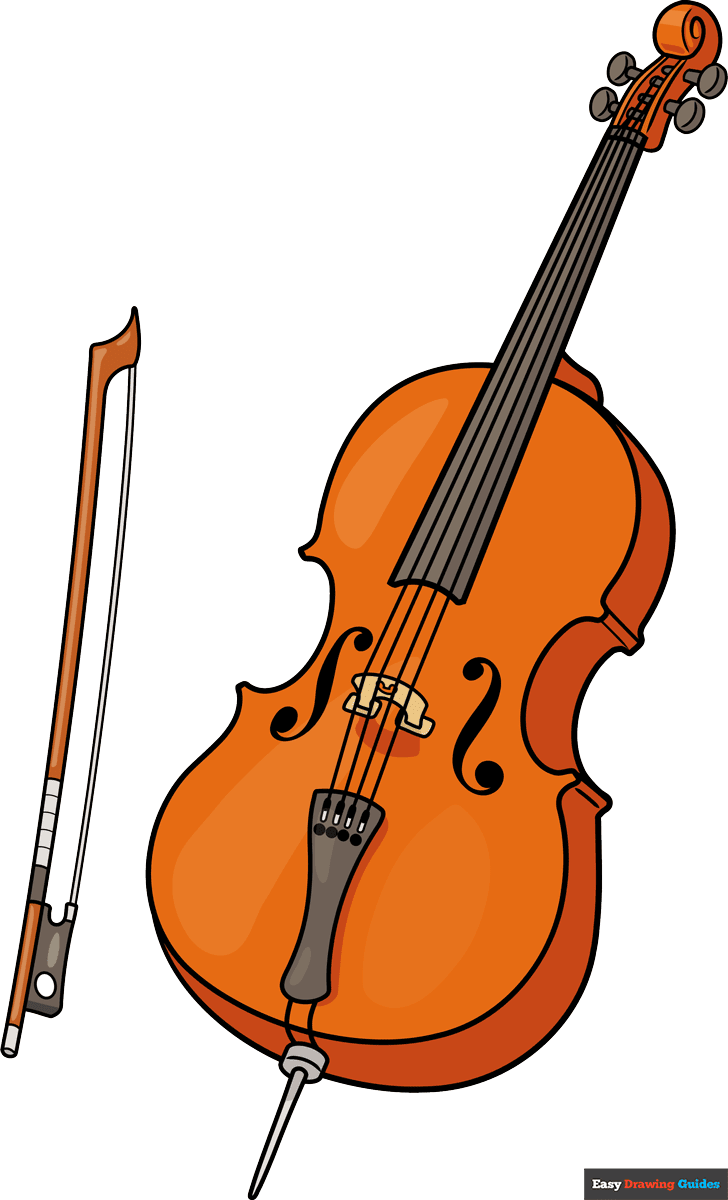
Color Your Cello Drawing
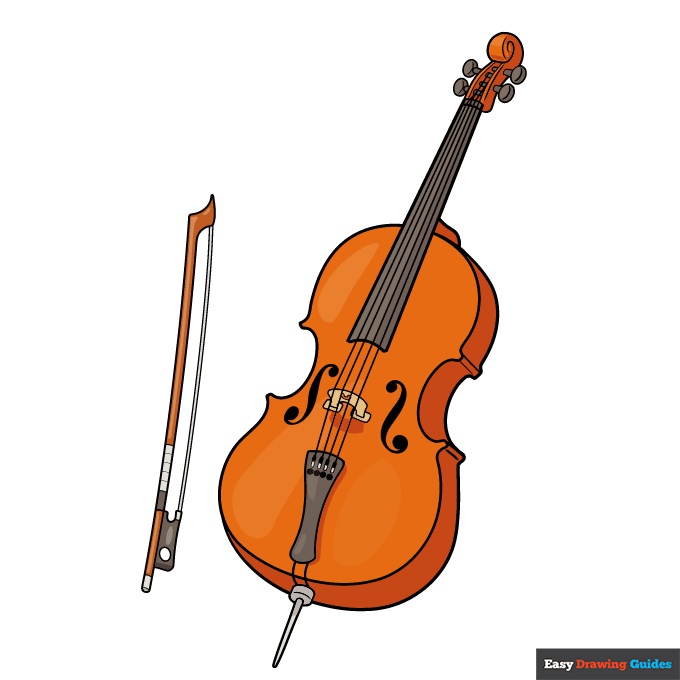
Your cello outline is now complete. Color your instrument. Cellos are made from wood, so they are typically brown in color.
Watch 'How to Draw a Cello' Video Tutorial
Learn More About The Cello Drawing
Cellists are one type of artist - musicians who specialize in playing the cello. You can flex your inner artist when you learn how to draw a cello with the help of this easy, step-by-step musical instrument drawing tutorial.
The cello is a string instrument, played with a bow. It is almost identical to the violin, only it is much larger. Check out this violin drawing to compare the two.
Would you like to draw up an entire symphony orchestra? You can learn how to draw a clarinet, as well as a trumpet drawing and a baby grand piano drawing.
You can even learn how to draw the Sydney Opera House to give your instruments a classy venue for their next performance.
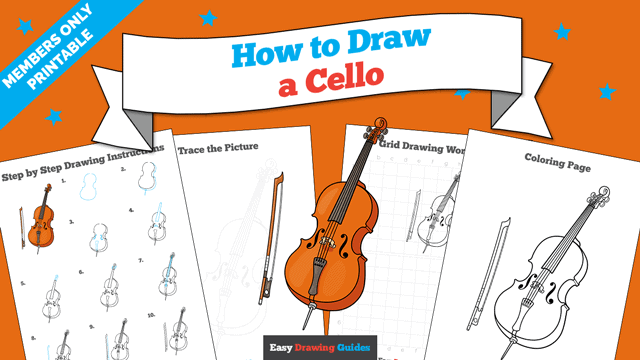
Cello Drawing Tutorial - Easy & Fun Printable Pages
Join now and get immediate access to thousands of printable drawing instruction and practice pages!
Learn how to get access to thousands of printable pages!

MEMBER TROUBLESHOOTING
Still seeing ads or not being able to download the PDF?
First, check that you're logged in. You can log in on the member login page.
If you're still not able to download the PDF, the likely solution is to reload the page.
You can do this by clicking the browser reload button.
It is a circular arrow-shaped icon at the top of the browser window, typically found in the upper-left side (you can also use keyboard shortcuts: Ctrl+R on PC and Command+R on Mac).