Learn how to draw a great looking Doll with easy drawing instructions and video tutorial.
By following the simple steps, you too can easily draw a perfect Doll.
Step-by-Step Instructions for Drawing a Doll
How to Draw a Great Looking Doll for Kids and Beginners - Step 1

1. Begin by drawing a circle. This will outline the doll's face.
Drawing Step 2

2. Use a curved line to enclose a rounded shape on each side of the head. These are the hair ties. From each hair tie, extend a pair of curved lines. Allow them to overlap in a drooping heart like shape. This forms the ponytails or pigtails.
Unlock AD FREE and PRINTABLE drawing and coloring tutorials
- 1,900+ drawing & coloring PDFs
- 50+ ebooks
- Ad-free website
Drawing Step 3

3. Draw a curved "W" shaped line across the top of the head. This indicates the hairline.
Drawing Step 4

4. Detail the doll's face. Draw a circle for each eye and for the nose. Draw a smaller circle inside each eye to indicate the pupil. Sketch short lines around the eyes for eyelashes, and a curved line above each to form the brow. Draw a wide "U" shaped line to form the smiling mouth, and complete it with short curved lines at the corners.
Drawing Step 5

5. Draw a "U" shaped line beneath the head to form the neck. Then, extend a long, curved line and double it back upon itself to enclose the irregular shape of the doll's body.
Drawing Step 6

6. Draw the doll's arms. Erase a segment at each shoulder, and extend two short curved lines to form the sleeves. Connect them at the end with an additional curved line. Then, extend another set of lines to form the arm.
Note the bend in one arm that indicates the elbow. Enclose the hands using overlapping curved lines.
Drawing Step 7

7. Erase a section at the base of the figure to make way for the foot. Draw an oval to form the bottom of the foot. Then, use curved lines to enclose shapes to one side of it, indicating the side of the foot and the leg.
Add More Details to Your Doll Picture - Step 8

8. Enclose an egg shape for the other foot, with a curved line running from top to bottom. Then extend a pair of lines into the doll's body. Connect these with a curved line and extend it to the other foot, forming the hem of the dress.
Complete the Outline of Your Doll Drawing - Step 9

9. Draw a circle in the center of the torso and enclose rounded shapes on each side of it, forming a bow. Draw pairs of lines from each side of the bow to the side of the dress.
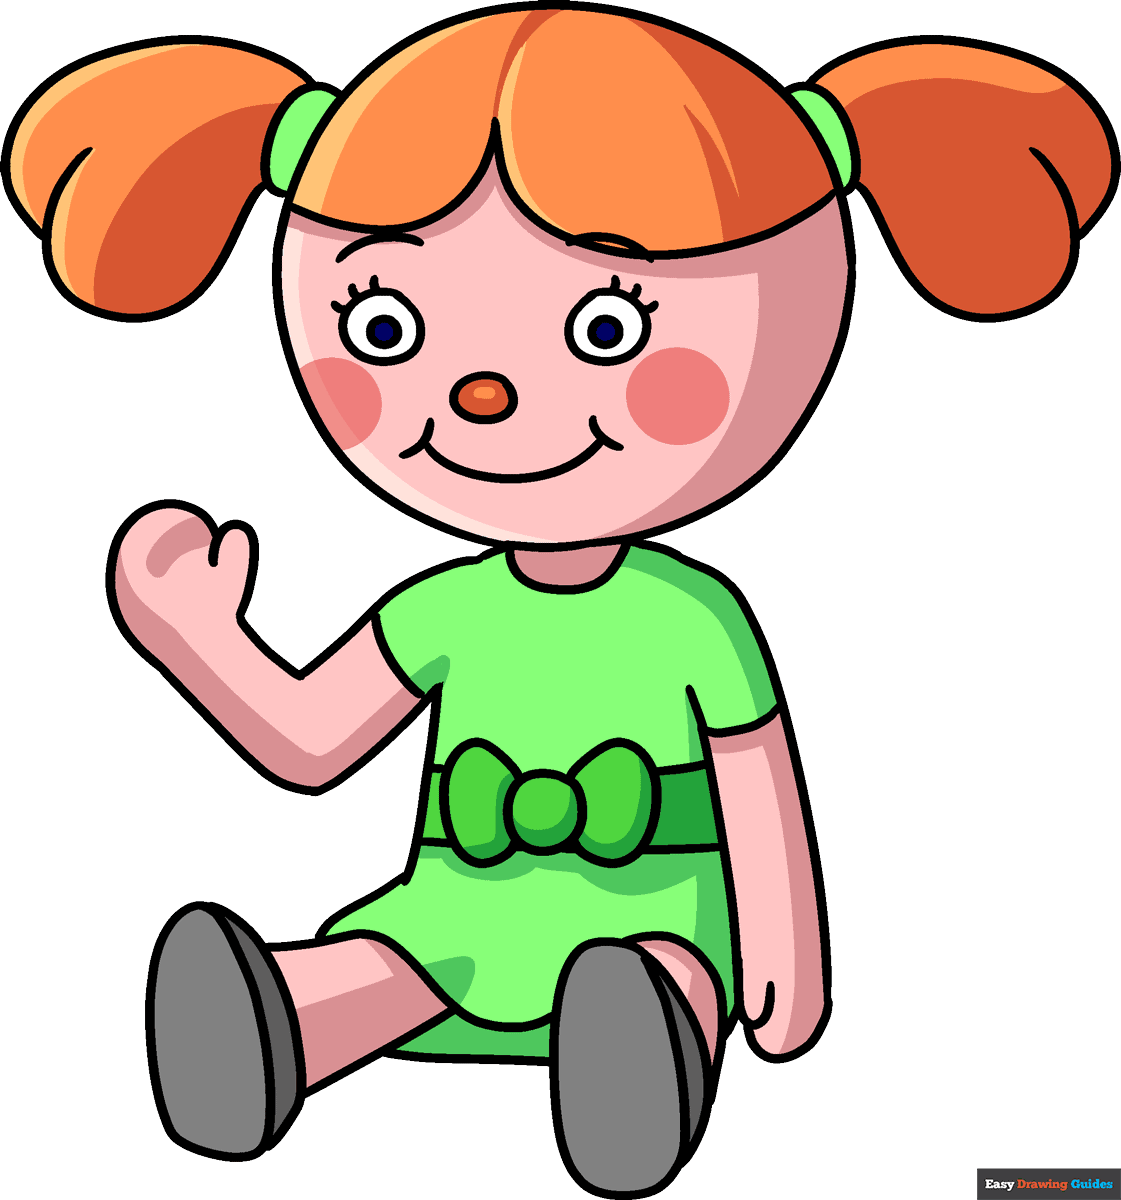
Color Your Doll Drawing

Color your cartoon doll.
Watch 'How to Draw a Doll' Video Tutorial

Learn More About The Doll Drawing
According to the Encyclopaedia Britannica, dolls are "perhaps the oldest plaything." The oldest date to 3000 to 2000 BC and include a Babylonian doll made from a mineral called alabaster and wooden dolls with hair made from strings of beads found in ancient Egyptian graves.
By 1413 CE, the job of "dollmaker" was a full-time career in Europe. Beginning in the 1500s, building and decorating dollhouses was also popular.
There are a number of different types of dolls. Ragdolls are often handcrafted from leftover sewing scraps.
China dolls have soft fabric bodies and faces made from the same delicate china that is used to make dishes.
Baby dolls allow children to pretend they are mothers, and fashion dolls like Barbie help youths imagine life as an adult.
Scroll down for a downloadable PDF of this tutorial.
Dolls are often characters in literature and film. Barbie dolls and American Girl dolls have books and movies that tell their stories.
The ragdoll Molly was one of the main characters in the children's television show The Big Comfy Couch. Some horror or science fiction films feature frightening dolls that come to life.
Would you like to draw a cartoon doll? This easy, step-by-step cartoon object drawing tutorial is here to show you how.
All you will need is a pencil, an eraser, and a sheet of paper. You may wish to color your finished picture.
If you liked this drawing tutorial, see also the following guides: Buzz Lightyear from Toy Story drawing, Barbie Doll drawing, and Fairy drawing.
Doll Drawing Tutorial - Easy & Fun Printable Pages
Join now and get immediate access to thousands of printable drawing instruction and practice pages!

Learn how to get access to thousands of printable pages!

MEMBER TROUBLESHOOTING
Still seeing ads or not being able to download the PDF?
First, check that you're logged in. You can log in on the member login page.
If you're still not able to download the PDF, the likely solution is to reload the page.
You can do this by clicking the browser reload button.
It is a circular arrow-shaped icon at the top of the browser window, typically found in the upper-left side (you can also use keyboard shortcuts: Ctrl+R on PC and Command+R on Mac).