Learn how to draw a great looking Flashlight with easy drawing instructions and video tutorial.
By following the simple steps, you too can easily draw a perfect Flashlight.
Step-by-Step Instructions for Drawing a Flashlight

How to Draw a Great Looking Flashlight for Kids and Beginners - Step 1
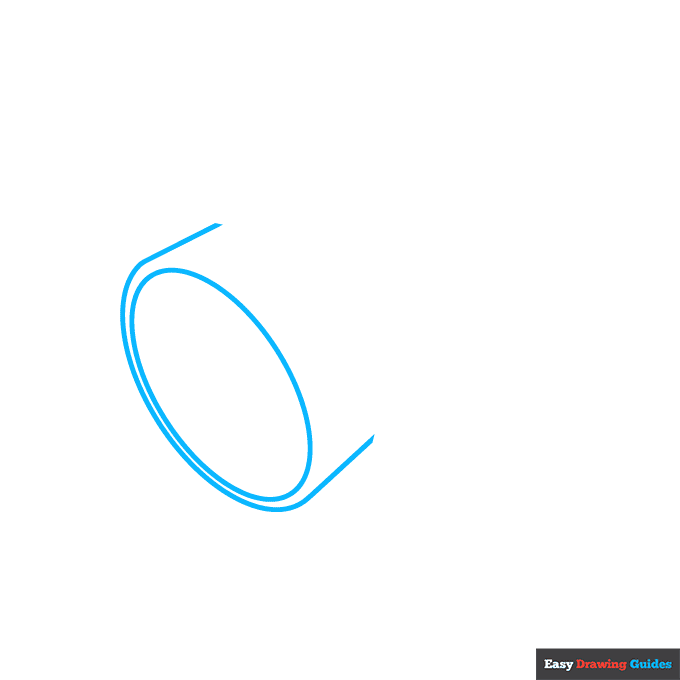
1. Begin the flashlight outline by drawing an oval. This will become the lens of the flashlight. Then, draw a long curved line around it to give the flashlight a cylindrical shape.
Drawing Step 2

2. Draw a curved line parallel to the opposite side of the lens to complete the cylindrical effect. Draw another curved line to complete the shape, then extend shorter curved lines from the sides to form the "neck" of the flashlight.
Unlock AD FREE and PRINTABLE drawing and coloring tutorials
- 1,900+ drawing & coloring PDFs
- 50+ ebooks
- Ad-free website
Drawing Step 3

3. Extend a long curved line and double it back on itself to form the body of the flashlight. Band near the neck with a curved line.
Drawing Step 4

4. Band the body of the flashlight with two curved lines. Then, enclose a partial oval inside the lens to form the bulb. Use curved lines to indicate another oval behind it.
Drawing Step 5

5. Draw two rectangles and a triangle to form the flashlight's on/off switch.
Drawing Step 6

6. Draw a long curved line from the end of the flashlight. Double the line back to almost meet itself. This is the lanyard you use to hold the flashlight.
Drawing Step 7

7. Draw curved lines parallel to the previous one. Complete the lanyard's figure eight shape with parallel lines.
Add More Details to Your Flashlight Picture - Step 8
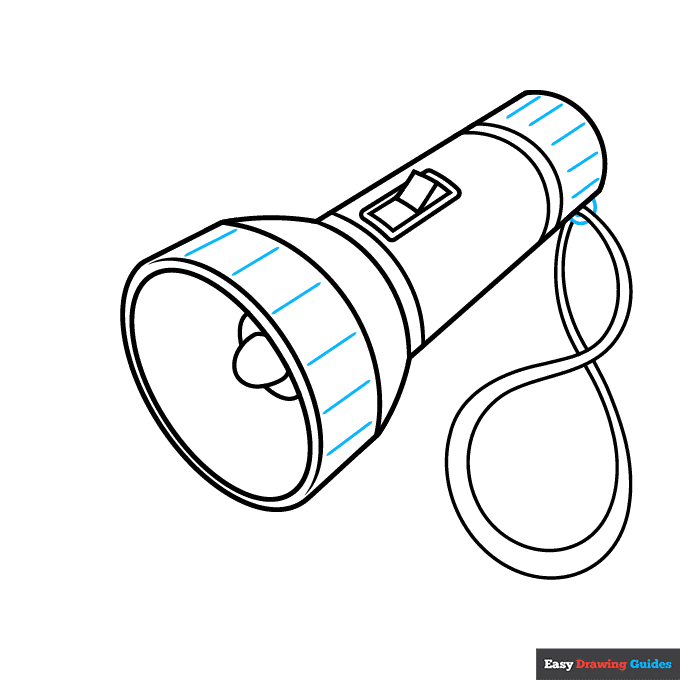
8. Use curved lines to draw a half-circle shape where the lanyard attaches. Texture the ends of the flashlight with parallel straight lines.
Complete the Outline of Your Flashlight Drawing - Step 9

9. Texture the inside of the lamp with layers of curved lines. Then, draw straight, diagonal lines in a ray pattern to indicate the light.
Color Your Flashlight Drawing

Your cartoon flashlight outline is now complete. Color your drawing. You can choose the color of the flashlight, along with yellow to indicate the flashlight's beam.
Watch 'How to Draw a Flashlight' Video Tutorial

Learn More About The Flashlight Drawing
There's no reason to be afraid of the dark when you have a trusty flashlight at your side. You can learn how to draw a flashlight with the help of this easy, step-by-step object drawing guide.
Flashlights like the one pictured here are small, handheld lamps powered by batteries. Flashlights have lightbulbs or LEDs, but this hasn't always been the case. Flashlights replaced flame-lit lanterns like the one in this lantern drawing.
Many people keep flashlights on hand in case the power goes out. They also take them when they go camping. You can learn how to draw a camping scene drawing complete with a tent and a campfire.
Need some extra batteries? You can learn how to draw a battery here.
Flashlight Drawing Tutorial - Easy & Fun Printable Pages
Join now and get immediate access to thousands of printable drawing instruction and practice pages!

Learn how to get access to thousands of printable pages!

MEMBER TROUBLESHOOTING
Still seeing ads or not being able to download the PDF?
First, check that you're logged in. You can log in on the member login page.
If you're still not able to download the PDF, the likely solution is to reload the page.
You can do this by clicking the browser reload button.
It is a circular arrow-shaped icon at the top of the browser window, typically found in the upper-left side (you can also use keyboard shortcuts: Ctrl+R on PC and Command+R on Mac).