Learn how to draw a great looking Microscope Diagram for Kids with easy drawing instructions and video tutorial.
By following the simple steps, you too can easily draw a perfect Microscope Diagram for Kids.
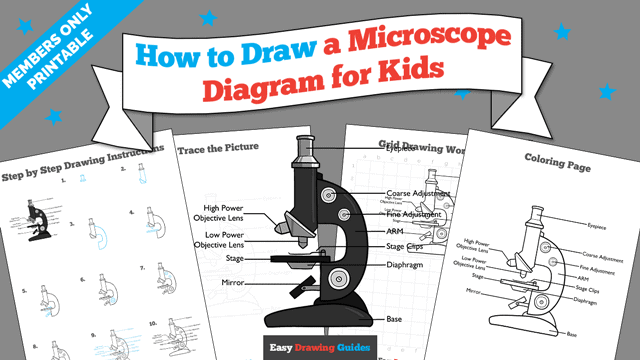
Step-by-Step Instructions for Drawing a Microscope Diagram For Kids
How to Draw a Great Looking Microscope Diagram for Kids for Kids and Beginners - Step 1
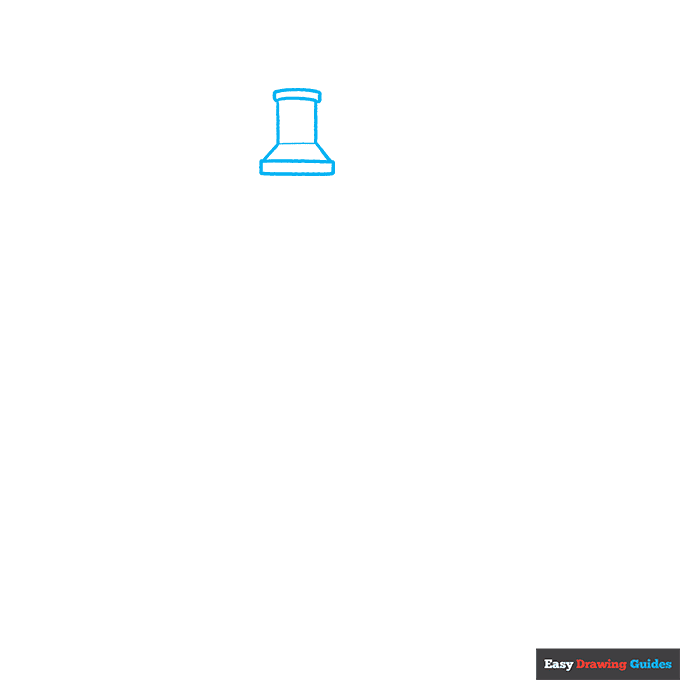
1. Begin the microscope diagram outline by drawing the eyepiece. Draw a horizontal rectangle with a trapezoid on top.
Then, draw another rectangle on top, noting the slightly curved line at its top. Draw a slightly curved horizontal rectangle at its apex.
Drawing Step 2
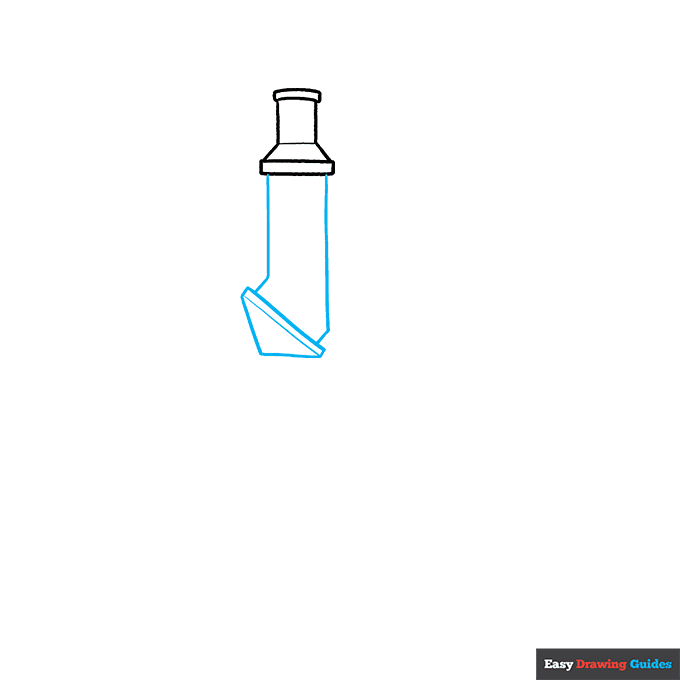
2. Draw a slanted triangle below the eyepiece. Band its longest side with a straight line. Then connect it to the eyepiece using two "L" shaped lines.
Unlock AD FREE and PRINTABLE drawing and coloring tutorials
- 1,900+ drawing & coloring PDFs
- 50+ ebooks
- Ad-free website
Drawing Step 3
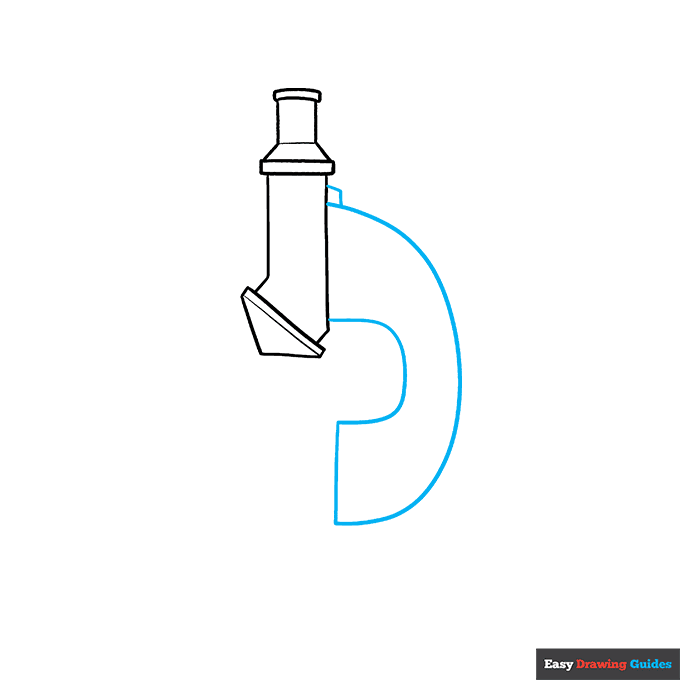
3. Draw the microscope's arm. Use curved lines to create a "C" shape. Connect them with a straight line. Then use two short lines to enclose a small, irregular rectangle on top of the arm.
Drawing Step 4
4. Draw small pentagons on two sides of the triangle. Band each with a curved line. These are lenses.
Then enclose a narrow, horizontal rectangle sitting on the "C." This is the stage on which you set whatever you're looking at.
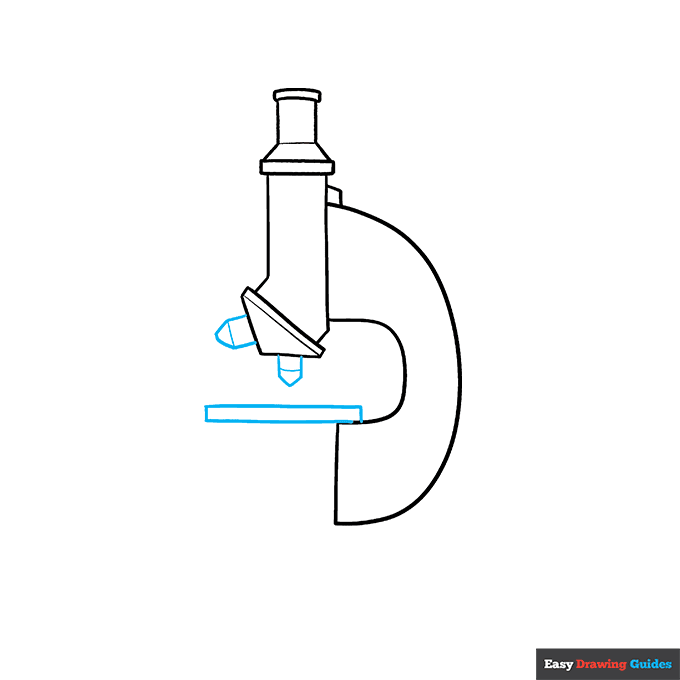
Drawing Step 5
5. Draw a "U" shaped line on the stage, with a bent line extending horizontally from it. This is the clip that holds your sample.
Below the stage, draw a trapezoid. From the bottom of the "C," extend a "U" shaped line. Draw a diagonal rectangle behind it and a small circle within it. This is the microscope's mirror or illuminator.
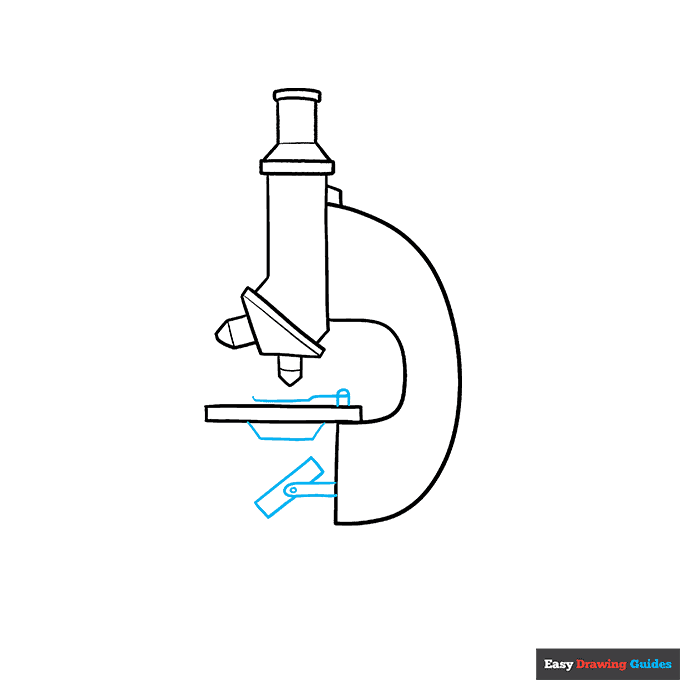
Drawing Step 6
6. Draw three consecutively smaller circles within the base of the arm. Draw a short, diagonal line within the smallest circle.
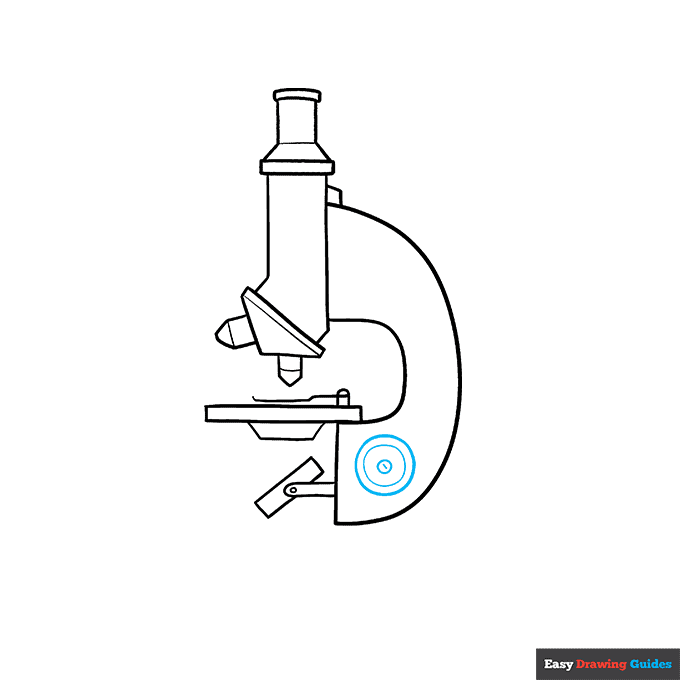
Drawing Step 7
7. Draw two more sets of three successively smaller circles at the top of the arm. These are the focusing knobs.
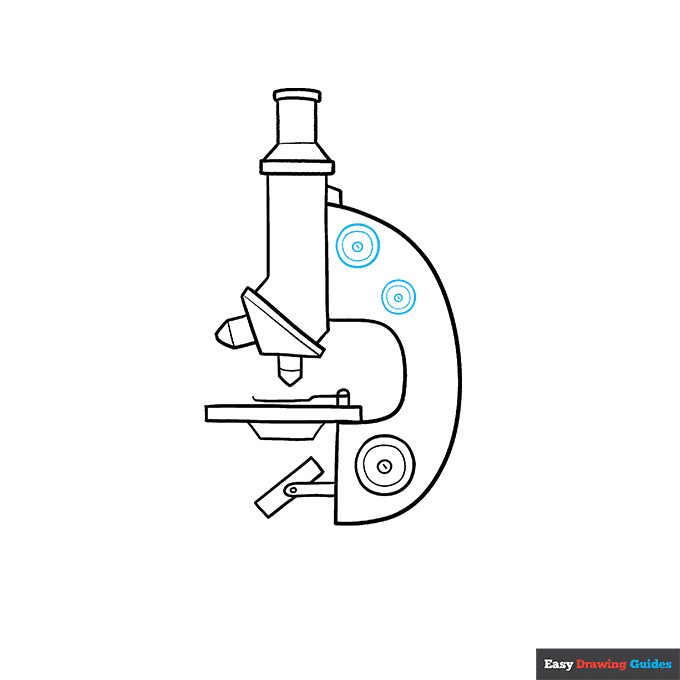
Add More Details to Your Microscope Diagram for Kids Picture - Step 8
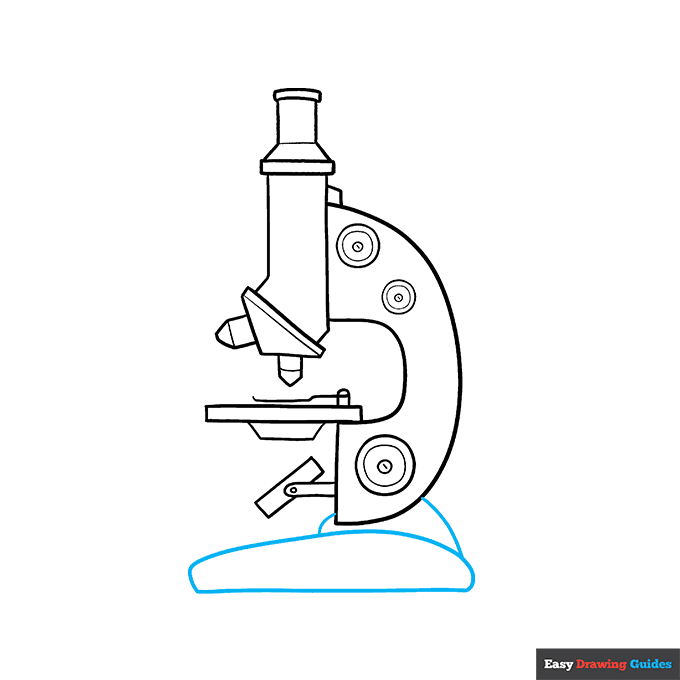
8. Draw the base of the microscope below the arm. Use three curved lines to enclose the two irregular rounded shapes.
Complete the Outline of Your Microscope Diagram for Kids Drawing - Step 9
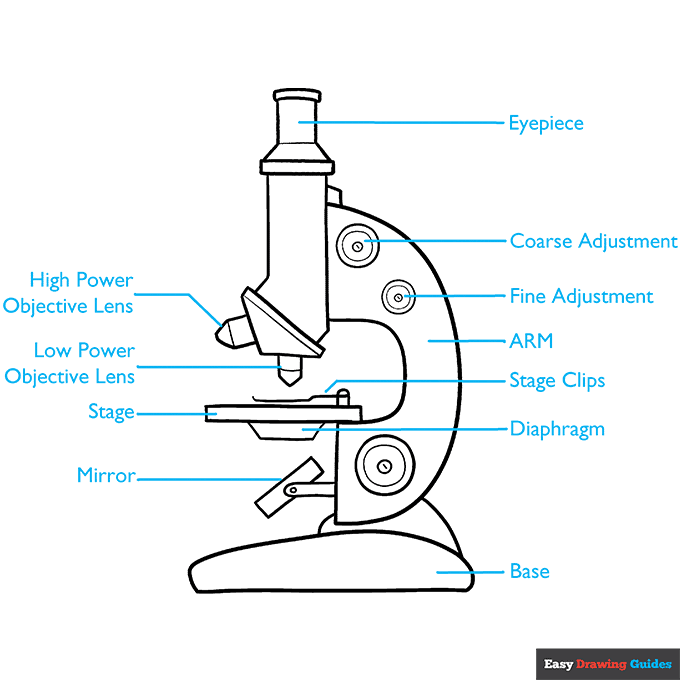
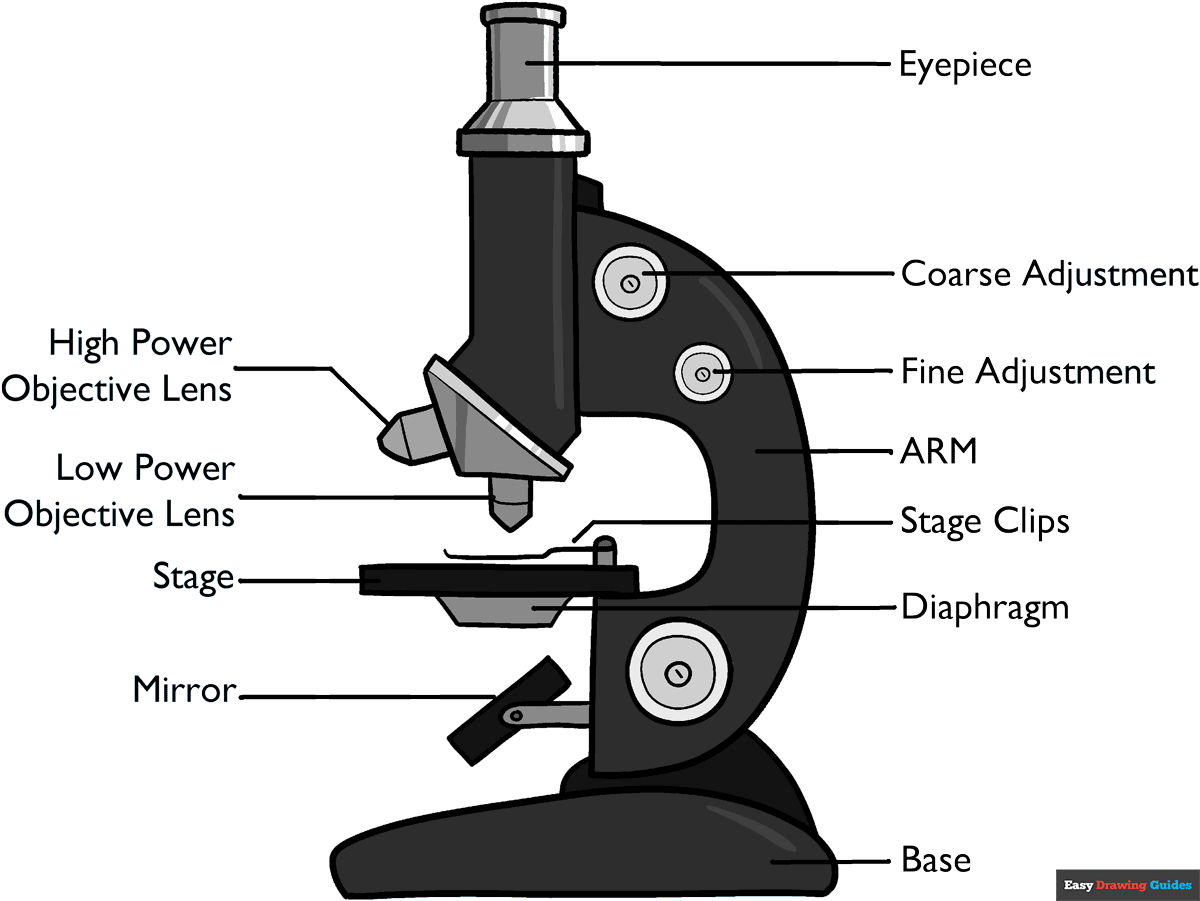
9. Label each part of the microscope.
Begin with the mirror and work clockwise, identifying the stage, low power objective lens, high power objective lens, eyepiece, coarse adjustment, fine adjustment, arm, stage clips, diagram, and base.
Draw straight lines from the vocabulary terms to the parts they describe.
Color Your Microscope Diagram for Kids Drawing
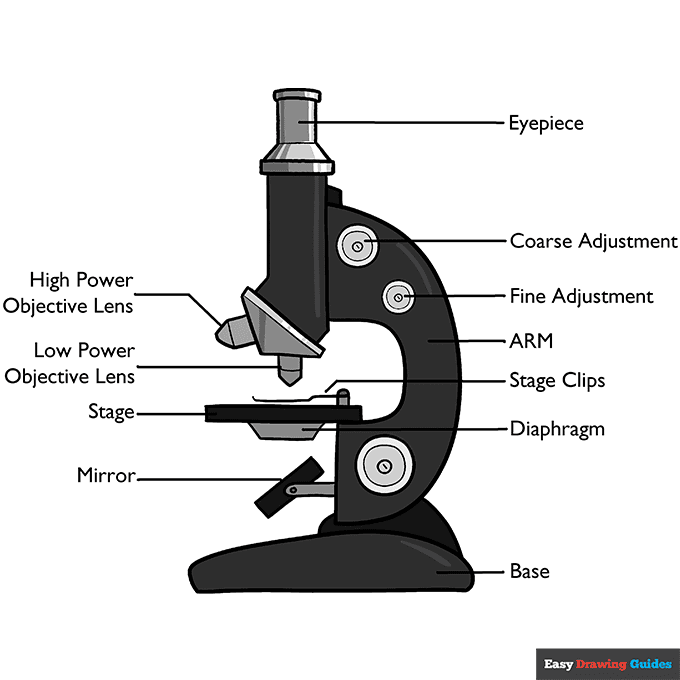
Your cartoon microscope diagram outline is now complete. Color your drawing. Microscopes are often black or white with silvery metallic elements.
Watch 'How to Draw a Microscope Diagram For Kids' Video Tutorial
Click HERE to save the tutorial to Pinterest!
Learn More About The Microscope Diagram for Kids Drawing
Have you ever used a microscope? Get to know this classroom tool better when you use this easy, step-by-step science tutorial to create a microscope diagram drawing.
Microscopes use special magnifying lenses to help you see very small objects. This is similar to the way telescopes make distant objects appear closer. Check out this telescope drawing to compare the two.
This microscope drawing can make a great science project or an addition to your school report.
So can diagrams of what you looked at through the microscope. What did you see? Share it with your class with this bacteria drawing or this animal cell drawing.
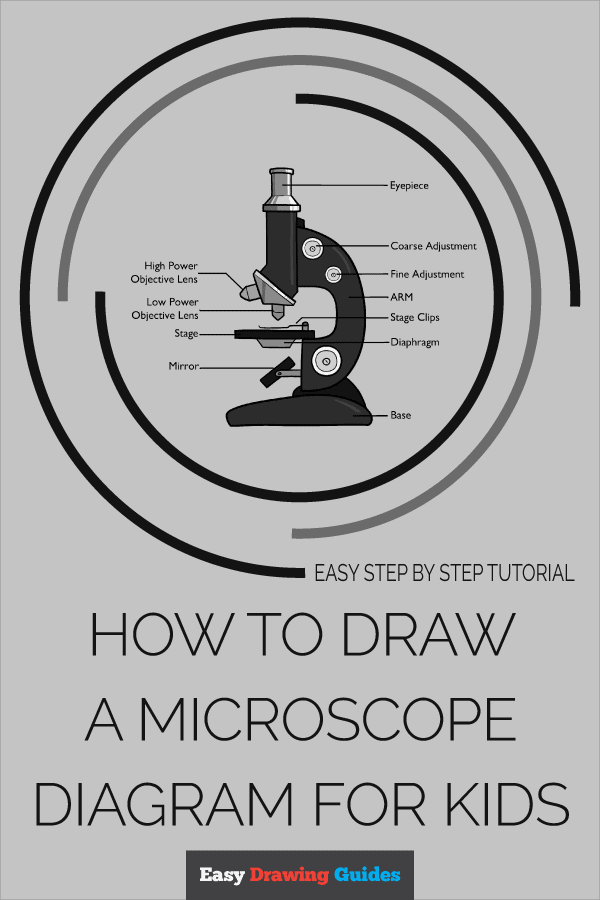
Microscope Diagram for Kids Drawing Tutorial - Easy & Fun Printable Pages
Join now and get immediate access to thousands of printable drawing instruction and practice pages!
Learn how to get access to thousands of printable pages!

MEMBER TROUBLESHOOTING
Still seeing ads or not being able to download the PDF?
First, check that you're logged in. You can log in on the member login page.
If you're still not able to download the PDF, the likely solution is to reload the page.
You can do this by clicking the browser reload button.
It is a circular arrow-shaped icon at the top of the browser window, typically found in the upper-left side (you can also use keyboard shortcuts: Ctrl+R on PC and Command+R on Mac).