
Learn how to draw a great looking Well with easy drawing instructions and video tutorial.
By following the simple steps, you too can easily draw a perfect Well.
Step-by-Step Instructions for Drawing a Well
How to Draw a Great Looking Well for Kids and Beginners - Step 1

1. Start by drawing a flat semi-oval with a curve underneath. Sketch curves above and below these shapes, and connect them with rounded vertical lines. Add two more vertical lines on the bottom.
Drawing Step 2

2. For the bucket, draw a smaller semi-oval, then sketch curves for the top and bottom and connect them with diagonal lines. Draw a C-shape for the handle, and add two bean shapes in the middle.
Unlock AD FREE and PRINTABLE drawing and coloring tutorials
- 2,600+ drawing & coloring PDFs
- 50+ ebooks
- Ad-free website
Drawing Step 3
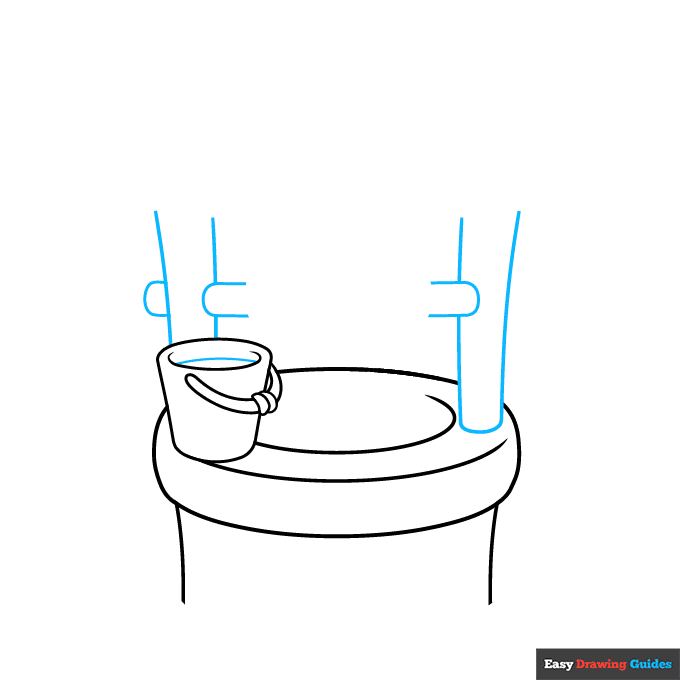
3. Add a curve inside the bucket. Sketch four vertical lines on top of the well, then connect the lines on the right with a short curve. Draw six horizontal lines, and add curves on the ends to form U-shapes.
Drawing Step 4
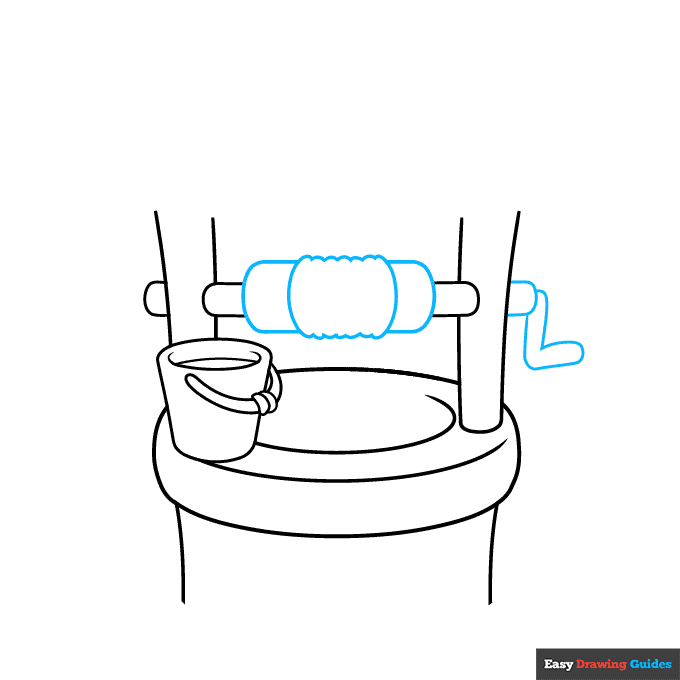
4. In the middle, draw two horizontal lines with curves at the ends. Add two more curves in the center, and sketch bumpy lines between them. On the right, sketch two short horizontal lines and a curve, then draw a large L-shape.
Drawing Step 5
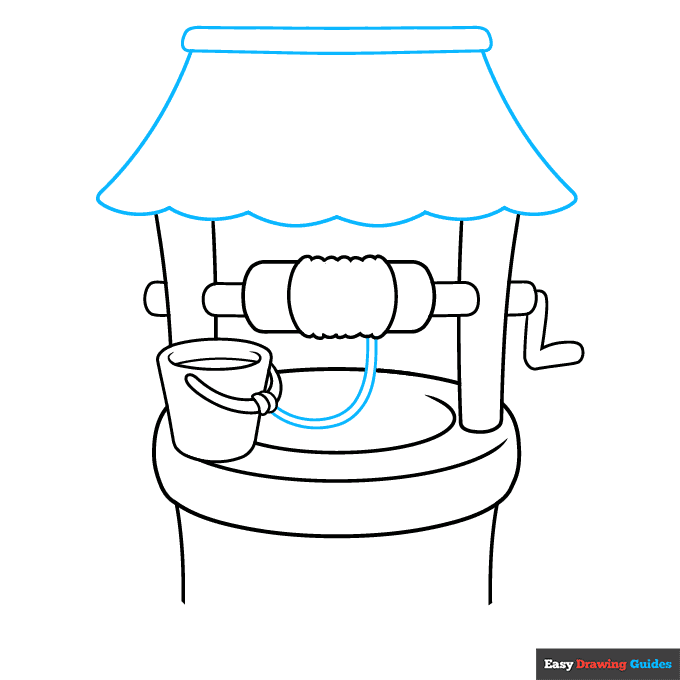
5. Draw two curves to form a deep U-shape. Above your well, draw a long, thin rectangle with rounded ends, then sketch two diagonal lines and add a scalloped horizontal line.
Drawing Step 6
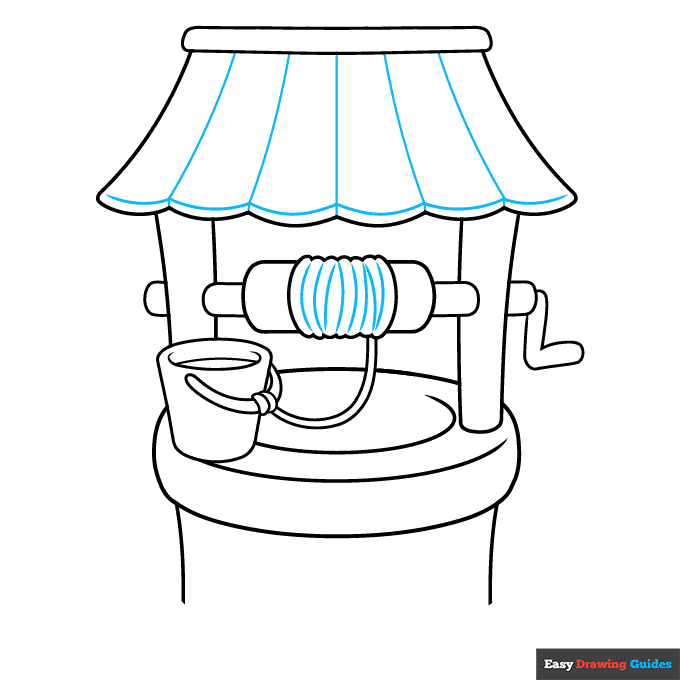
6. Sketch more diagonal lines inside this shape, then draw horizontal curves near the bottom. Add vertical curves inside the rope.
Drawing Step 7
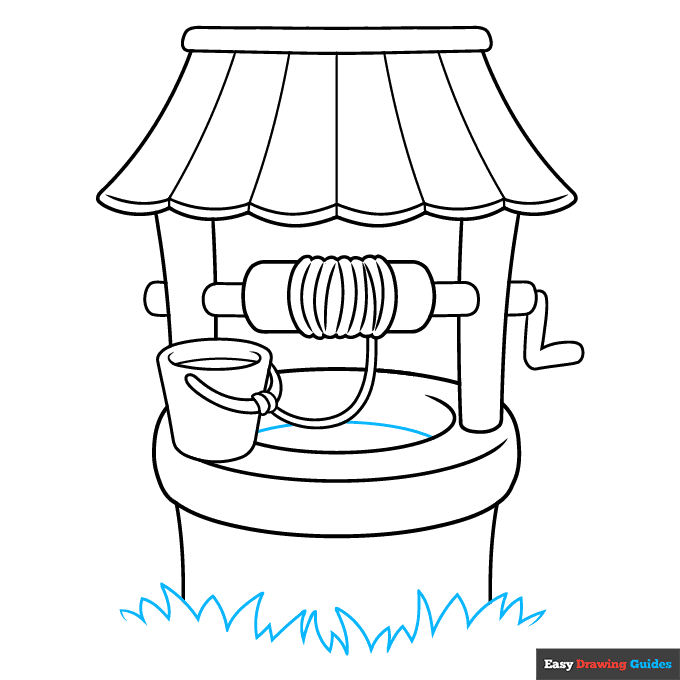
7. Draw a curve inside the well. For the grass, add loose, sketchy triangles on the bottom like you're drawing flames.
Add More Details to Your Well Picture - Step 8
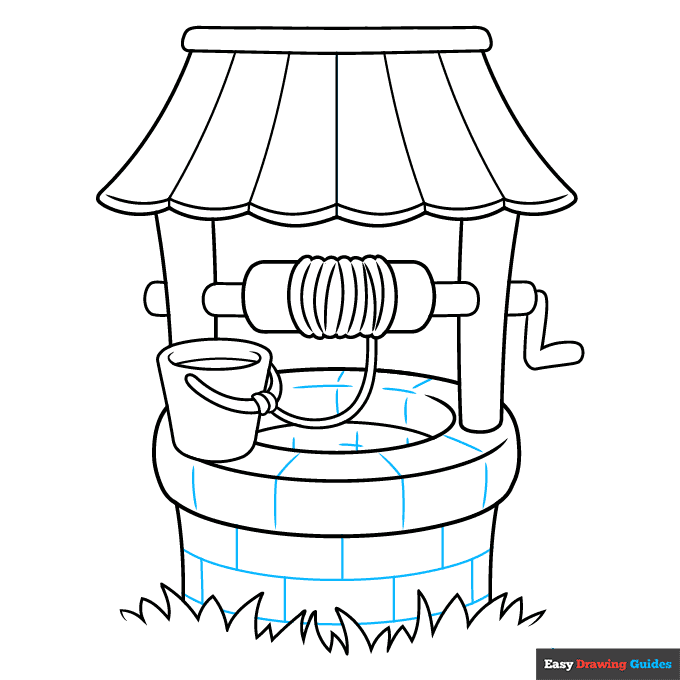
8. Add three more triangles on the right. Outline the bricks on the base by drawing two horizontal curves and small vertical lines. For the rest of the bricks, use a combination of curves and straight lines.
Complete the Outline of Your Well Drawing - Step 9
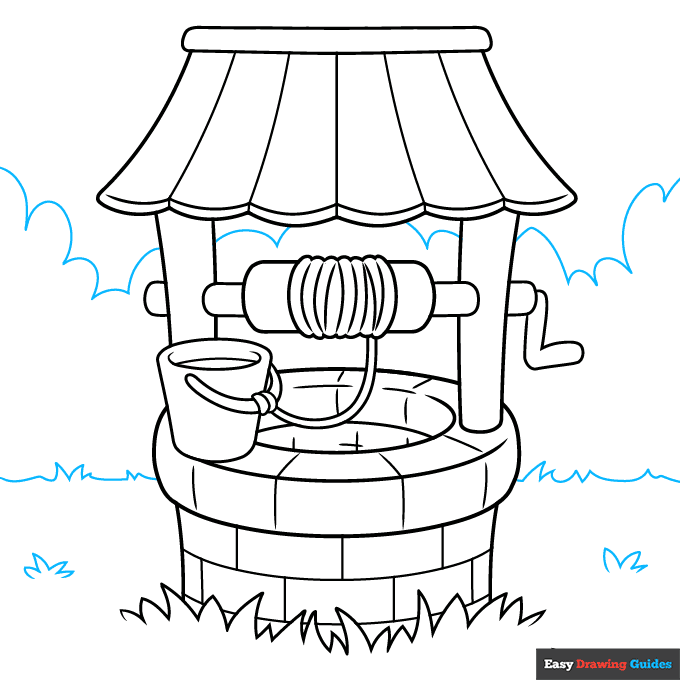
9. Draw more triangles on the ground, then sketch a scraggly line in the background and draw small, rounded hills on top.
Color Your Well Drawing
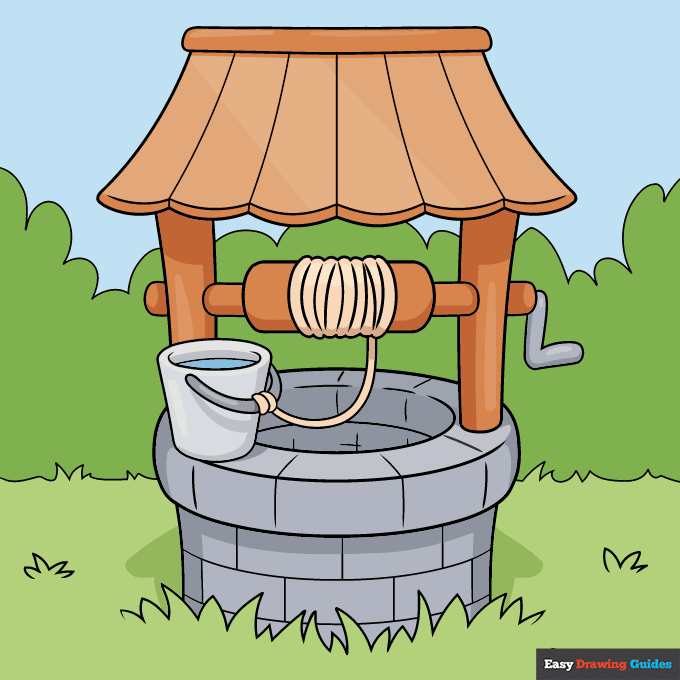
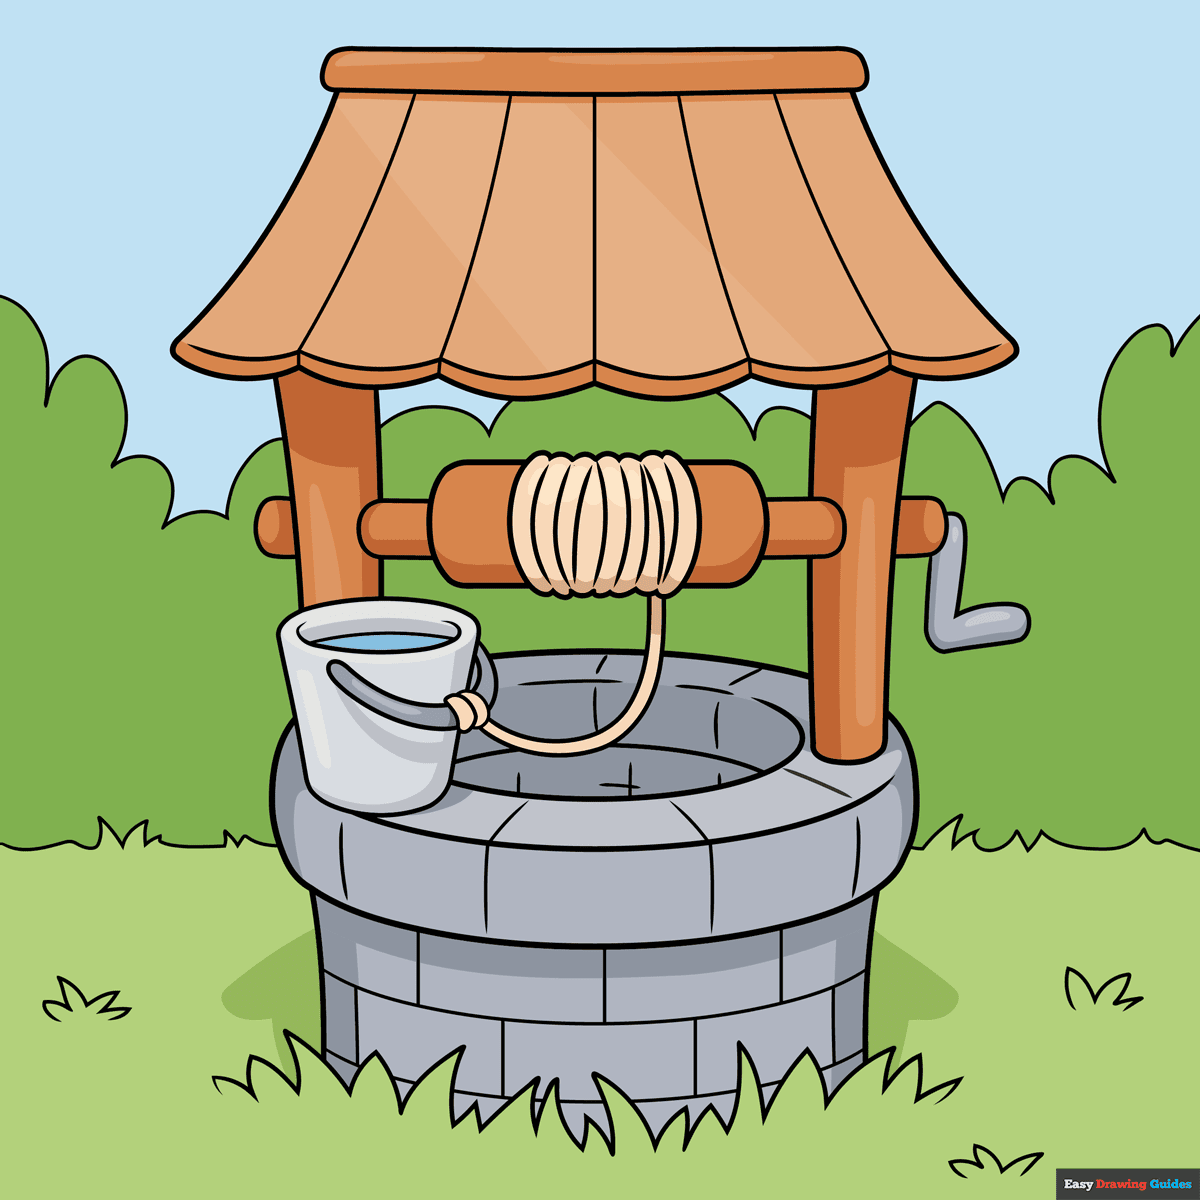
Color your easy well drawing with shades of brown. Make the bricks grey, then use tan for the rope and blue for the water in the bucket. Add light green for the grass, dark green for the shrubs and blue for the sky.
Watch 'How to Draw a Well' Video Tutorial
Learn More About The Well Drawing
Wells are structures that give your home quick access to groundwater. Learn how to draw a well with water in the bucket.
The private well in this guide is made out of bricks, but you won't have to draw each brick individually. Instead, you'll learn how to draw curves and dashes that outline all the bricks in a fraction of the time.
The roof is less detailed because it's made from a smooth material, such as wood or vinyl. However, you'll still need to add subtle highlights and shadows to make your well look three-dimensional. Look at the colored illustration for a guide.
Once you've mastered your well, learn how to draw a bird feeder or check out this step-by-step tree house drawing guide for more fun with outdoor structures.
Well Drawing Tutorial - Easy & Fun Printable Pages
Join now and get immediate access to thousands of printable drawing instruction and practice pages!
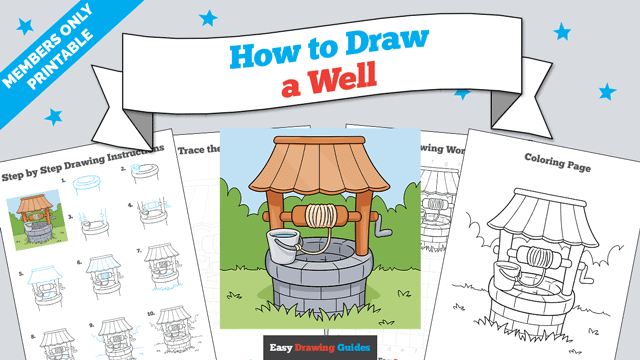
Learn how to get access to thousands of printable pages!

MEMBER TROUBLESHOOTING
Still seeing ads or not being able to download the PDF?
First, check that you're logged in. You can log in on the member login page.
If you're still not able to download the PDF, the likely solution is to reload the page.
You can do this by clicking the browser reload button.
It is a circular arrow-shaped icon at the top of the browser window, typically found in the upper-left side (you can also use keyboard shortcuts: Ctrl+R on PC and Command+R on Mac).