Learn how to draw a great looking Easy Realistic Spider with easy drawing instructions and video tutorial.
By following the simple steps, you too can easily draw a perfect Easy Realistic Spider.
Step-by-Step Instructions for Drawing an Easy Realistic Spider

How to Draw a Great Looking Easy Realistic Spider for Kids and Beginners - Step 1
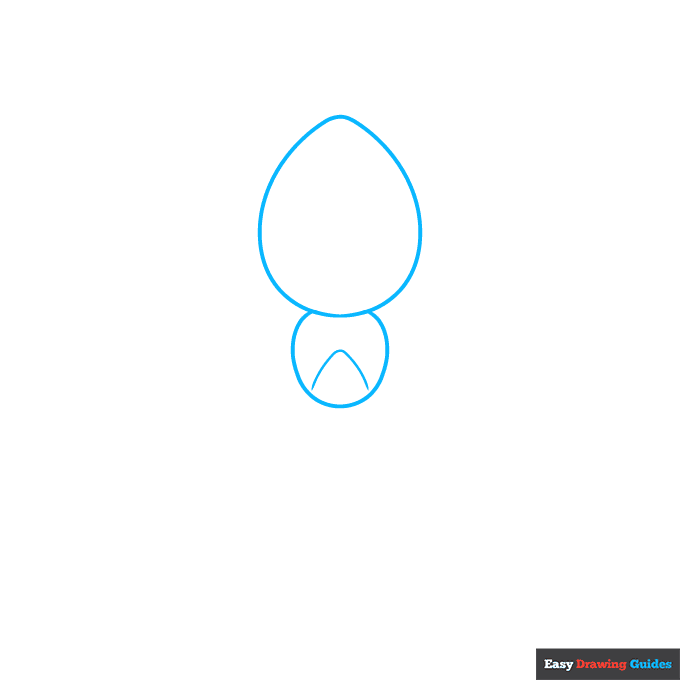
1. Begin the easy, realistic spider outline by drawing its two body segments - the larger egg-shaped abdomen and the rounded thorax. Draw a rounded "V" shaped line across the thorax.
Drawing Step 2
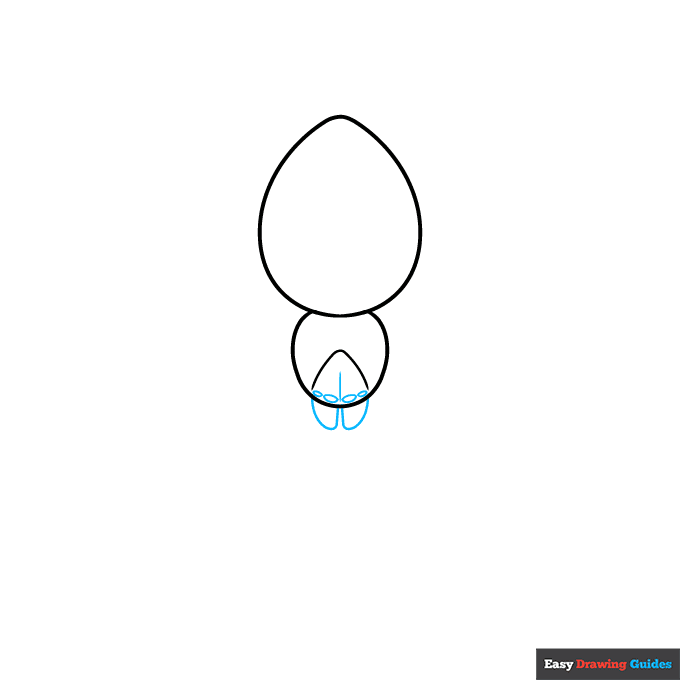
2. In the opening of the "V," draw four small half-circles. These are the spider's eyes. Draw a vertical line down the center of the "V." Below the eyes, enclose two rounded shapes.
These are the chelicerae or mouthparts.
Unlock AD FREE and PRINTABLE drawing and coloring tutorials
- 1,900+ drawing & coloring PDFs
- 50+ ebooks
- Ad-free website
Drawing Step 3
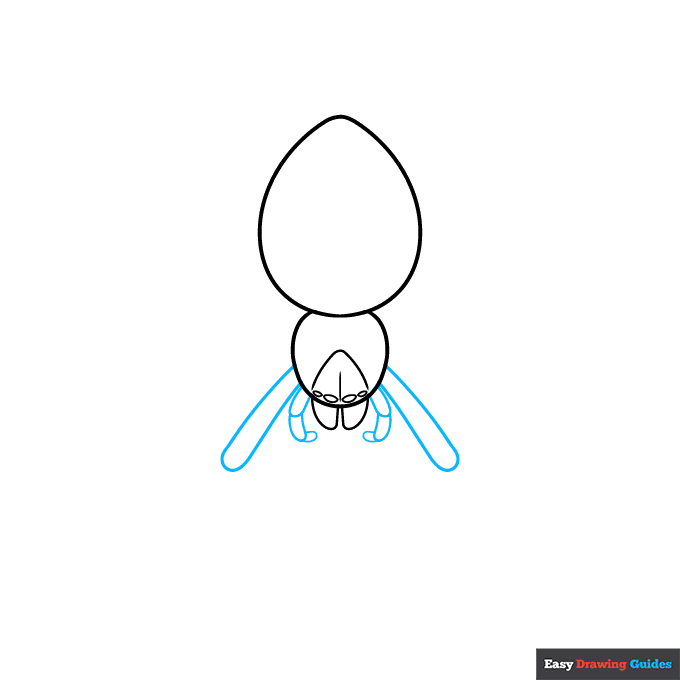
3. Draw the pedipalps or leg-like mouthparts next. Use curved lines to draw the three segments of each pedipalp. Then, extend long lines from beside the pedipalps and double them back on themselves.
These form the first segments of the spider's legs.
Drawing Step 4

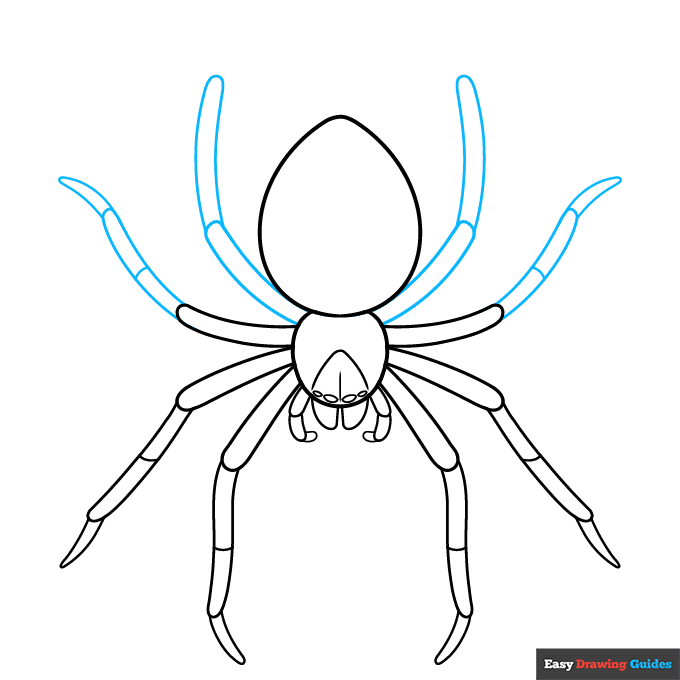
4. Use long curved lines, doubled back on themselves, to draw the next leg segments. Band them with short lines.
Then, extend and double back shorter lines for the final segments. Finally, extend curved lines above the first set of legs and double them back on themselves to begin the next set of legs.
Drawing Step 5

5. Use long curved lines, doubled back on themselves, to draw the next leg segments. Band them with short lines.
Then, extend and double back shorter lines for the final segments. Again, extend and double back another pair of lines for the first segments of the third pair of legs.
Drawing Step 6
6. Use long curved lines, doubled back on themselves, to draw the next leg segments. Band them with short lines. Then, extend and double back shorter lines for the final segments.
Then draw the first two segments of the final legs.
Drawing Step 7

7. Band the previous segments and draw the last. Then, use curved lines to begin drawing a pattern on the spider's back.
Add More Details to Your Easy Realistic Spider Picture - Step 8

8. Continue the pattern down the length of the abdomen.
Complete the Outline of Your Easy Realistic Spider Drawing - Step 9
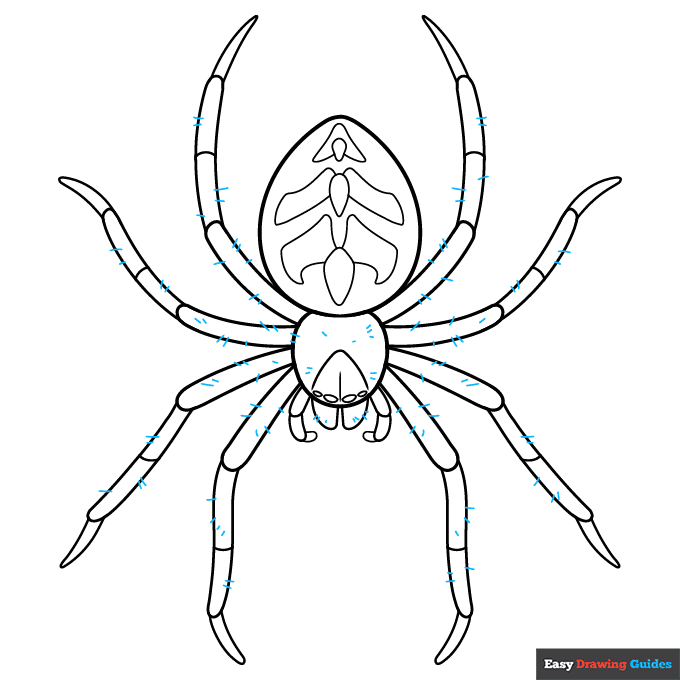
9. Draw small hairs, represented by short lines, all over the spider's legs and cephalothorax.
Color Your Easy Realistic Spider Drawing

Your easy, realistic spider outline is now complete. Color your spider. We've used shades of brown like the common house spider in our example, but different spider species come in as many colors as you could imagine.
Watch 'How to Draw an Easy Realistic Spider' Video Tutorial

Click HERE to save the tutorial to Pinterest!
Learn More About The Easy Realistic Spider Drawing
Would you like to explore the spider in all its glory? This easy, realistic spider drawing tutorial can help you do just that.
Many people are afraid of spiders, but others appreciate their beauty. Some even keep them as pets.
This drawing is representative of many spider species. You can clearly see the cephalothorax, abdomen, chelicerae, pedipalps, four eyes, and eight legs.
Did you know? Spiders can have anywhere from two to twelve eyes.
Since spiders come in many shapes, sizes, and patterns, you should learn to draw them all. Check out this realistic black widow spider drawing. Then learn how to draw this furry tarantula.
Easy Realistic Spider Drawing Tutorial - Easy & Fun Printable Pages
Join now and get immediate access to thousands of printable drawing instruction and practice pages!

Learn how to get access to thousands of printable pages!

MEMBER TROUBLESHOOTING
Still seeing ads or not being able to download the PDF?
First, check that you're logged in. You can log in on the member login page.
If you're still not able to download the PDF, the likely solution is to reload the page.
You can do this by clicking the browser reload button.
It is a circular arrow-shaped icon at the top of the browser window, typically found in the upper-left side (you can also use keyboard shortcuts: Ctrl+R on PC and Command+R on Mac).