Learn how to draw a great looking Parts of a Book for Kids with easy drawing instructions and video tutorial.
By following the simple steps, you too can easily draw a perfect Parts of a Book for Kids.
Step-by-Step Instructions for Drawing Parts of a Book for Kids

How to Draw a Great Looking Parts of a Book for Kids for Kids and Beginners - Step 1
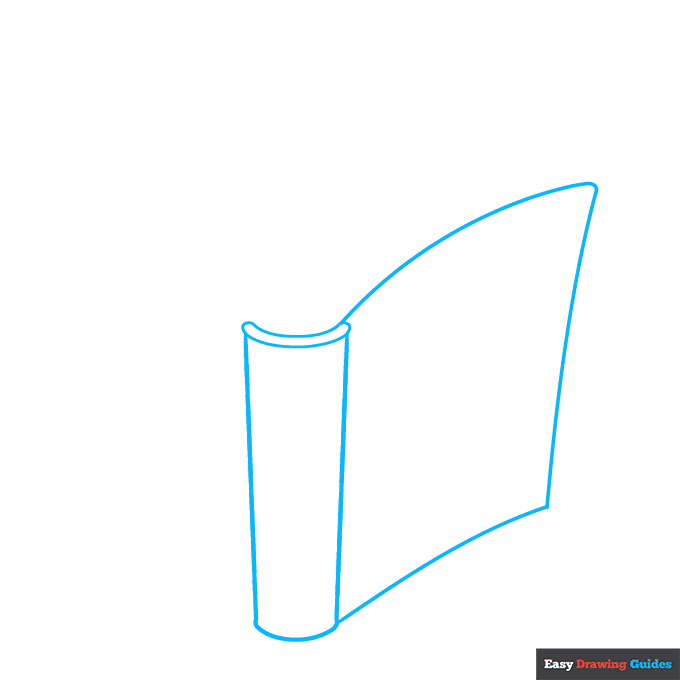
1. Begin the parts of a book for kids outline by drawing the spine of the book. Use two straight lines and two shorter curved lines to create a rectangle shape. Then enclose a "C" shape on top.
From the spine, extend two long curved lines and connect them with a line, forming the rectangular front cover.
Drawing Step 2
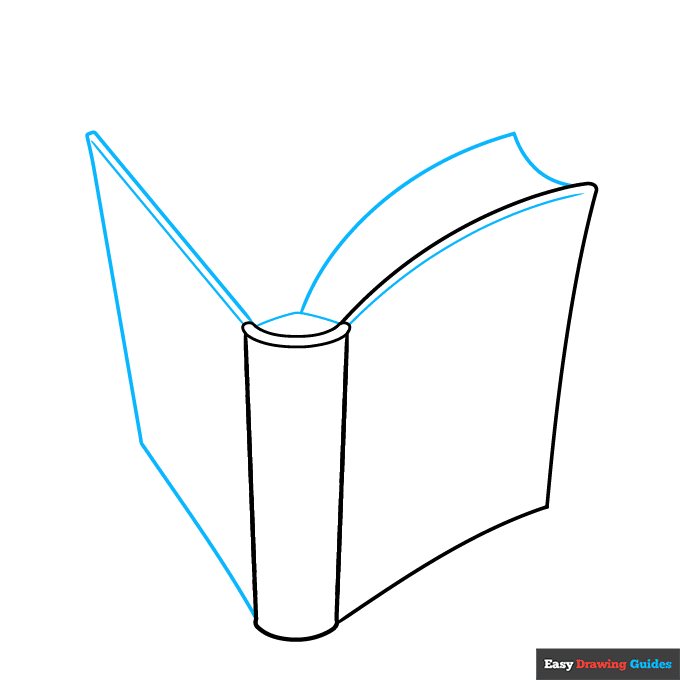
2. Extend two long lines from the opposite side of the spine and connect them with a third line, enclosing the rectangular back of the book.
Draw a line parallel to the top of each cover. Use a curved line to enclose a triangular shape above the spine.
From it, extend a long curved line and connect it to the front cover with a shorter line. These are the pages.
Unlock AD FREE and PRINTABLE drawing and coloring tutorials
- 1,900+ drawing & coloring PDFs
- 50+ ebooks
- Ad-free website
Drawing Step 3
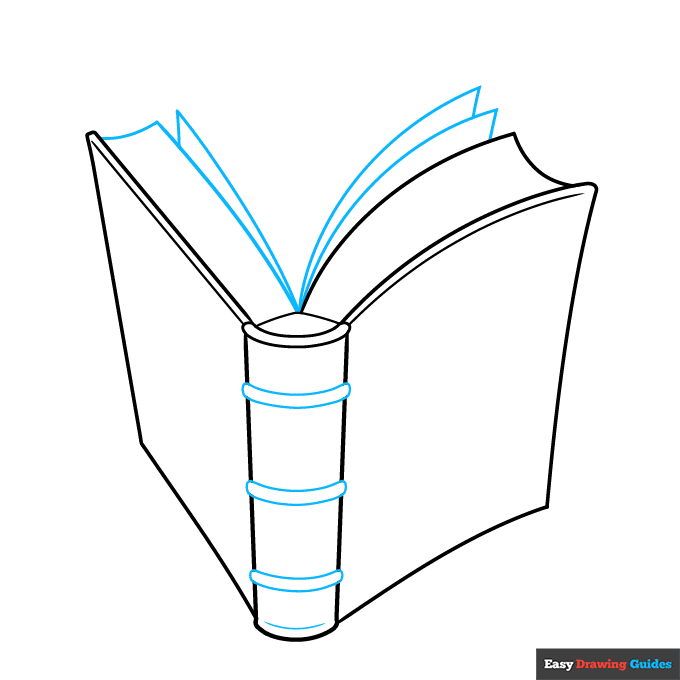
3. Use long and short curved lines to enclose the rectangular block of pages at the back of the book.
Then, use pairs of lines that meet at points to enclose individual pages. Draw several curved, rounded rectangles across the spine of the book, erasing as necessary.
Drawing Step 4
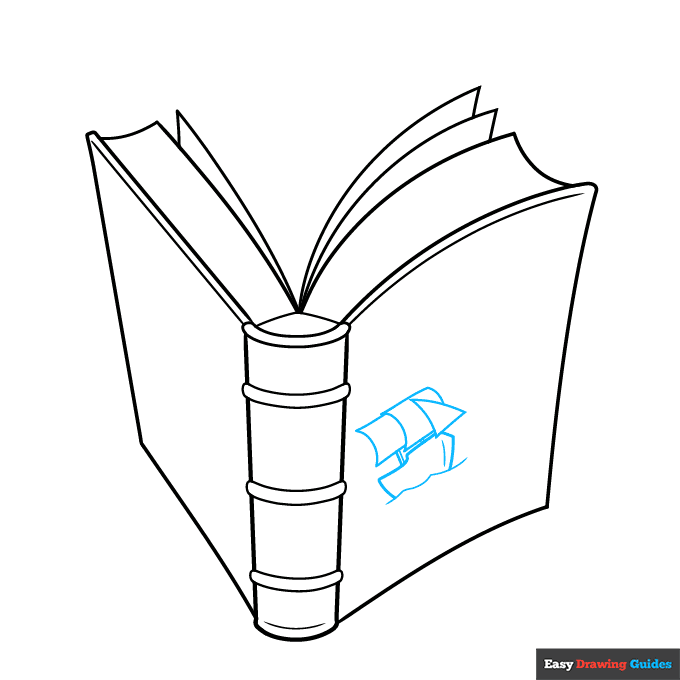
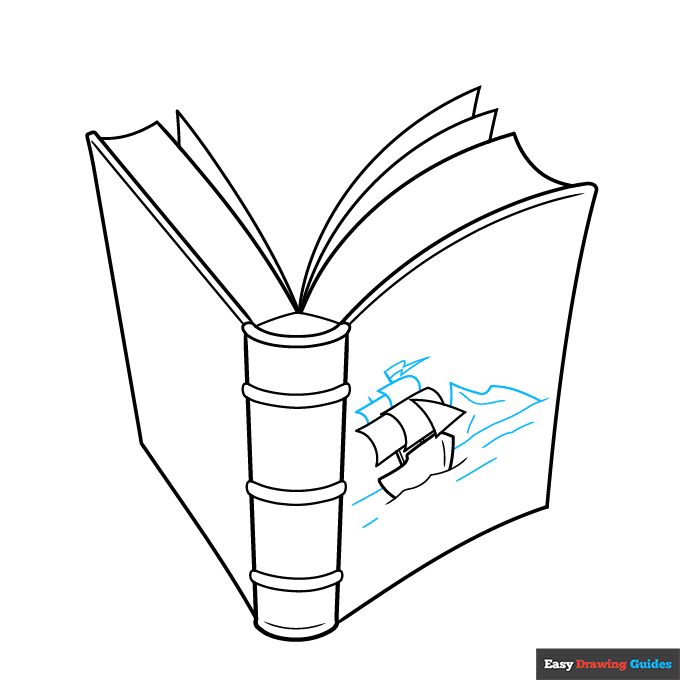
4. Draw a ship on the front of the book. Use curved lines for the water, the hull of the ship, and its rectangular and triangular sails. Use straight lines for the mast.
Drawing Step 5
5. Finish the ship, using curved lines to enclose the upper sails and pennant. Then use curved lines for the horizon, waves on the water, and a mountain in the distance.
Drawing Step 6
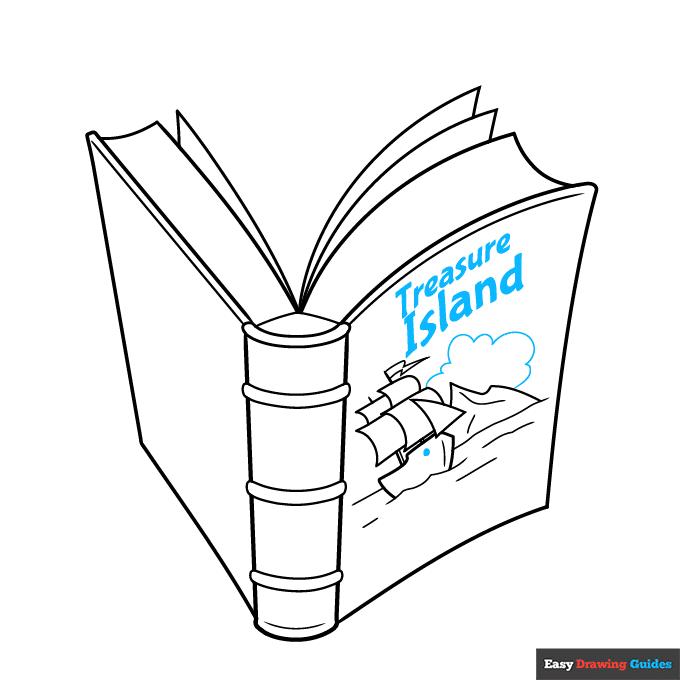
6. Shade a small circle on the ship and outline a cloud in the sky. Write the words "Treasure Island" in bold letters on the front of the book.
Drawing Step 7
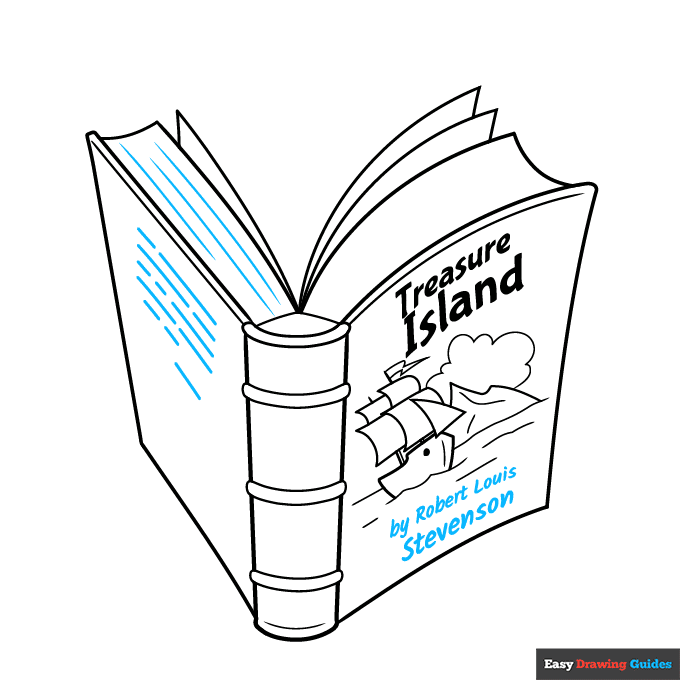
7. Write "by Robert Louis Stevenson" on the bottom of the cover. Texture the pages with lines, and use lines to indicate the text on the back of the book.
Add More Details to Your Parts of a Book for Kids Picture - Step 8
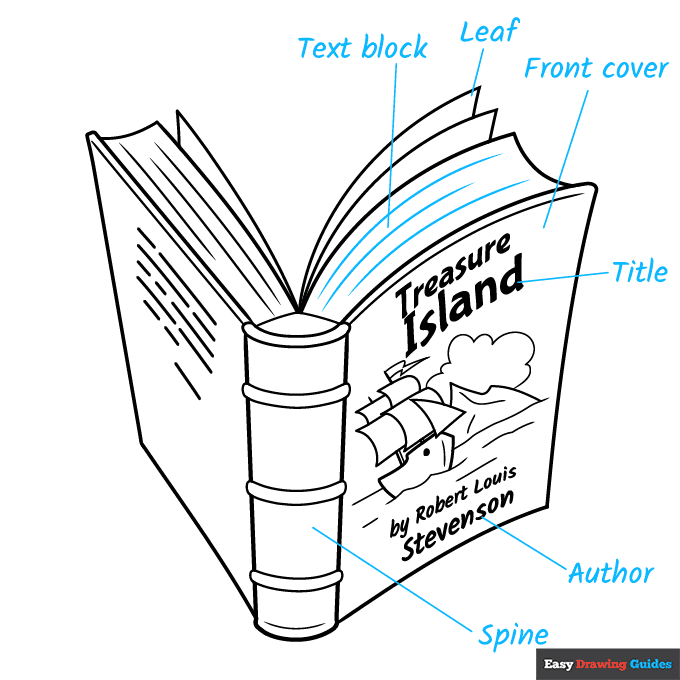
8. Texture the front pages with lines. Then begin labeling the parts. Working clockwise, label the text block, leaf, front cover, title, author, and spine. Draw straight lines from each term to its respective part.
Complete the Outline of Your Parts of a Book for Kids Drawing - Step 9

9. Continue labeling the joint, tailband, raised bands, headband, blurb, back cover, and gutter, drawing lines to each.
Color Your Parts of a Book for Kids Drawing
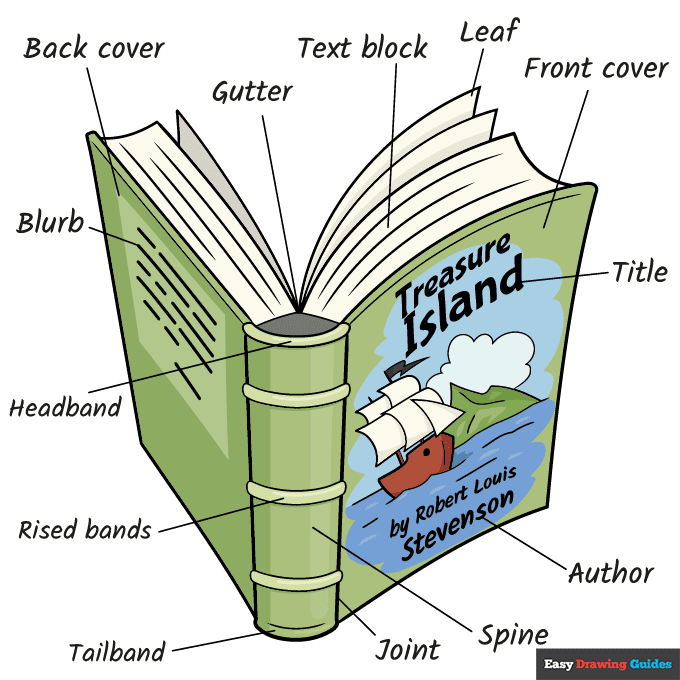
Your parts of a book for kids diagram is now complete. Color your drawing. Sometimes, old books had print in just one color on the covers, like an outline. More modern books are full-color.
Watch 'How to Draw Parts of a Book for Kids' Video Tutorial
Click HERE to save the tutorial to Pinterest!
Learn More About The Parts of a Book for Kids Drawing
Reading Rainbow encourage kids to "take a look, it's in a book." But what's in a book? Find out as you learn how to draw parts of a book for kids.
The cover gives you a clue as to what the story is about. This book is Treasure Island by Robert Louis Stevenson.
Its cover has an island drawing in the middle of the ocean with a sailing ship nearby.
What would this book look like from the other side? The world can be an open book to you when you learn how to draw an open book.
Parts of a Book for Kids Drawing Tutorial - Easy & Fun Printable Pages
Join now and get immediate access to thousands of printable drawing instruction and practice pages!
Learn how to get access to thousands of printable pages!

MEMBER TROUBLESHOOTING
Still seeing ads or not being able to download the PDF?
First, check that you're logged in. You can log in on the member login page.
If you're still not able to download the PDF, the likely solution is to reload the page.
You can do this by clicking the browser reload button.
It is a circular arrow-shaped icon at the top of the browser window, typically found in the upper-left side (you can also use keyboard shortcuts: Ctrl+R on PC and Command+R on Mac).