Learn how to draw a great looking Parts of a Shoe for Kids with easy drawing instructions and video tutorial.
By following the simple steps, you too can easily draw a perfect Parts of a Shoe for Kids.
Step-by-Step Instructions for Drawing Parts of a Shoe for Kids
How to Draw a Great Looking Parts of a Shoe for Kids for Kids and Beginners - Step 1
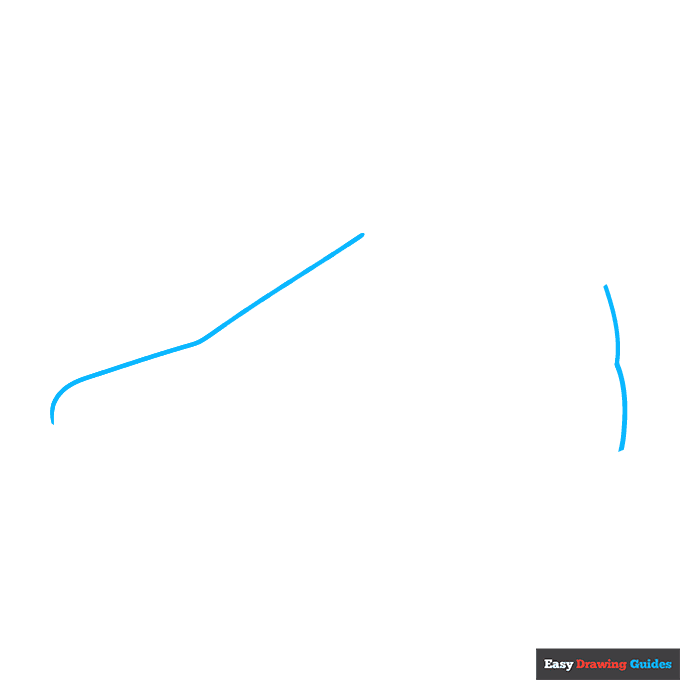
1. Begin the parts of a shoe for kids outline by drawing two curved lines. These trace the top and back of the shoe.
Drawing Step 2
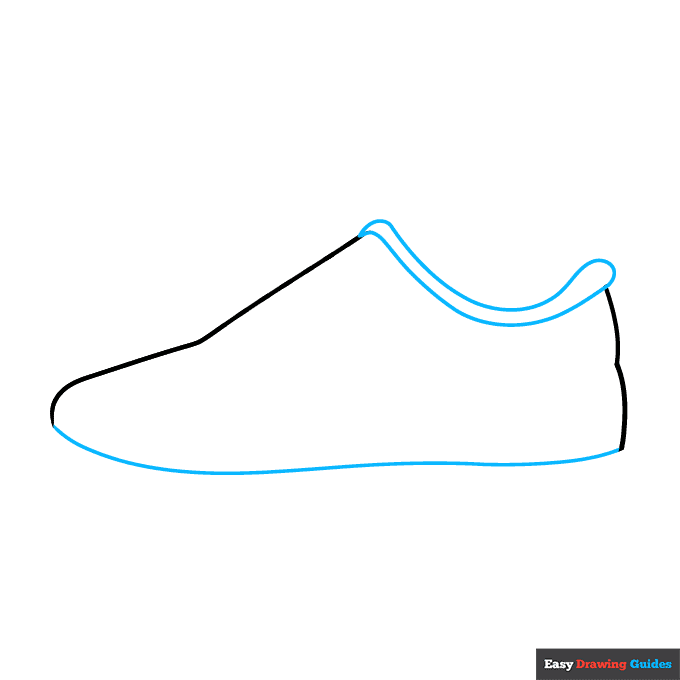
2. Draw a curved line between the previous lines, and double it back on itself to enclose the collar. at the bottom, draw a long curved line between the previous lines.
Unlock AD FREE and PRINTABLE drawing and coloring tutorials
- 1,900+ drawing & coloring PDFs
- 50+ ebooks
- Ad-free website
Drawing Step 3
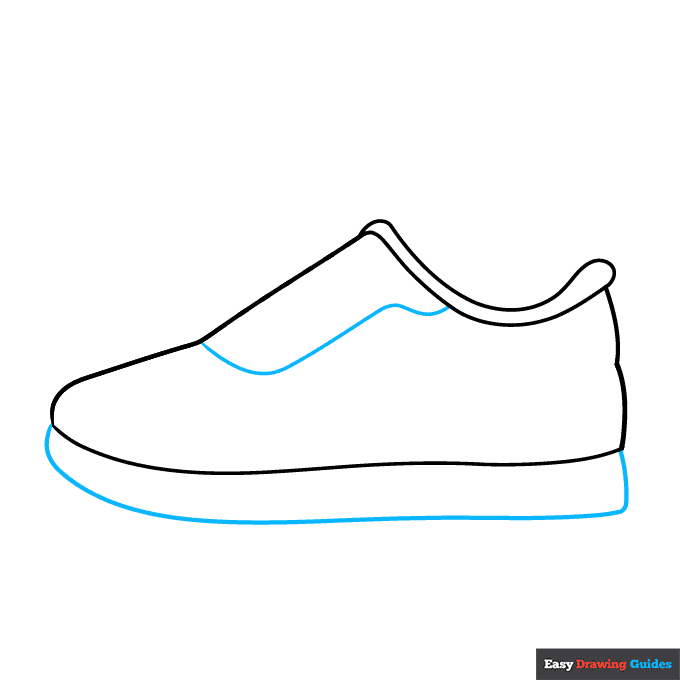
3. Draw another long curved line from the front to the back of the shoe, enclosing the sole. Draw another line from the top of the shoe to the collar. This area is called the eyestay.
Drawing Step 4
4. Enclose several curved rectangles across the top of the eyestay, erasing as necessary.
These are the laces. Shade a small oval at the end of each lace. These are the eyelets, holes that the laces are woven through.
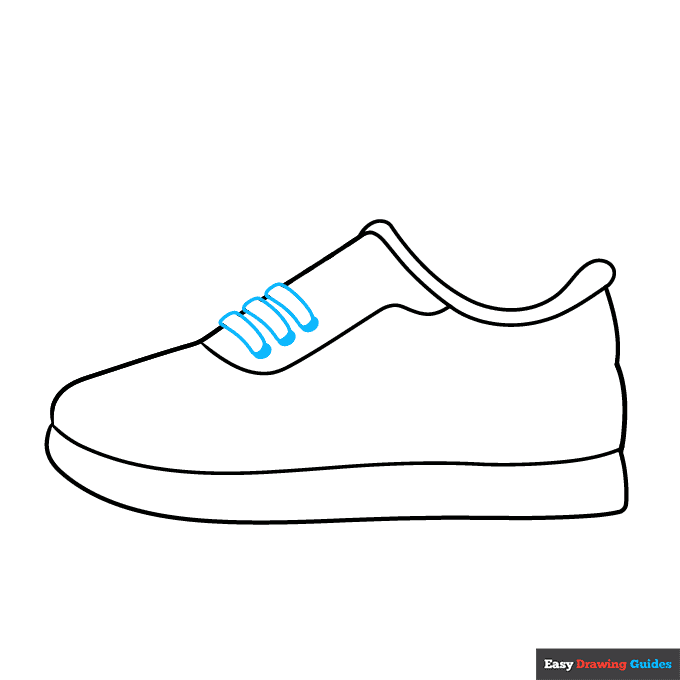
Drawing Step 5
5. Draw more curved rectangular laces, and shade their oval-shaped eyelets.
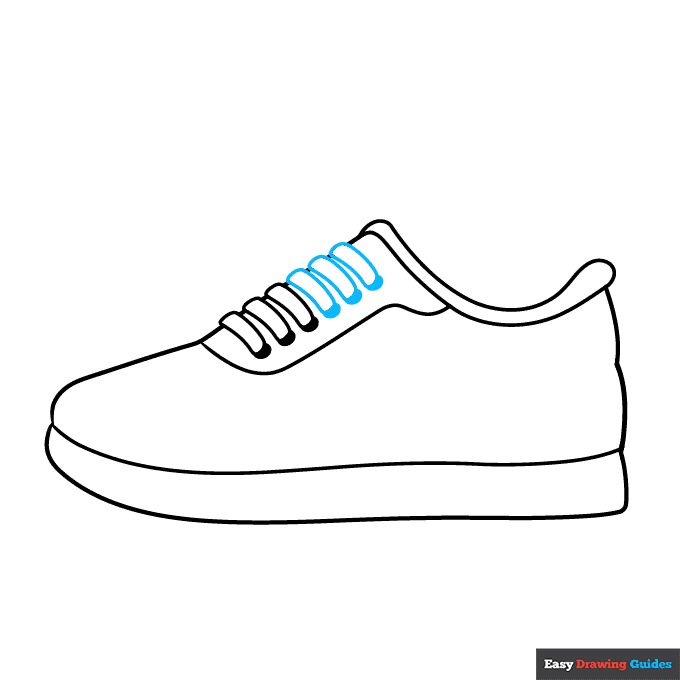
Drawing Step 6
6. Extend a curved line from the laces above the edge of the collar, then double it back to meet the collar.
This is the tongue of the shoe. Then draw curved lines across the heel and from the eyestay to the sole.
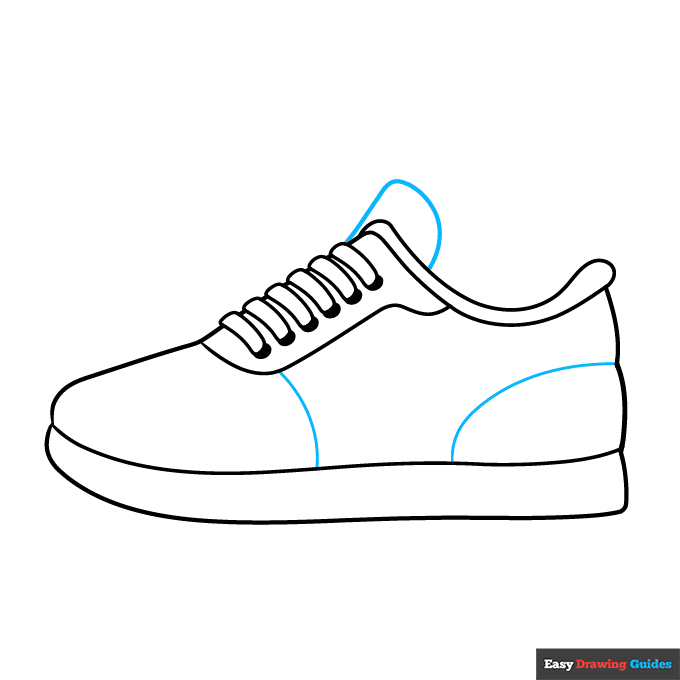
Drawing Step 7
7. Draw curved lines across the tongue, the front of the shoe, and between the heel counter, eyestay, and collar.
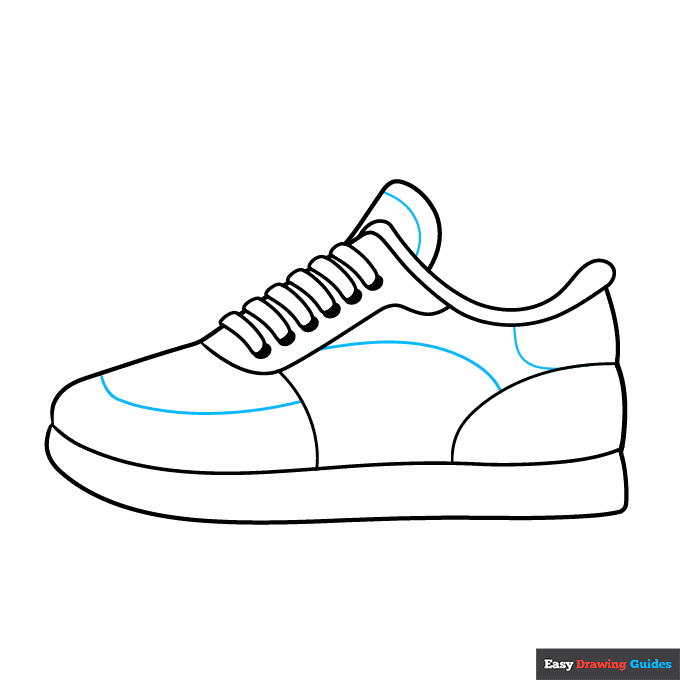
Add More Details to Your Parts of a Shoe for Kids Picture - Step 8

8. Draw a curved line across the sole, parallel to the bottom of the shoe. Then begin labeling the parts of the shoe.
Working clockwise, label the toe cap, toe vamp, laces, and eyestay. Draw straight lines between each term and the part it describes.
Complete the Outline of Your Parts of a Shoe for Kids Drawing - Step 9
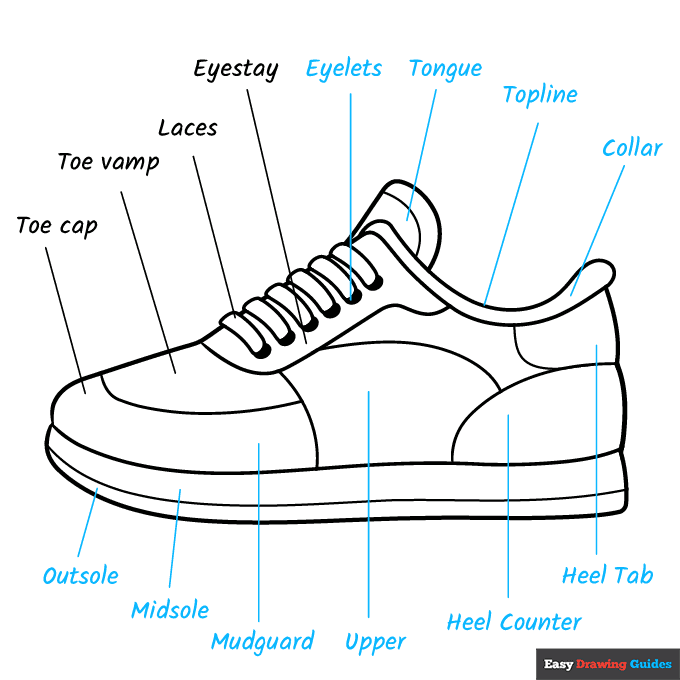
9. Continue labeling the shoe.
Working clockwise, label the eyelets, tongue, topline, collar, heel tab, heel counter, upper, mudguard, midsole, and outsole. Draw straight lines between the words and their respective parts.
Color Your Parts of a Shoe for Kids Drawing
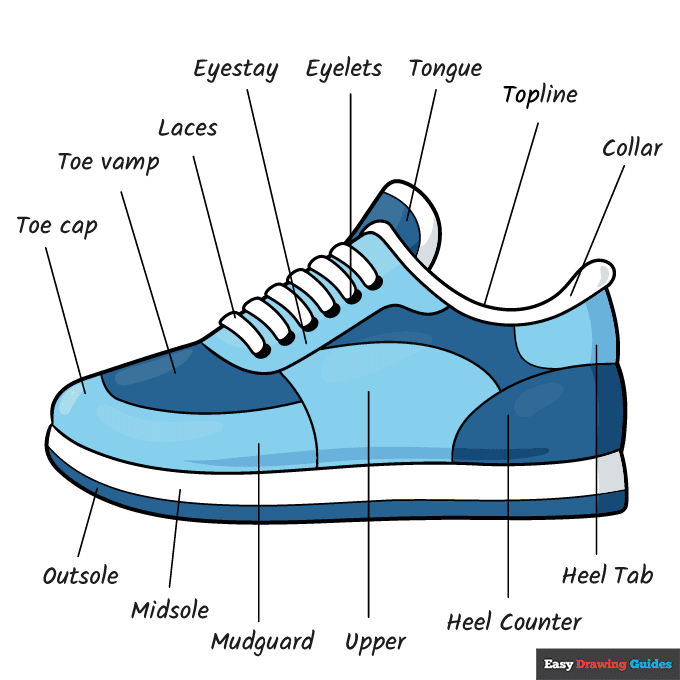
Your parts of a shoe for kids outline is now complete. Color your shoe. You can make it match your favorite outline or design the sneaker of your dreams.
Watch 'How to Draw Parts of a Shoe for Kids' Video Tutorial
Click HERE to save the tutorial to Pinterest!
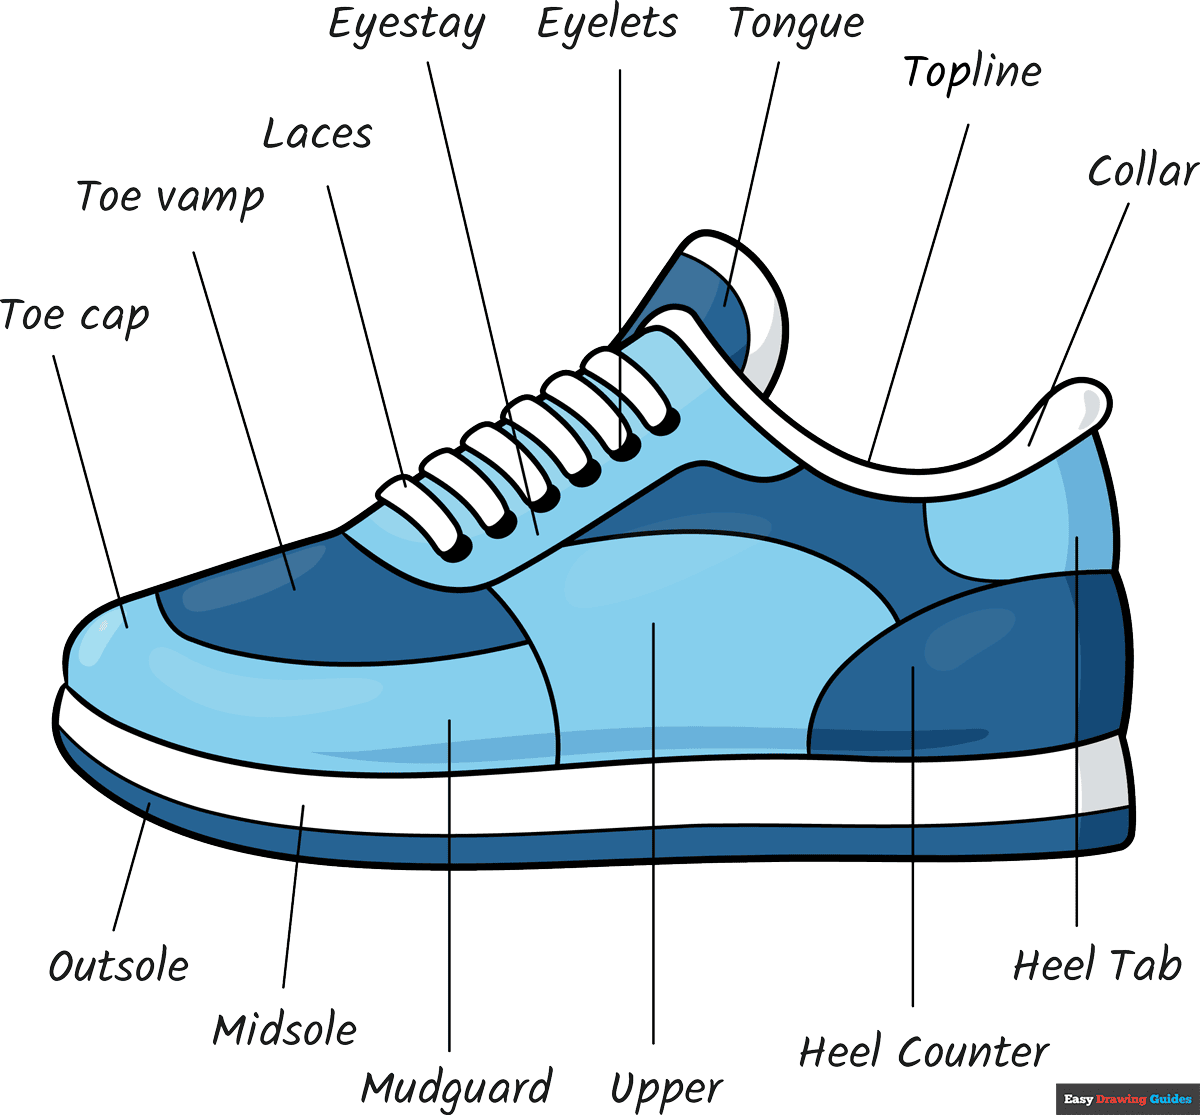
Learn More About The Parts of a Shoe for Kids Drawing
Are you a sneakerhead? Take a deep dive into the world of collectors, cobblers, and cordwainers when you learn how to draw parts of a shoe for kids.
Did you know that each part of your shoe has a name? Maybe you're familiar with a few of them, like the laces, soles, and tongue.
This diagram uses a classic tennis shoe, but could you label the parts on a different type of shoe? Create an Air Jordans drawing, a Converse drawing, or an army boots drawing and try it out.
You could also embellish this shoe to make it really cool. For example, you could add a Nike swoosh drawing or creative patterns.
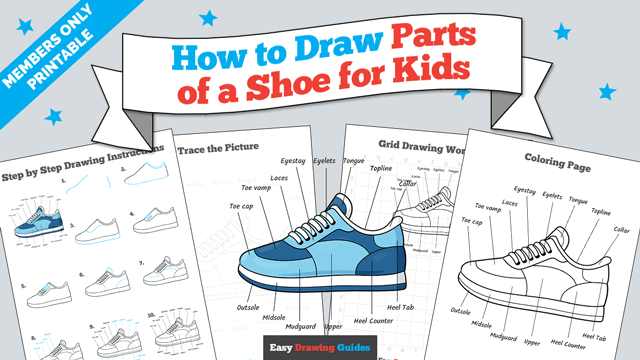
Parts of a Shoe for Kids Drawing Tutorial - Easy & Fun Printable Pages
Join now and get immediate access to thousands of printable drawing instruction and practice pages!
Learn how to get access to thousands of printable pages!

MEMBER TROUBLESHOOTING
Still seeing ads or not being able to download the PDF?
First, check that you're logged in. You can log in on the member login page.
If you're still not able to download the PDF, the likely solution is to reload the page.
You can do this by clicking the browser reload button.
It is a circular arrow-shaped icon at the top of the browser window, typically found in the upper-left side (you can also use keyboard shortcuts: Ctrl+R on PC and Command+R on Mac).