Learn how to draw a great looking Parts of a Tree with easy drawing instructions and video tutorial.
By following the simple steps, you too can easily draw a perfect Parts of a Tree.
Step-by-Step Instructions for Drawing Parts of a Tree
How to Draw a Great Looking Parts of a Tree for Kids and Beginners - Step 1
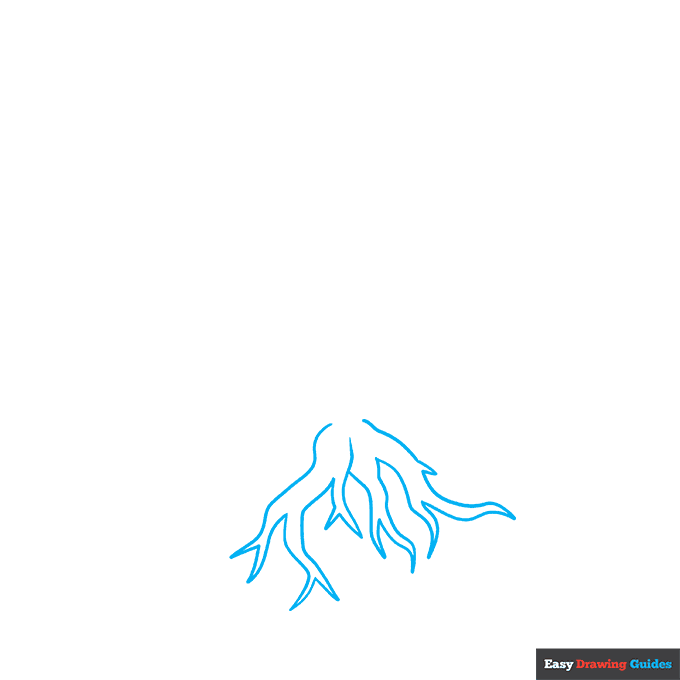
1. Begin the parts of a tree outline by drawing the roots. Use curved lines that branch like the letter "Y" and meet at sharp points.
Drawing Step 2
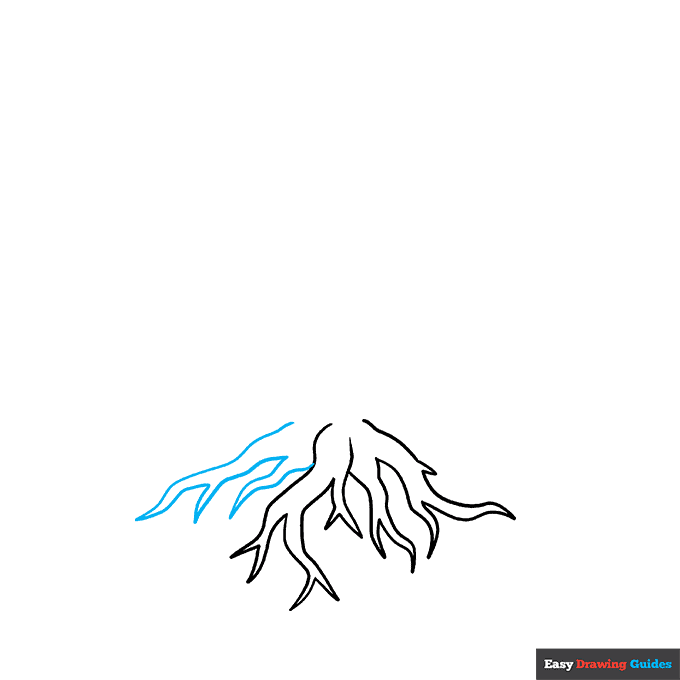
2. Draw more roots. Continue to use branching curved lines that meet at sharp points.
Unlock AD FREE and PRINTABLE drawing and coloring tutorials
- 1,900+ drawing & coloring PDFs
- 50+ ebooks
- Ad-free website
Drawing Step 3

3. From the roots, extend a pair of wavy lines upward. These form the sides of the trunk. Then, bend the lines backward and double them back on themselves at sharp angles. these are the lower branches of the tree.
Drawing Step 4

4. Continue drawing branches. Much like the roots, use curved lines that branch and meet at sharp points.
Then, enclose the crown of the tree around the branches. Use curved lines and "V" shaped lines to give the round shape a leafy texture.
Drawing Step 5

5. Draw a few leaves on the tips of branches. For each, enclose a teardrop shape, with a short curved line for the leaf vein and stem.
Drawing Step 6
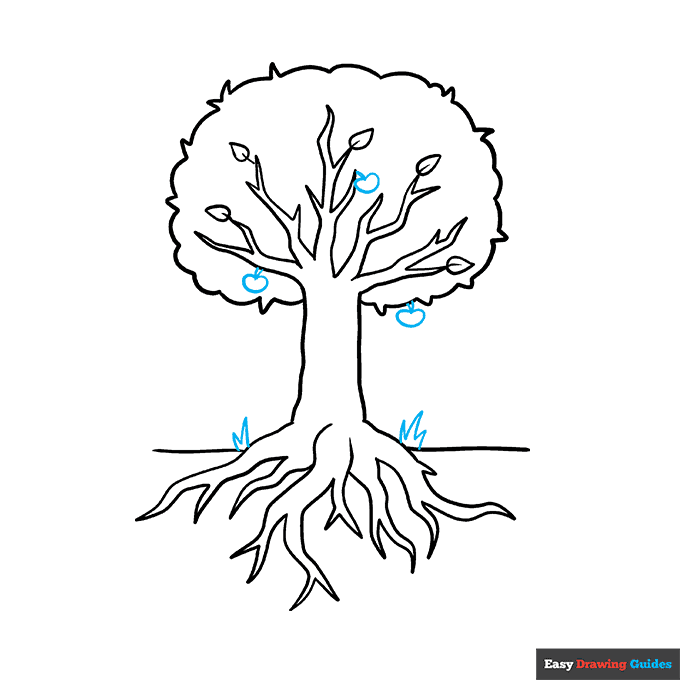
6. Draw fruits hanging from the tree. Use rounded heart shapes for the fruit and short lines for the stem. Add the detail of grass at the base of the tree. Use curved lines that meet at jagged points.
Drawing Step 7
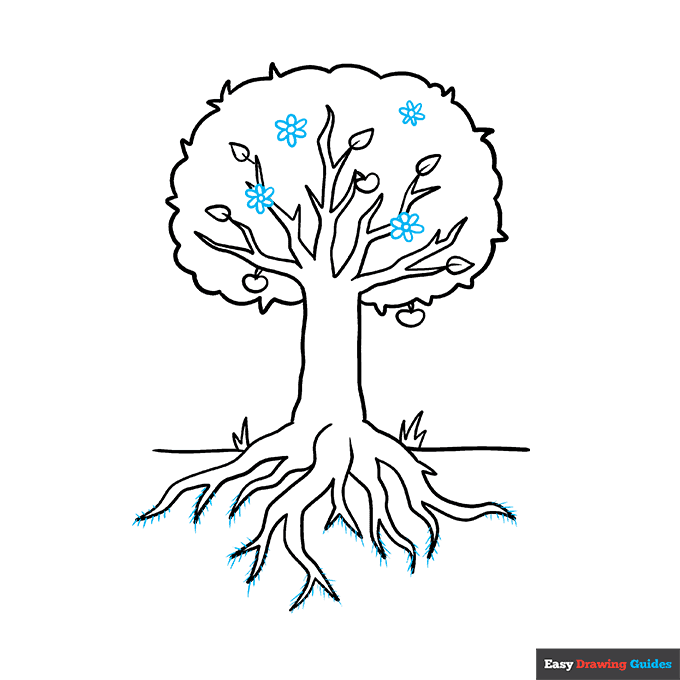
7. Draw blooms on the tree, erasing as necessary. For each flower, use a small circle for the center.
Then, enclose six "U" shaped petals around it. Then draw the root hairs, extending short curved lines from the roots.
Add More Details to Your Parts of a Tree Picture - Step 8
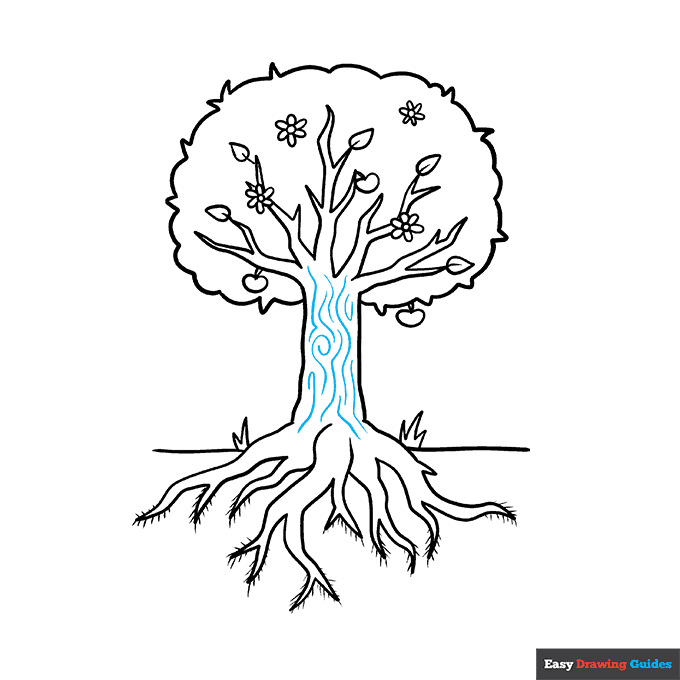
8. Texture the bark on the tree's trunk. Use spiral-shaped lines and wavy curved lines.
Complete the Outline of Your Parts of a Tree Drawing - Step 9

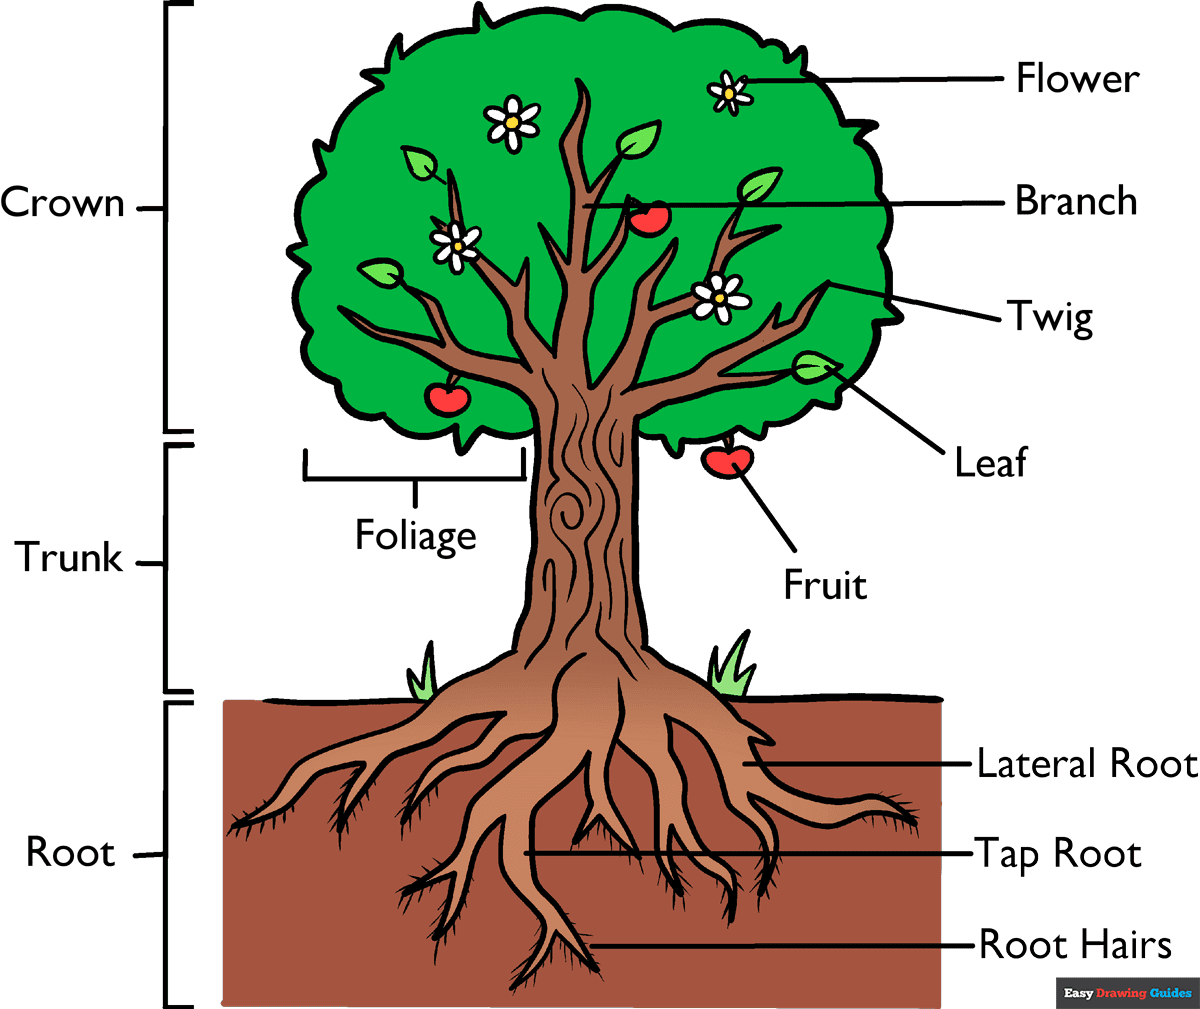
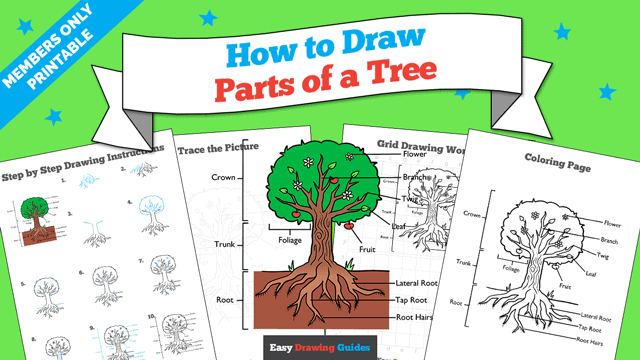
9. Label the parts of the tree. Use brackets to indicate the scope of the foliage, crown, trunk, and root.
Then, label the flower, branch, twig, leaf, fruit, lateral root, tap root, and root hairs. Draw a straight line from each vocabulary word to the part it describes.
Color Your Parts of a Tree Drawing
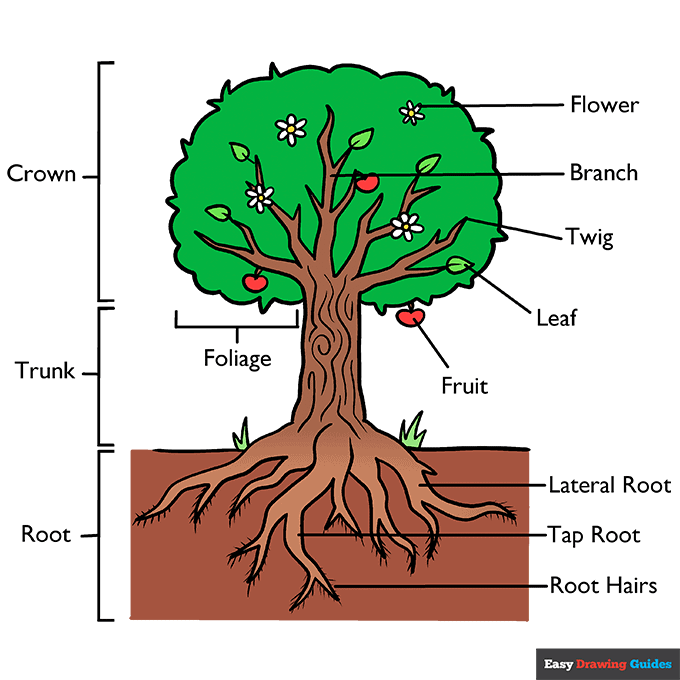
Your cartoon parts of a tree outline is now complete. Color your diagram. Most trees have a green leafy canopy and brown or greyish trunks.
Watch 'How to Draw Parts of a Tree' Video Tutorial
Learn More About The Parts of a Tree Drawing
Trees are amazing. They provide so much for us, including oxygen, food, and wood. Learn about our friends - the trees as you learn how to draw the parts of a tree.
The tree in this diagram is an apple tree drawing; you can see both the flowers and the fruit. The diagram even allows you to see what's going on under the ground.
Apple trees are deciduous, meaning they lose their leaves in the fall. But evergreen trees with needles have the same parts. Could you draw a spruce tree and label its parts as in this diagram?
Of course, there is so much more to learn about plants. For instance, you can compare the parts of a massive tree to those of a much smaller plant, like a rose bush. Check out this parts of a rose plant drawing.
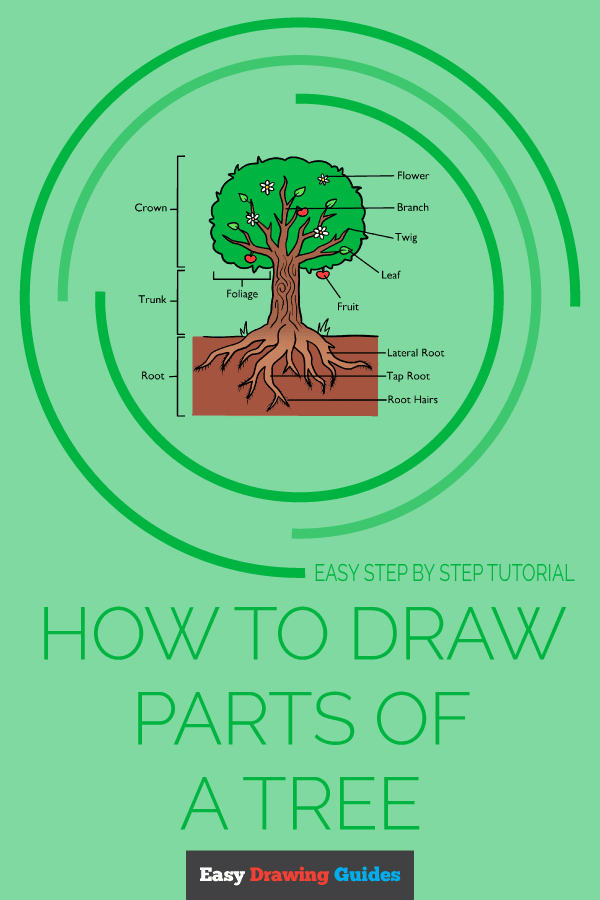
Parts of a Tree Drawing Tutorial - Easy & Fun Printable Pages
Join now and get immediate access to thousands of printable drawing instruction and practice pages!
Learn how to get access to thousands of printable pages!

MEMBER TROUBLESHOOTING
Still seeing ads or not being able to download the PDF?
First, check that you're logged in. You can log in on the member login page.
If you're still not able to download the PDF, the likely solution is to reload the page.
You can do this by clicking the browser reload button.
It is a circular arrow-shaped icon at the top of the browser window, typically found in the upper-left side (you can also use keyboard shortcuts: Ctrl+R on PC and Command+R on Mac).