Learn how to draw a great looking Parts of the Arm and Hand for Kids with easy drawing instructions and video tutorial.
By following the simple steps, you too can easily draw a perfect Parts of the Arm and Hand for Kids.
Step-by-Step Instructions for Drawing Parts of the Arm and Hand for Kids

How to Draw a Great Looking Parts of the Arm and Hand for Kids for Kids and Beginners - Step 1
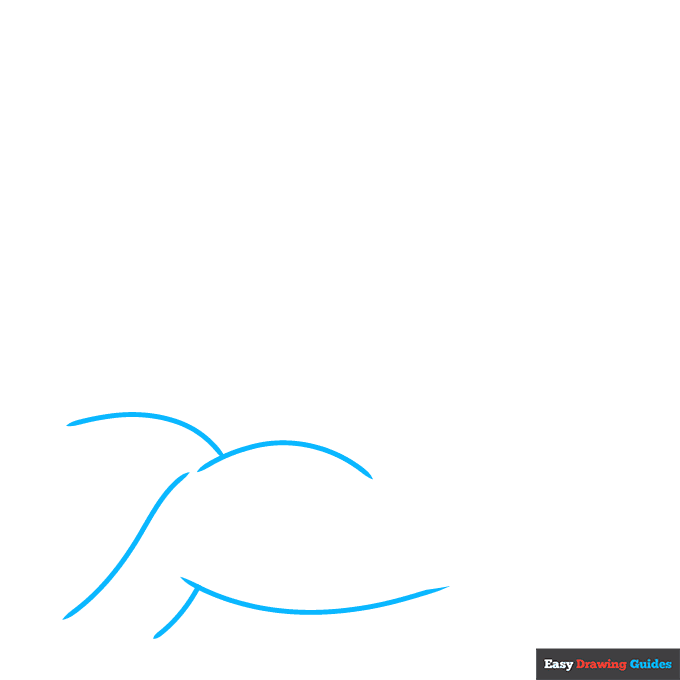
1. Begin the parts of the arm and hand for kids outline by drawing the muscles of the shoulder and biceps. Use overlapping curved lines to craft the muscles.
Drawing Step 2
2. Continue the lower line to form the elbow, side of the lower arm, and side of the hand.
Extend another curved line from the bicep to form the opposite side of the arm. Contour the muscle with a curved line.
Unlock AD FREE and PRINTABLE drawing and coloring tutorials
- 1,900+ drawing & coloring PDFs
- 50+ ebooks
- Ad-free website
Drawing Step 3

3. Use curved lines that double back on themselves to draw the thumb and fingers. Then draw a curved line across the top of the palm, below the fingers.
Drawing Step 4

4. Draw the last two fingers using curved lines that double back on themselves. Then contour the palm and arm muscles with curved lines.
Drawing Step 5

5. Contour the elbow, wrist, and knuckles of the fingers with short lines.
Then, begin drawing another hand above the shoulder. Use curved lines that double back on themselves to form the finger and thumb.
Drawing Step 6
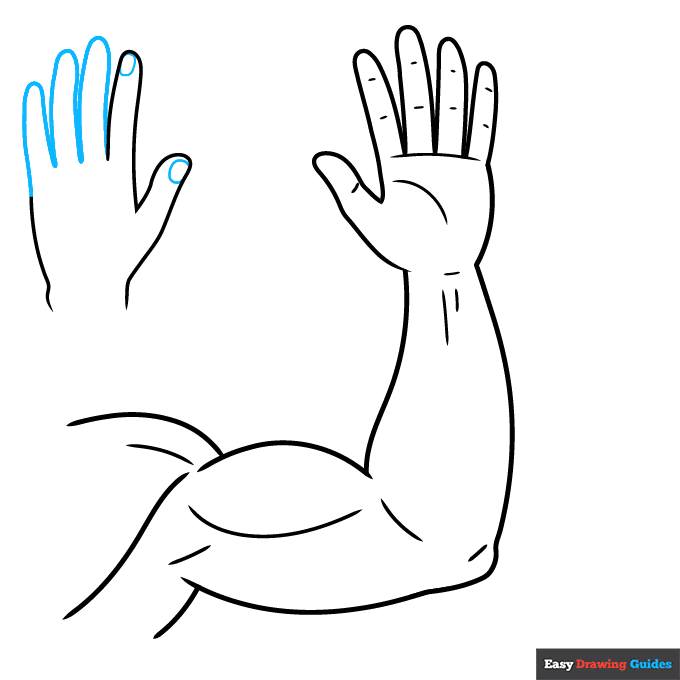
6. Finish drawing the fingers using curved lines that double back on themselves. Enclose rounded fingernails at the tips of the thumb and finger. Unlike the other hand, this one is viewed from the back.
Drawing Step 7

7. Finish drawing the fingernails at the tips of the fingers. Contour the knuckles and the back the hand with short lines. Label the shoulder, and draw a straight line from the term to the shoulder muscle.
Add More Details to Your Parts of the Arm and Hand for Kids Picture - Step 8

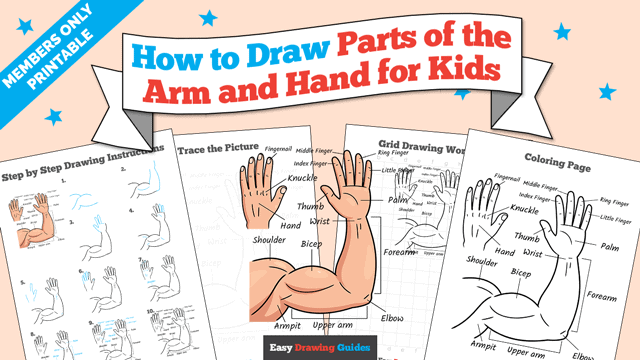
8. Working clockwise, label the bicep, wrist, palm, forearm, elbow, upper arm, and armpit. For the forearm and upper arm, use brackets to point out the entire part.
Complete the Outline of Your Parts of the Arm and Hand for Kids Drawing - Step 9
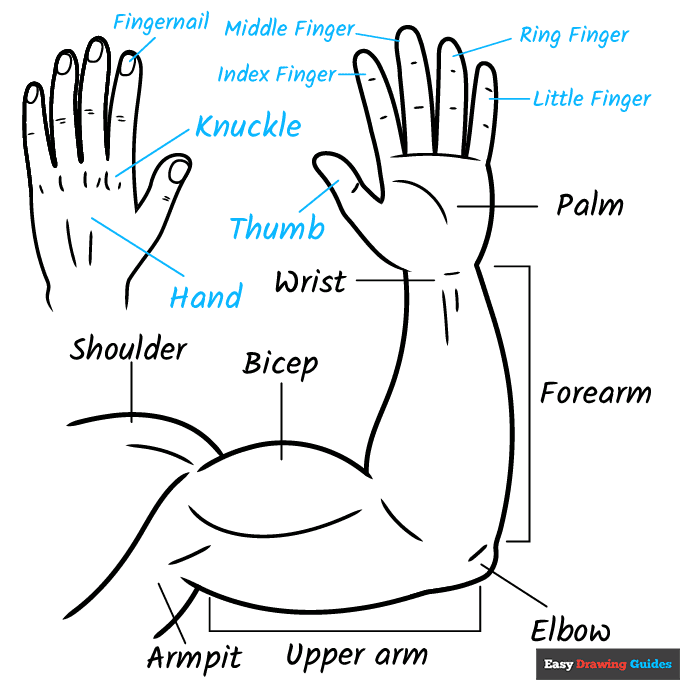
9. Work counterclockwise around and between the hands, labeling the little finger, ring finger, middle finger, index finger, fingernail, knuck, thumb, and hand.
Draw straight lines between the vocabulary terms and the parts they describe.
Color Your Parts of the Arm and Hand for Kids Drawing

Your parts of the arm and hand for kids outline is complete. Color your diagram.
Watch 'How to Draw Parts of the Arm and Hand for Kids' Video Tutorial
Click HERE to save the tutorial to Pinterest!
Learn More About The Parts of the Arm and Hand for Kids Drawing
You use your hand to draw and do other important things every day. But have you ever given much thought to the parts that make that possible?
You can learn all about them with this parts of the arm and hand for kids drawing guide to teach you.
This arm is muscular and strong. A biceps muscle drawing forms the upper arm. Each hand drawing is open and extended rather than in a fist so you can see all its parts.
This diagram shows the hand from the outside, but it is amazing from the inside, too. Each hand is supported by 27 bones. You can see some of them in this skeleton hand drawing.
Did you know? Most of the muscles that move your hand are not located in your hand.
You actually use the muscles in your arm! Tendons make the connection between your arm muscles and fingers. You can see the outlines of the tendons on the wrist and back of the hand.
Parts of the Arm and Hand for Kids Drawing Tutorial - Easy & Fun Printable Pages
Join now and get immediate access to thousands of printable drawing instruction and practice pages!
Learn how to get access to thousands of printable pages!

MEMBER TROUBLESHOOTING
Still seeing ads or not being able to download the PDF?
First, check that you're logged in. You can log in on the member login page.
If you're still not able to download the PDF, the likely solution is to reload the page.
You can do this by clicking the browser reload button.
It is a circular arrow-shaped icon at the top of the browser window, typically found in the upper-left side (you can also use keyboard shortcuts: Ctrl+R on PC and Command+R on Mac).