Learn how to draw a great looking Stacked Halloween Pumpkins with easy drawing instructions and video tutorial.
By following the simple steps, you too can easily draw a perfect Stacked Halloween Pumpkins.
Step-by-Step Instructions for Drawing Stacked Halloween Pumpkins
How to Draw a Great Looking Stacked Halloween Pumpkins for Kids and Beginners - Step 1
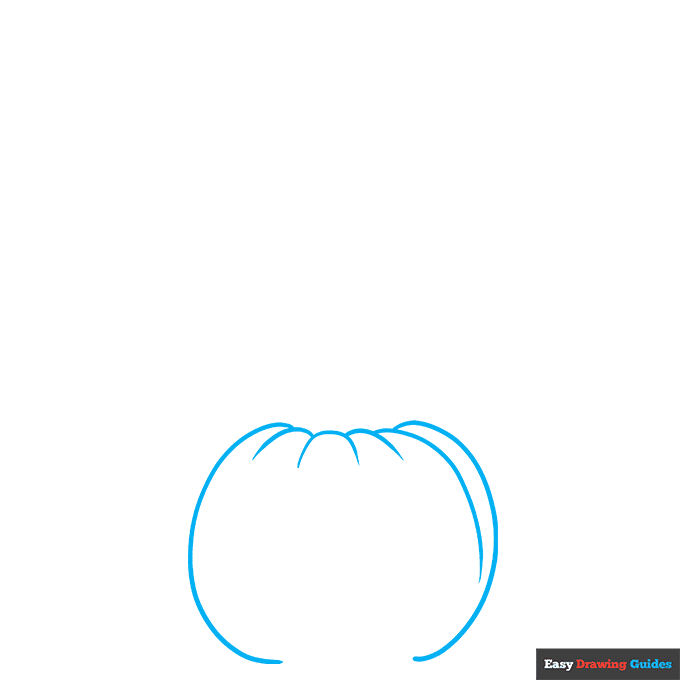
1. Begin the stacked Halloween pumpkins outline by drawing the first pumpkin. Use a series of overlapping curved lines - long lines for the sides of the gourd and shorter lines for the wrinkly top.
Drawing Step 2
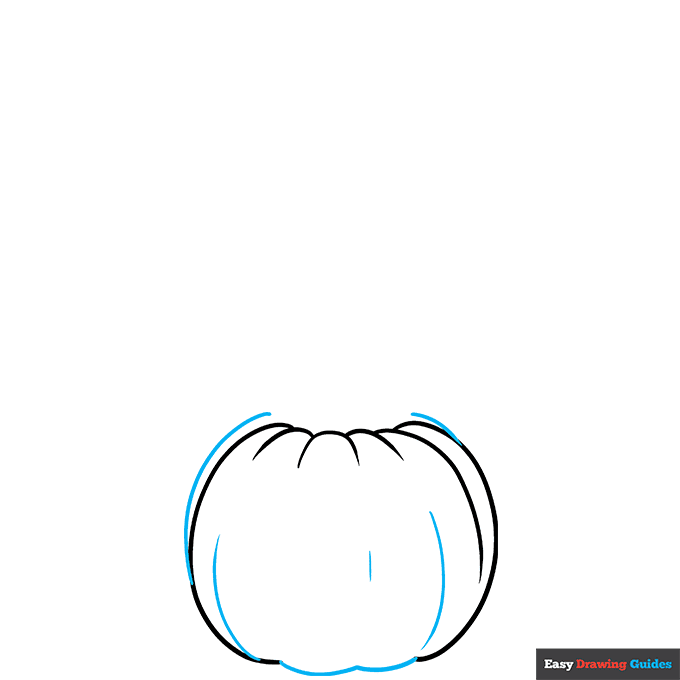
2. Use curved lines to draw the bottom of the pumpkin, to add layers to the top, and to texture the sides.
Unlock AD FREE and PRINTABLE drawing and coloring tutorials
- 1,900+ drawing & coloring PDFs
- 50+ ebooks
- Ad-free website
Drawing Step 3
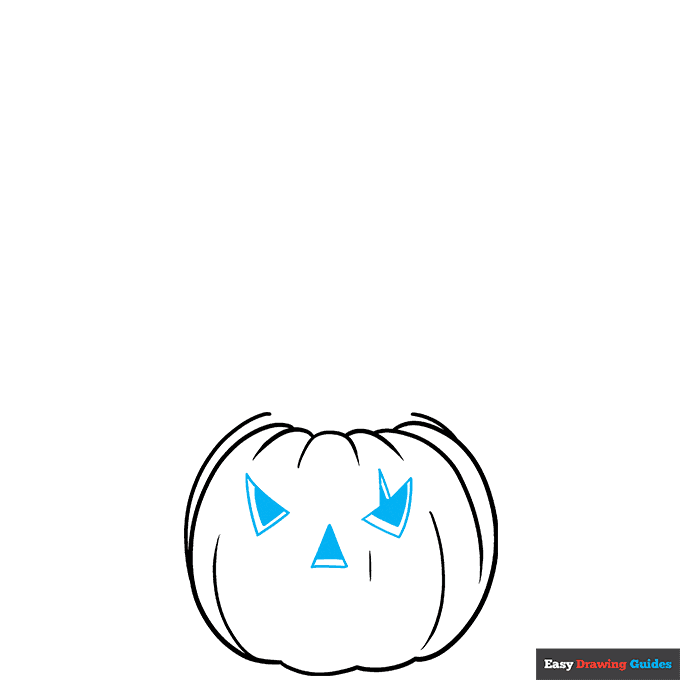
3. Use curved lines to enclose the triangular eyes and nose of the carving. Notice that one has a notch at the top, giving it a leaf shape.
Draw lines parallel to two sides of each carving, and shade above them.
Drawing Step 4
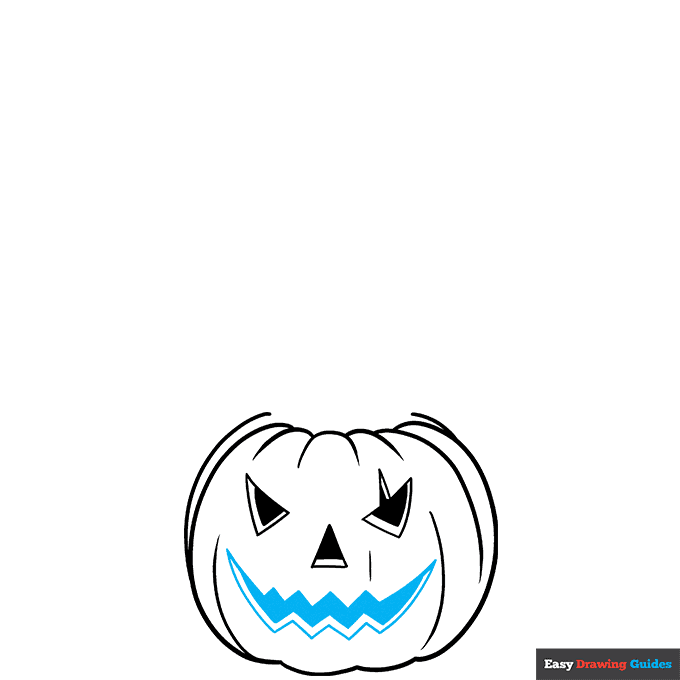
4. Use three zig-zag lines to draw the open mouth. Shade above the second line.
Drawing Step 5
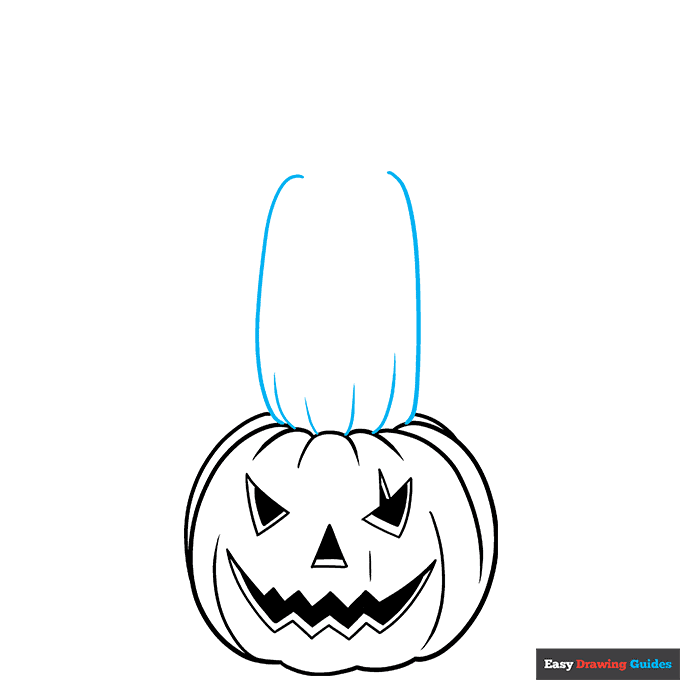
5. Draw the second pumpkin in the stack - a tall, skinny one. Use long lines for the pumpkin’s sides and shorter ones to texture its ribs on the bottom.
Drawing Step 6
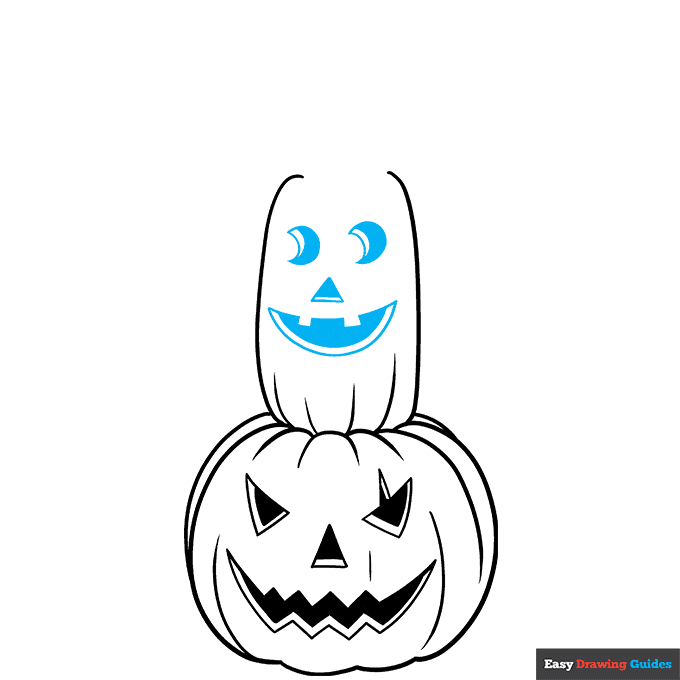
6. Draw moon-shaped eyes, a triangular nose, and a toothy mouth. Add parallel lines to the bottom and sides, and shade above them.
Drawing Step 7
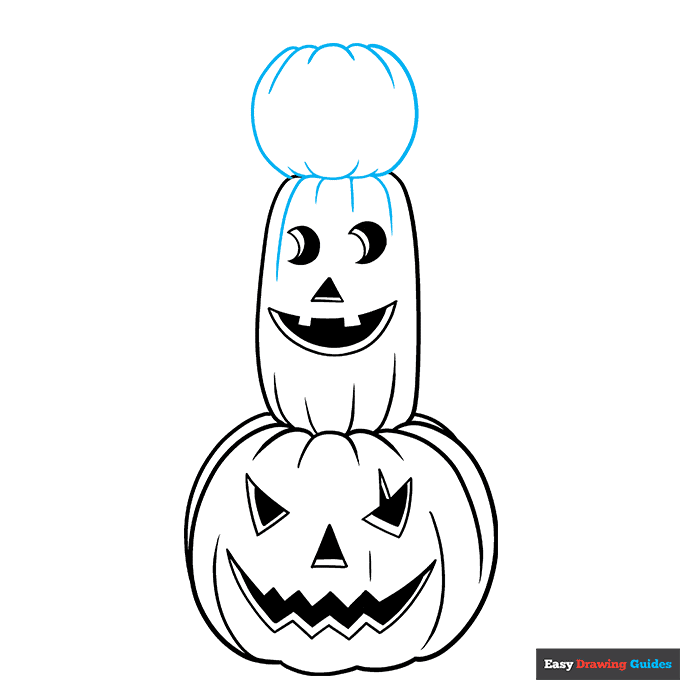
7. Use curved lines to finish the top of the second pumpkin. Then, use overlapping lines to enclose the third and final pumpkin.
Add More Details to Your Stacked Halloween Pumpkins Picture - Step 8
8. Use curved lines to enclose the toothy smile and the triangular nose and eyes. Shade within the carvings.
Complete the Outline of Your Stacked Halloween Pumpkins Drawing - Step 9

9. Detail the ribs of the final pumpkin with curved lines.
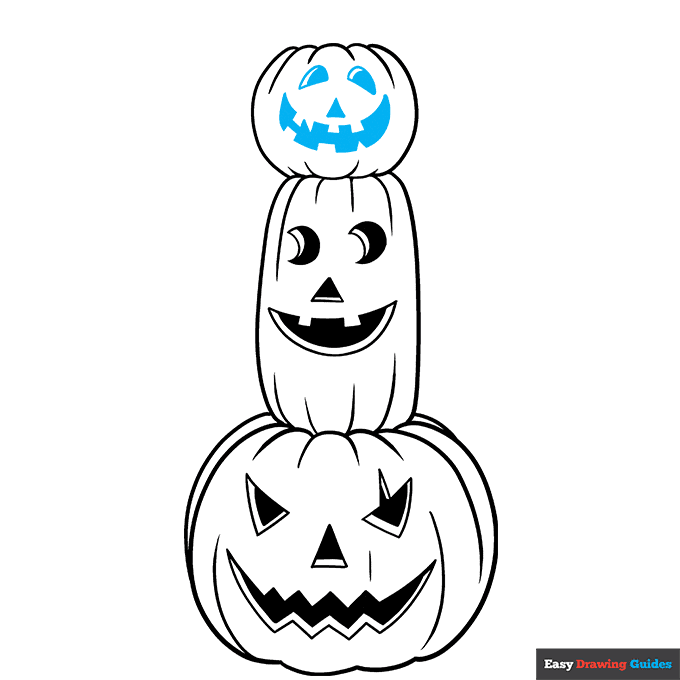
Color Your Stacked Halloween Pumpkins Drawing
Your Halloween pumpkin outline is now complete. Color your stack. Pumpkins like this are usually orange, but sometimes they are white.
Watch 'How to Draw Stacked Halloween Pumpkins' Video Tutorial
Click HERE to save the tutorial to Pinterest!
Learn More About The Stacked Halloween Pumpkins Drawing
Creepy decorations are a staple of the spooky season. You can use this easy, step-by-step drawing tutorial to create a stacked Halloween pumpkins drawing.
Long ago, people made jack-o'-lanterns from root vegetables called turnips by carving faces into them and placing a candle inside.
When people moved to America, they didn't have many turnips, so they used a different vegetable that they had plenty of - a squash or gourd called pumpkins.
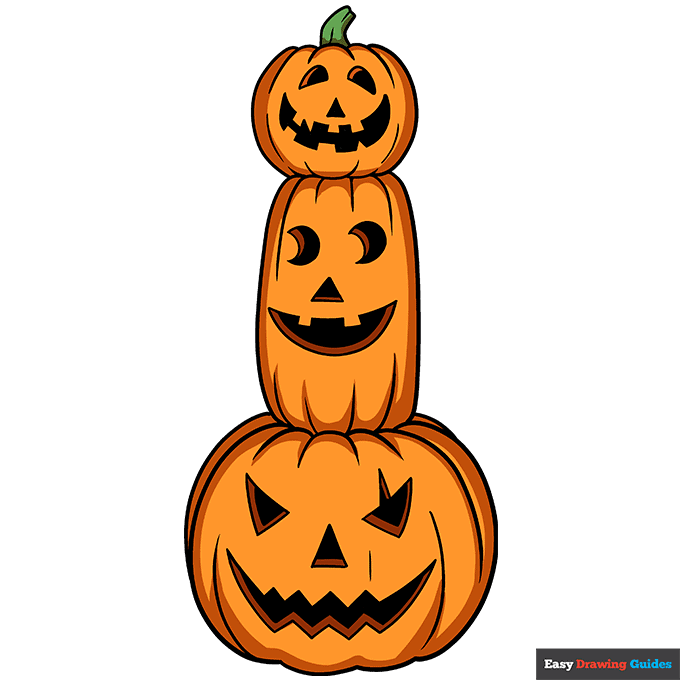
The stack below consists of three pumpkins of varying sizes and shapes. Each one has a face, similar to the one in this Halloween pumpkin drawing. The pumpkins have ridges called ribs. It is this hard outer shell that allows them to keep their shape even when designs are carved into them.
What does a pumpkin look like without a face? Check out this pumpkin drawing. You don't have to stop with just one pumpkin. Learn how to draw a pumpkin patch.
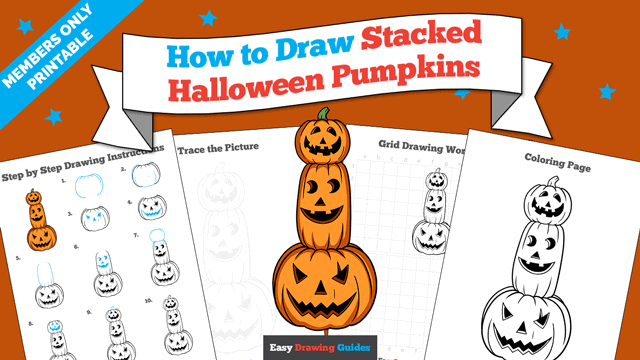
Stacked Halloween Pumpkins Drawing Tutorial - Easy & Fun Printable Pages
Join now and get immediate access to thousands of printable drawing instruction and practice pages!
Learn how to get access to thousands of printable pages!

MEMBER TROUBLESHOOTING
Still seeing ads or not being able to download the PDF?
First, check that you're logged in. You can log in on the member login page.
If you're still not able to download the PDF, the likely solution is to reload the page.
You can do this by clicking the browser reload button.
It is a circular arrow-shaped icon at the top of the browser window, typically found in the upper-left side (you can also use keyboard shortcuts: Ctrl+R on PC and Command+R on Mac).