Learn how to draw a great looking Respiratory System Diagram for Kids with easy drawing instructions and video tutorial.
By following the simple steps, you too can easily draw a perfect Respiratory System Diagram for Kids.
Step-by-Step Instructions for Drawing the Respiratory System Diagram for Kids

How to Draw a Great Looking Respiratory System Diagram for Kids for Kids and Beginners - Step 1
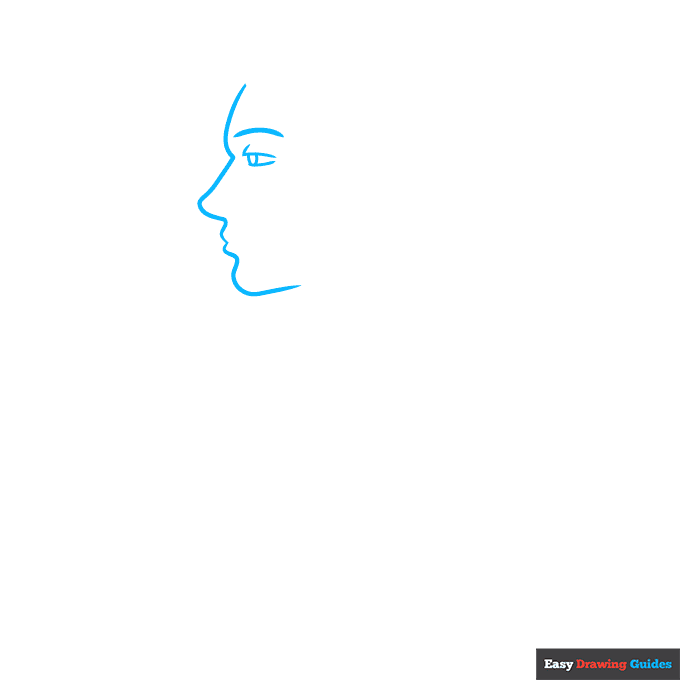
1. Begin the respiratory system diagram for kids outline by drawing the face.
Use a long curved line to draw the face in profile. Use shorter curved lines to outline the eye, eyebrow, and oval-shaped pupil of the eye.
Drawing Step 2
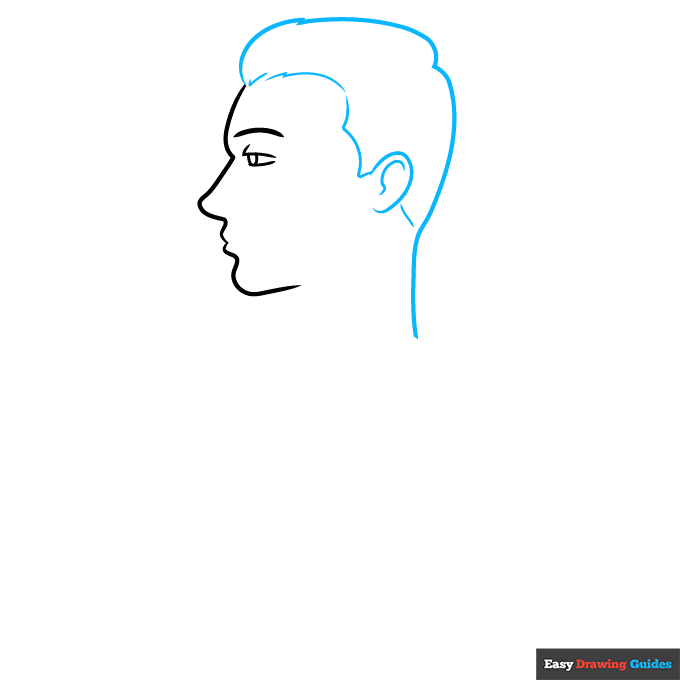
2. Use a series of curved lines to draw the back of the head, hairline, and ear. Notice how the lines meet at jagged points to lend texture to the hair.
Unlock AD FREE and PRINTABLE drawing and coloring tutorials
- 1,900+ drawing & coloring PDFs
- 50+ ebooks
- Ad-free website
Drawing Step 3
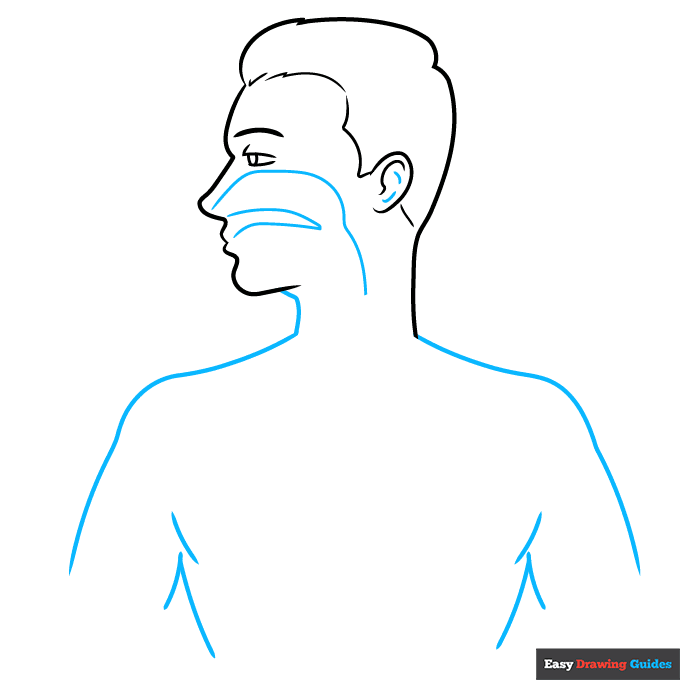
3. Use a series of overlapping curved lines to sketch the shoulders, torso, and upper arms.
Then, begin drawing the internal structures of the cross-section. Draw a long curved line from the nose and a "V" shaped line behind the mouth.
Drawing Step 4
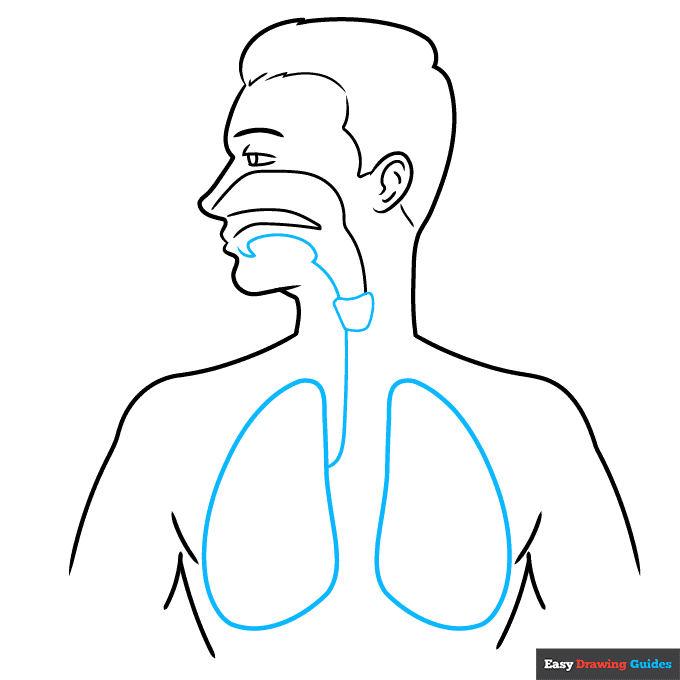
4. Draw another long curved line from the mouth. Connect it to the previous long line by drawing a rounded trapezoid shape.
In the chest cavity, enclose the two rounded shapes of the lungs. Connect one lung to the trapezoid shape with a long curved line.
Drawing Step 5

5. Draw curved lines between the lungs and between the trapezoid and the opposite lung. Within the first lung, use curved lines to begin drawing a branching structure.
Drawing Step 6
6. Complete the branching structure within the first lung and begin drawing it within the second lung.
Drawing Step 7

7. Continue drawing the branching structure.
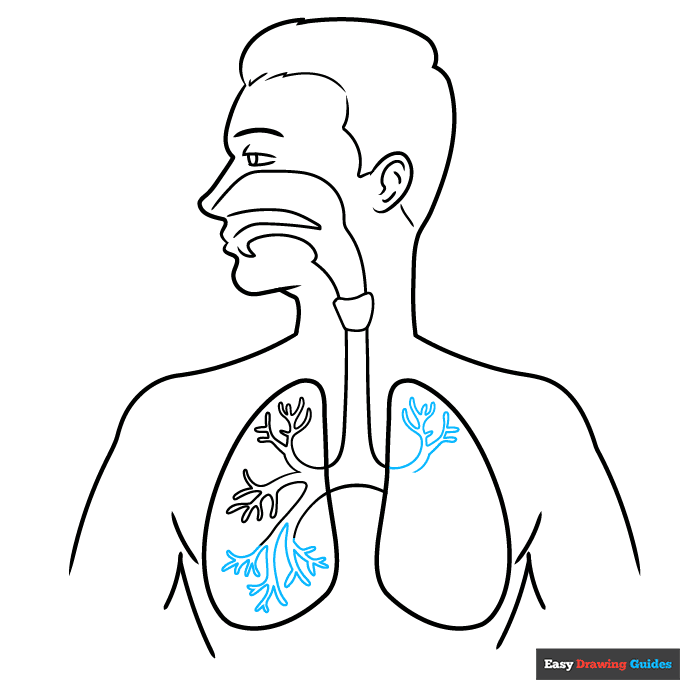
Add More Details to Your Respiratory System Diagram for Kids Picture - Step 8
8. Complete the branching structure. Band the trachea and bronchus - the tubes leading to the lungs - with curved lines.
Enclose a "C" shape below the lungs with two curved lines. Label the nasal cavity and draw a straight, diagonal line between the written word and the body part.
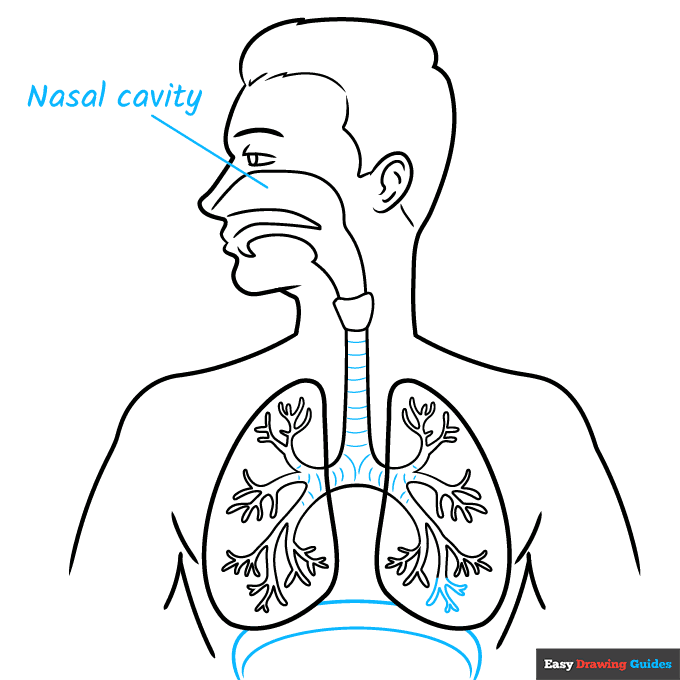
Complete the Outline of Your Respiratory System Diagram for Kids Drawing - Step 9

9. Label the remaining parts. Beginning at the bottom and working clockwise, they are the diaphragm, bronchioles, trachea, pharynx, larynx, lungs, bronchus, and alveoli.
Notice that some have not just one but two or three pointing lines.
Color Your Respiratory System Diagram for Kids Drawing
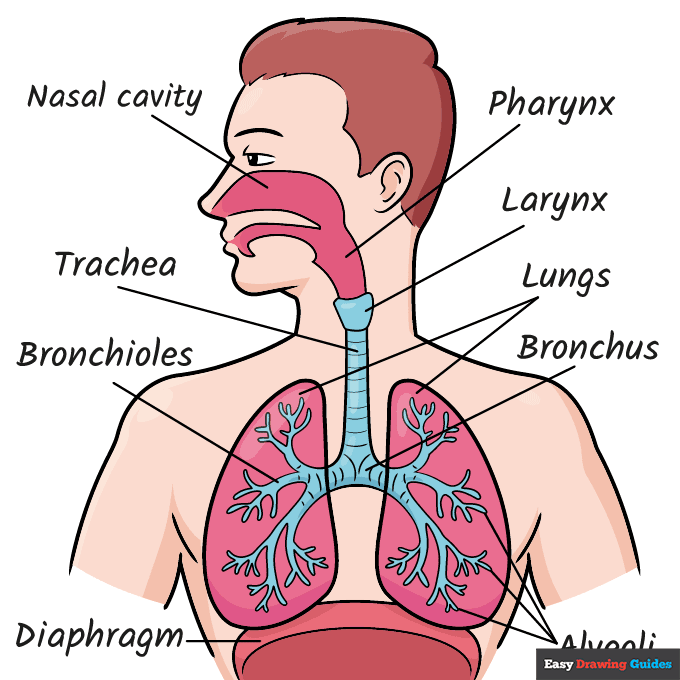
Your respiratory system diagram is now complete. Color your drawing. Be sure to use different colors for the different parts to make them easy to see.
Watch 'How to Draw the Respiratory System Diagram for Kids' Video Tutorial

Click HERE to save the tutorial to Pinterest!
Learn More About The Respiratory System Diagram for Kids Drawing
You can breathe in. You can breathe out. You can even hold your breath - at least for a little while.
But do you understand how it all works? Now you can, with the help of this respiratory system diagram for kids drawing guide.
This diagram is done as a cross-section. It is as if the man has been sliced in half so you can see what's inside.
A lungs drawing is central to this diagram, but it is not the only part of the respiratory system. Air would first enter the nose drawing, and there are many structures between the nose and lungs.
Did you know? While not part of the respiratory system, the heart is vital to getting oxygen from your lungs to all the other parts of the body.
Can you place this heart drawing where it should go in the diagram?
Respiratory System Diagram for Kids Drawing Tutorial - Easy & Fun Printable Pages
Join now and get immediate access to thousands of printable drawing instruction and practice pages!

Learn how to get access to thousands of printable pages!

MEMBER TROUBLESHOOTING
Still seeing ads or not being able to download the PDF?
First, check that you're logged in. You can log in on the member login page.
If you're still not able to download the PDF, the likely solution is to reload the page.
You can do this by clicking the browser reload button.
It is a circular arrow-shaped icon at the top of the browser window, typically found in the upper-left side (you can also use keyboard shortcuts: Ctrl+R on PC and Command+R on Mac).