Learn how to draw a great looking Tooth Fairy with easy drawing instructions and video tutorial.
By following the simple steps, you too can easily draw a perfect Tooth Fairy.
Step-by-Step Instructions for Drawing the Tooth Fairy
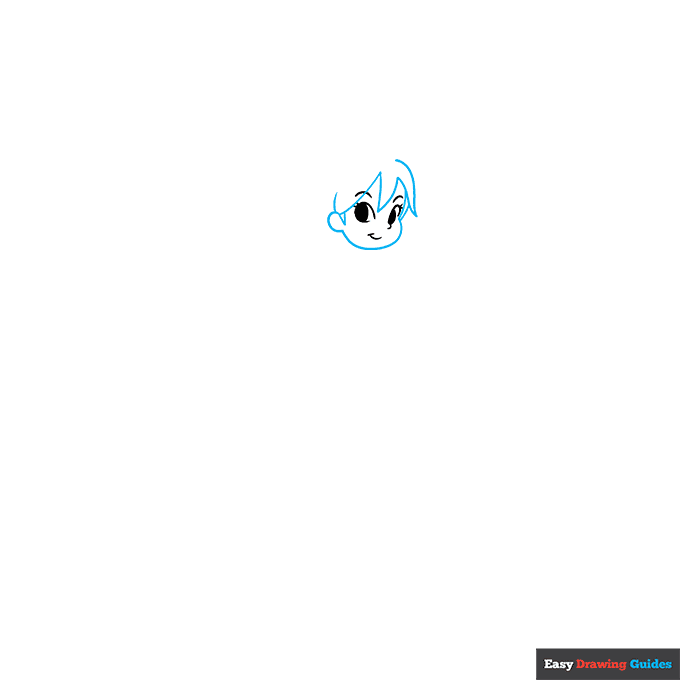
How to Draw a Great Looking Tooth Fairy for Kids and Beginners - Step 1

1. Begin the tooth fairy outline by drawing her face. Use curved lines to outline her eyes, eyebrows, and smiling mouth. Shade oval-shaped pupils. Draw short eyelashes around the eyes.
Drawing Step 2
2. Use long curved lines that meet at points to draw the fairy's hair. Then, use a long curved line to outline the face and a shorter one for the ear.
Unlock AD FREE and PRINTABLE drawing and coloring tutorials
- 2,600+ drawing & coloring PDFs
- 50+ ebooks
- Ad-free website
Drawing Step 3
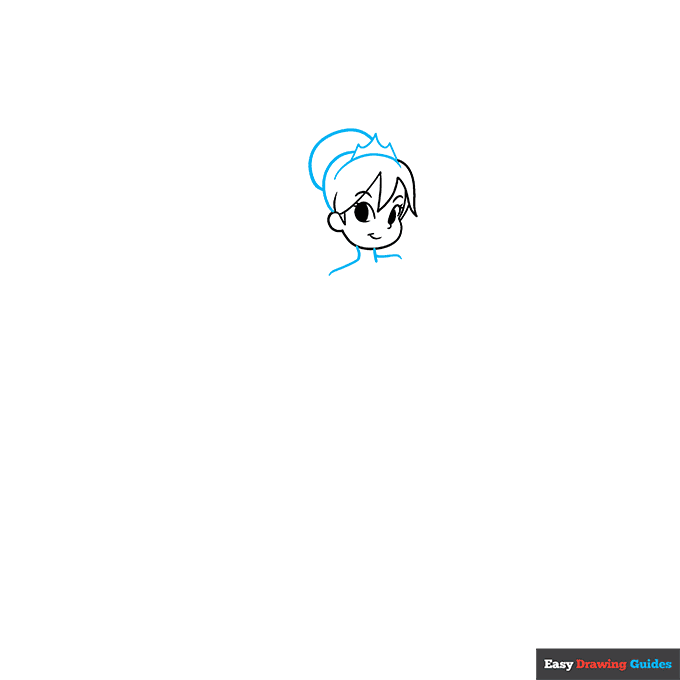
3. Use curved lines that meet at jagged points to draw a crown or tiara on her head. Then use overlapping curved lines to draw the hair, pulled into a bun. Extend lines below the face to form the neck and shoulders.
Drawing Step 4
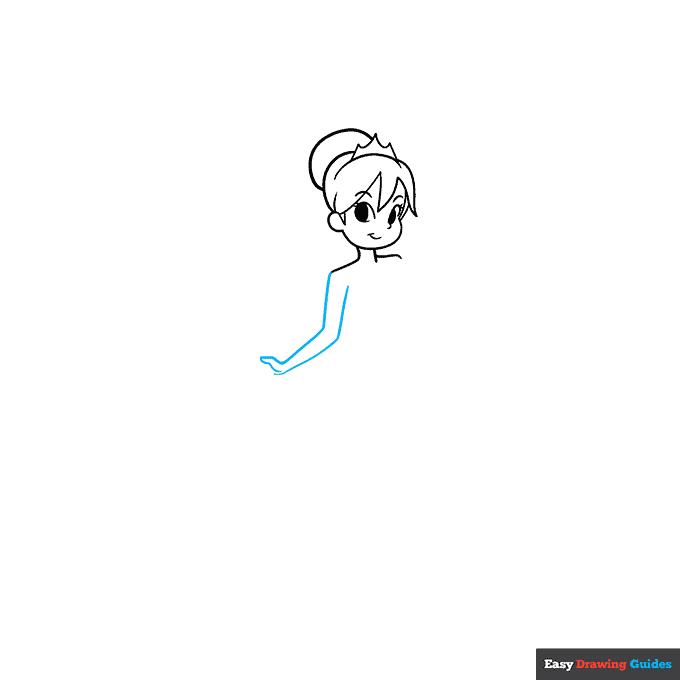
4. Continue the line of the shoulder and draw another parallel to it to form the line. Double one line back on itself to form the thumb.
Drawing Step 5
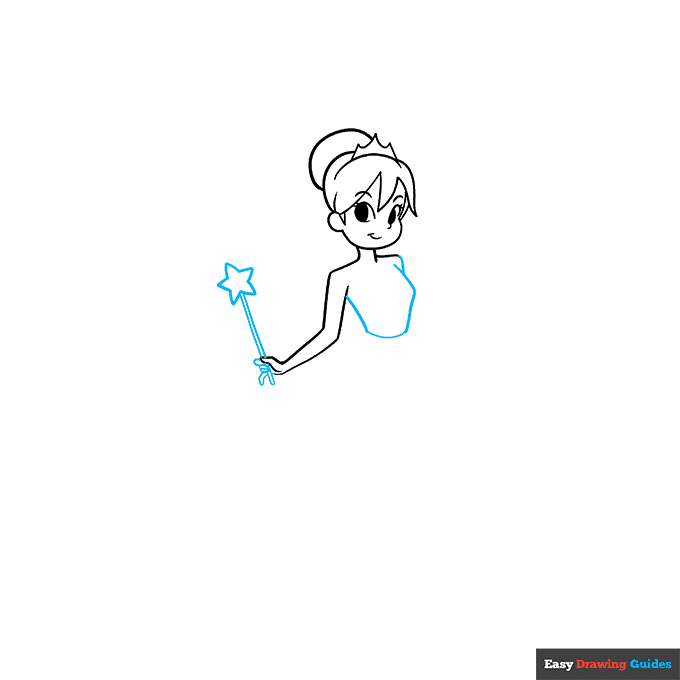
5. Draw straight, parallel lines passing behind the thumb. This is the fairy's wand. Draw a five-pointed star on top. Then, use overlapping curved lines to complete the hand grasping the wand. Use a long curved line to complete the torso and a shorter one for the opposite shoulder.
Drawing Step 6
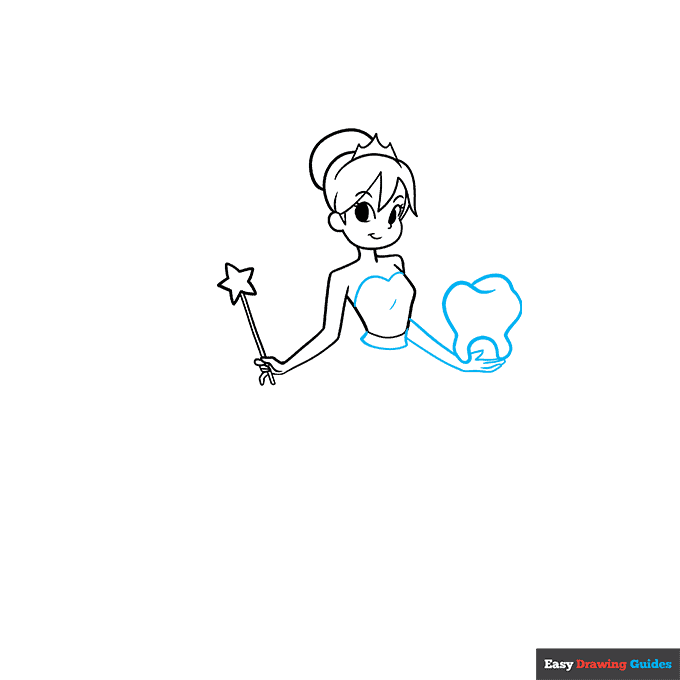
6. Draw a rounded "M" shaped line across the top of the torso to indicate the blouse. Enclose a curved rectangle below it. Then use long curved lines for the remaining arm, and overlapping lines for the fingers.
Use a long curved line to enclose the tooth; notice how the lines overlap at the top.
Drawing Step 7
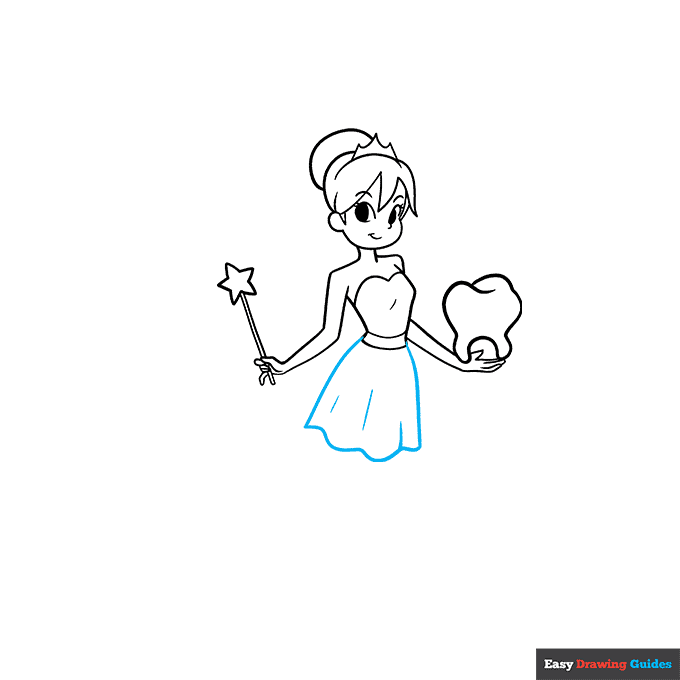
7. Use curved lines to enclose the skirt and contour the material.
Add More Details to Your Tooth Fairy Picture - Step 8
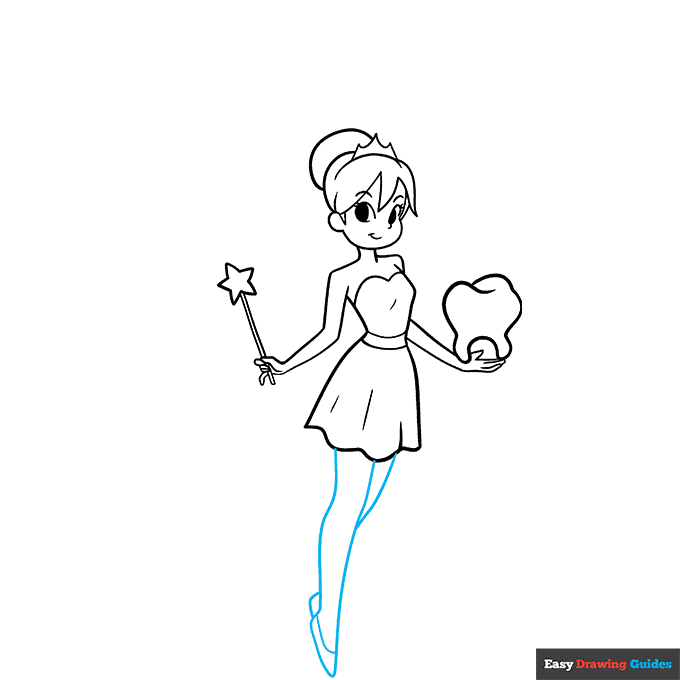
8. Use long curved lines to draw the legs. Allow them to meet at a gentle point at the bottom, forming the toe of the shoe. Draw a curved line across the foot to form the top of the shoe.
Complete the Outline of Your Tooth Fairy Drawing - Step 9
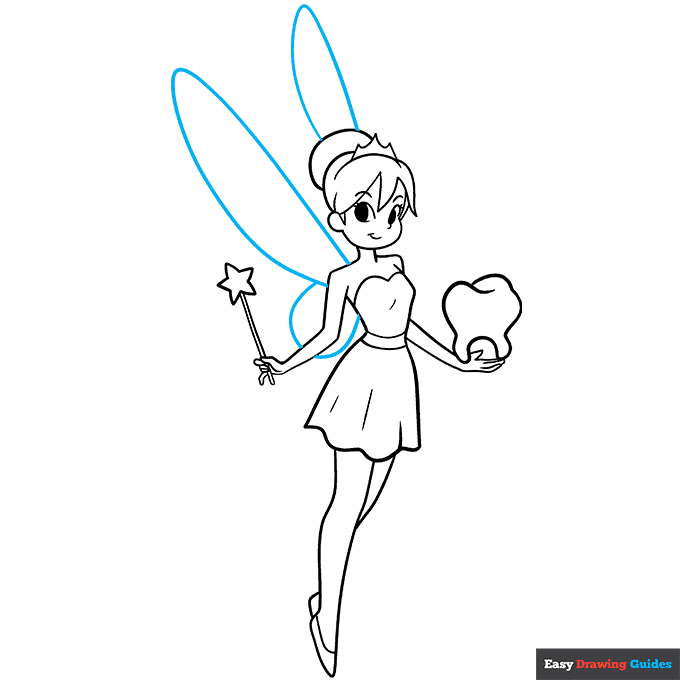
9. Use long curved lines, doubled back on themselves, to form the wings.
Color Your Tooth Fairy Drawing
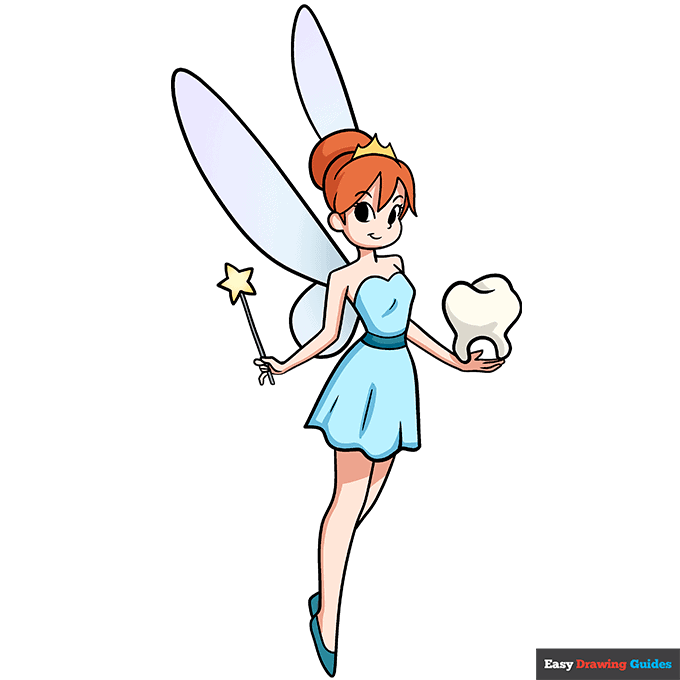
Your tooth fairy outline is now complete. Color her outfit, hair, and gossamer wings.
Watch 'How to Draw the Tooth Fairy' Video Tutorial
Learn More About The Tooth Fairy Drawing
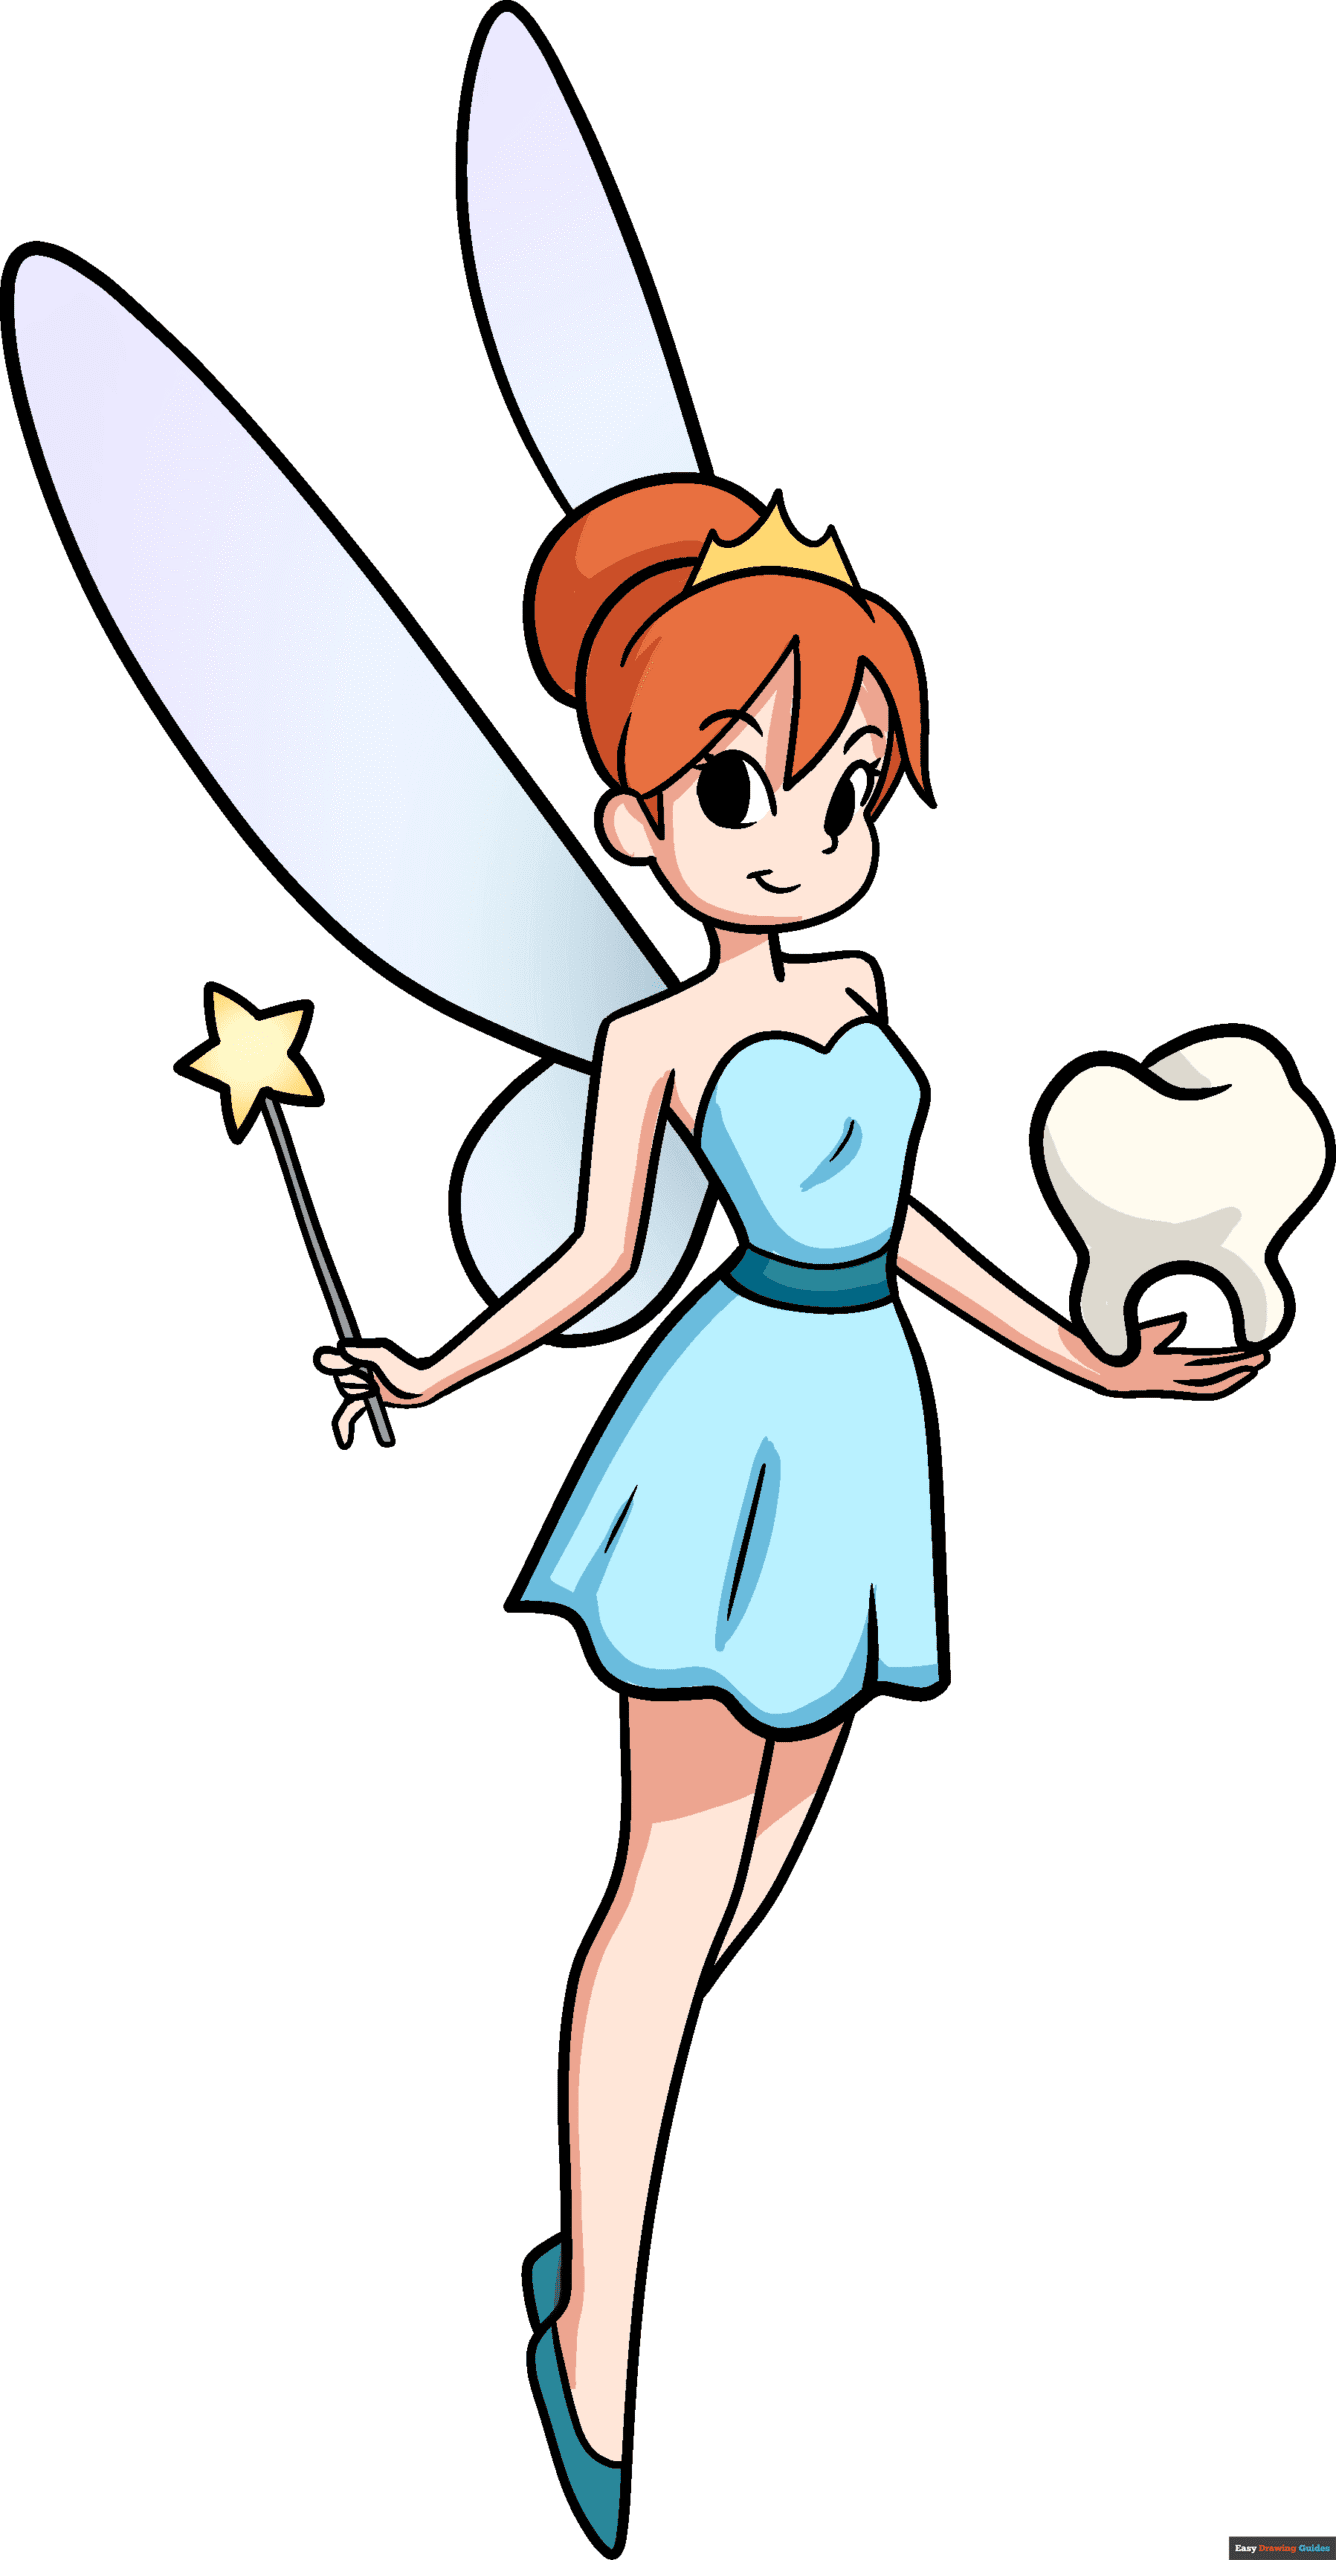
Fairies have long captured our imaginations. Fairies are typically depicted as well-intentioned creatures that have close relationships with humans.
The Tooth Fairy fits this description. You can learn how to draw the Tooth Fairy with the help of this easy, step-by-step drawing guide.
Fairies are usually said to look like beautiful women in miniature. They have delicate wings like dragonflies or butterflies.
This fairy has all those characteristics. What sets her apart is what she's holding - a tooth! The tooth fairy is said to collect your baby teeth when you leave them under your pillow. She might leave some money in return.
Want to make this drawing even more interesting by personifying the tooth? Add this crying cartoon tooth.
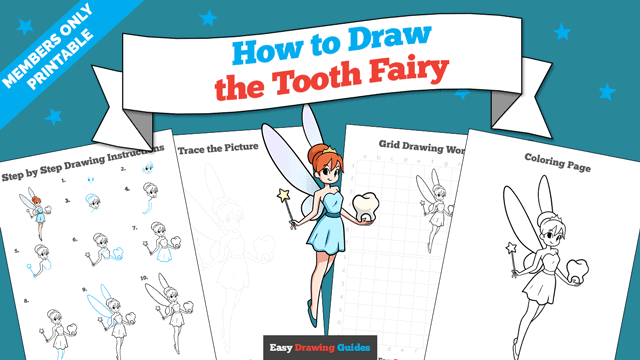
Tooth Fairy Drawing Tutorial - Easy & Fun Printable Pages
Join now and get immediate access to thousands of printable drawing instruction and practice pages!
Learn how to get access to thousands of printable pages!

MEMBER TROUBLESHOOTING
Still seeing ads or not being able to download the PDF?
First, check that you're logged in. You can log in on the member login page.
If you're still not able to download the PDF, the likely solution is to reload the page.
You can do this by clicking the browser reload button.
It is a circular arrow-shaped icon at the top of the browser window, typically found in the upper-left side (you can also use keyboard shortcuts: Ctrl+R on PC and Command+R on Mac).