
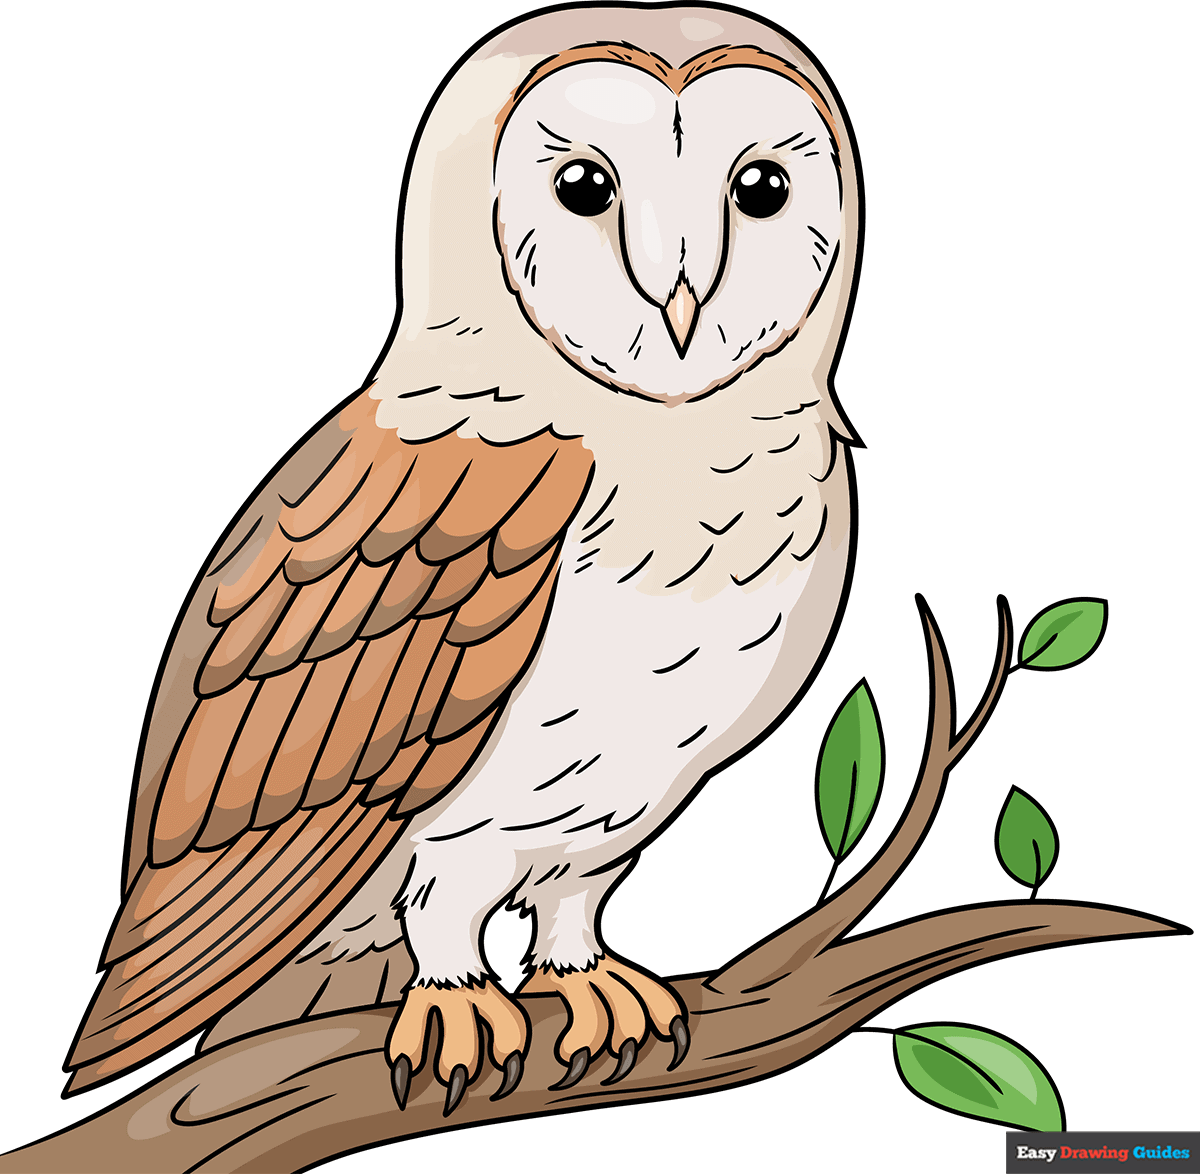
Learn how to draw a great looking Barn Owl with easy drawing instructions and video tutorial.
By following the simple steps, you too can easily draw a perfect Barn Owl.
Step-by-Step Instructions for Drawing a Barn Owl
How to Draw a Great Looking Barn Owl for Kids and Beginners - Step 1
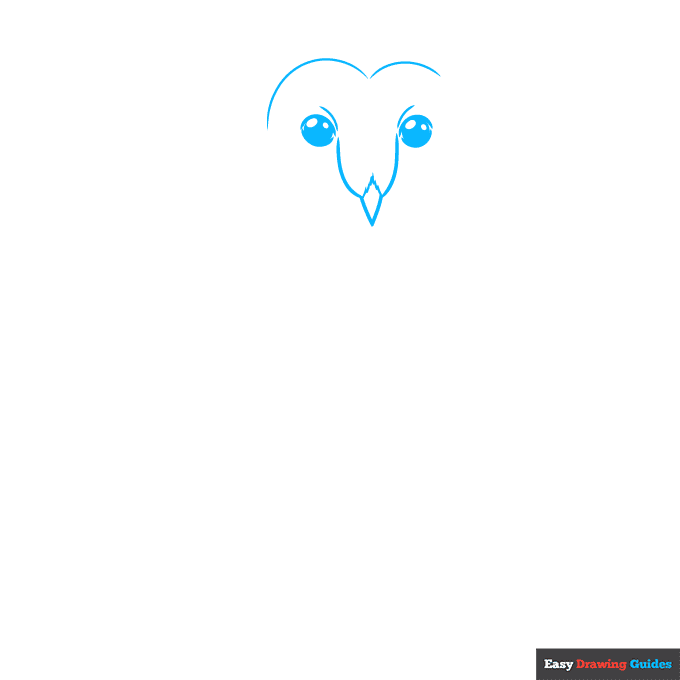
1. Begin the barn owl outline by drawing its face. Start with the beak - a "V" shaped line. Draw curved lines on each side of it, and above to form the top of the heart-shaped face. Use a series of short lines in a "V" shape above the beak to give the texture of feathers.
For the eyes, draw two large circles with small ovals inside. Shade around them, and contour above the eyes with short curved lines.
Drawing Step 2
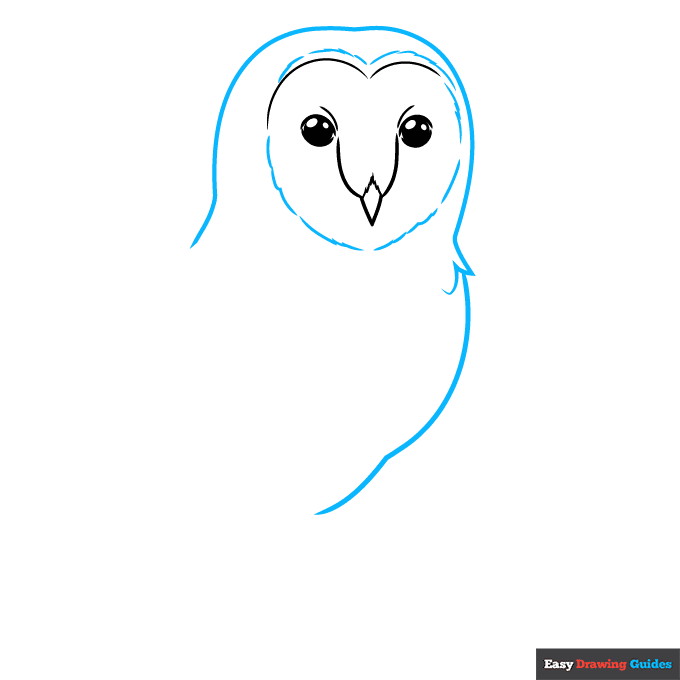
2. Finish the heart-shaped face using short lines that don't always touch. Then use long curved lines to sketch the head and chest. Notice the jagged points of feathers at the base of the neck.
Unlock AD FREE and PRINTABLE drawing and coloring tutorials
- 2,600+ drawing & coloring PDFs
- 50+ ebooks
- Ad-free website
Drawing Step 3
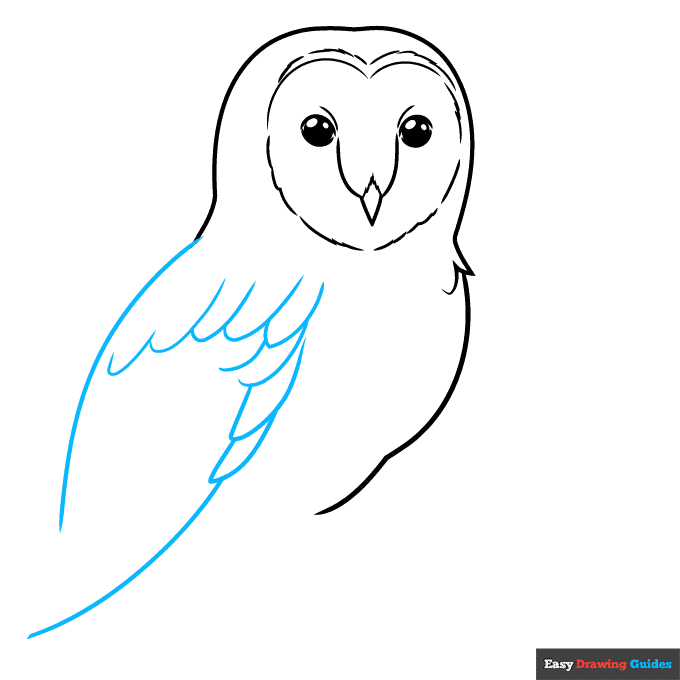
3. Extend the line of the neck to form the owl's back. Then, use a series of overlapping curved lines to form the feathers of the wing. Extend the wing with a long line.
Drawing Step 4
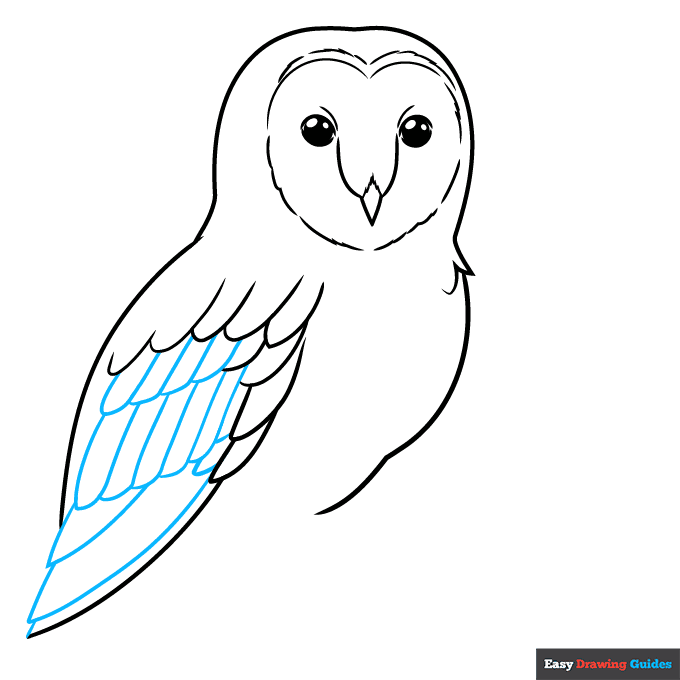
4. Continue using overlapping curved lines to create three layers of wing feathers.
Drawing Step 5
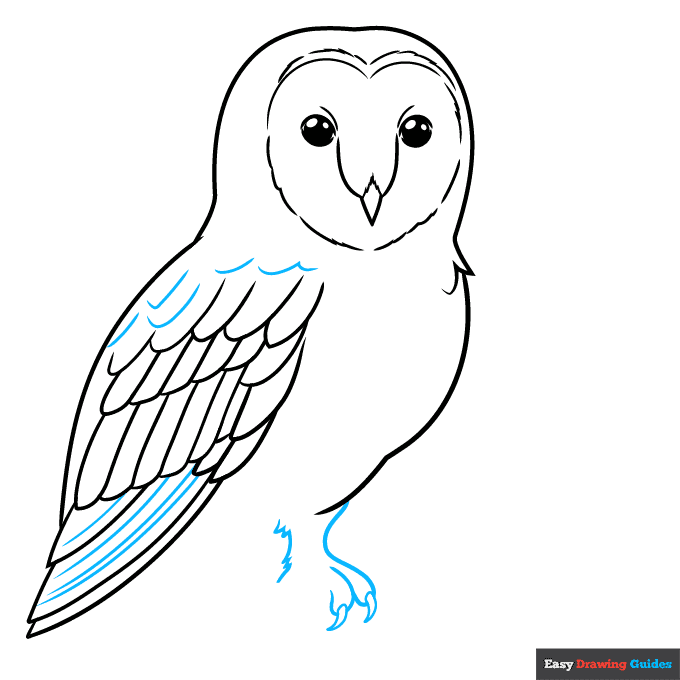
5. Detail the wing with long and short lines. Then, use a series of overlapping curved lines to draw the leg and toes. Draw a teardrop-shaped talon on the end of each toe. At the back of the leg, use a series of lines that meet at jagged points to create a downy, feathery texture.
Drawing Step 6
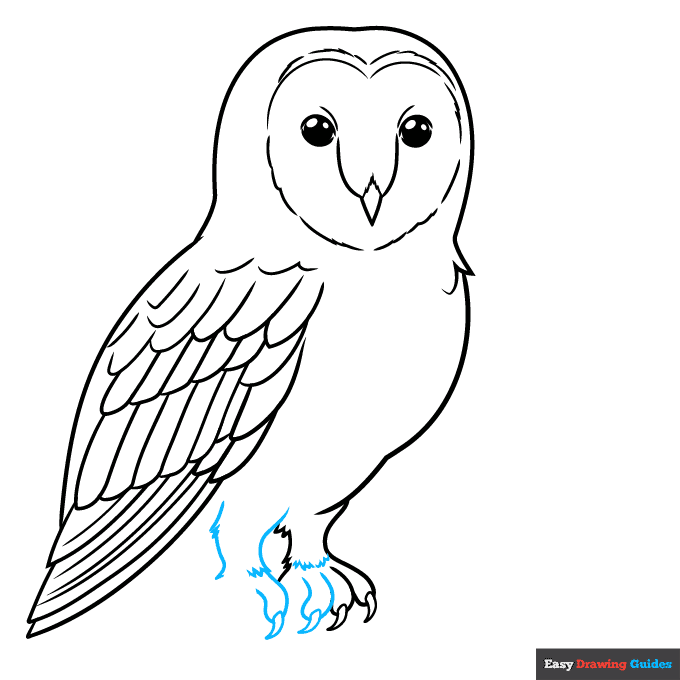
6. Use curved lines to draw the remaining toes and feathery legs. At a teardrop-shaped talon to the tip of each toe.
Drawing Step 7

7. Complete the final foot. Below and behind the feet, draw a pair of curved lines to create a branch for the owl to perch on. Use short lines to sketch the tail feathers between the legs and wing.
Add More Details to Your Barn Owl Picture - Step 8
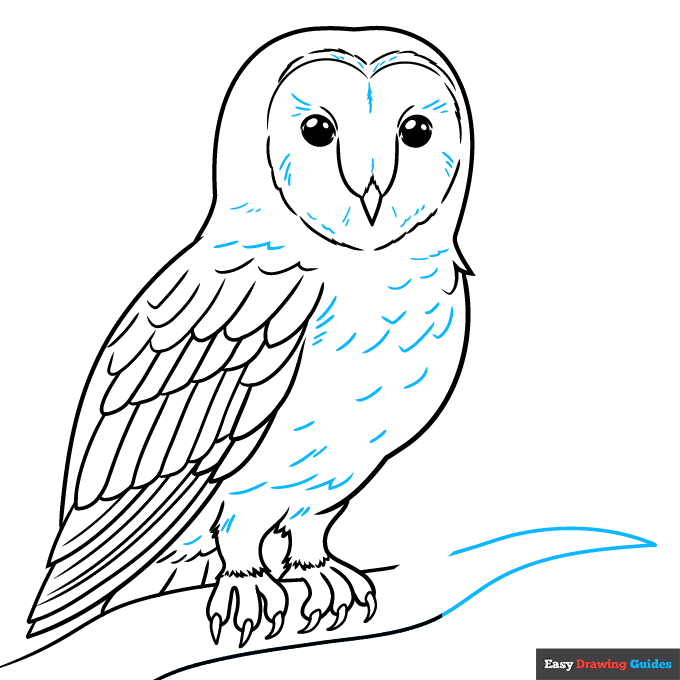
8. Texture the feathers of the face, neck, chest, and legs with short lines. Extend the bottom line of the branch, and draw another line to meet it at a point.
Complete the Outline of Your Barn Owl Drawing - Step 9
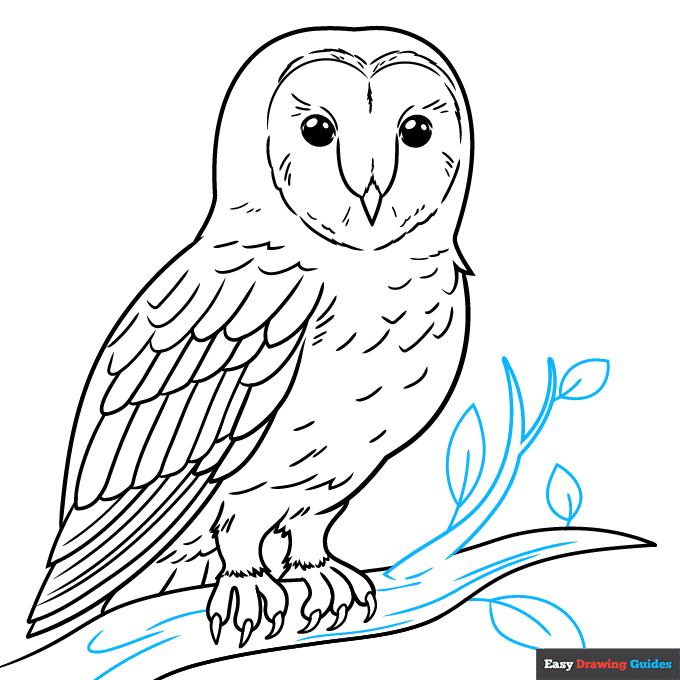
9. Draw a "Y" shaped twig, completing the outline of the branch. Texture the branch with curved lines. Extend four curved lines from the twigs, and turn them into leaves by enclosing teardrop shapes around them.
Color Your Barn Owl Drawing
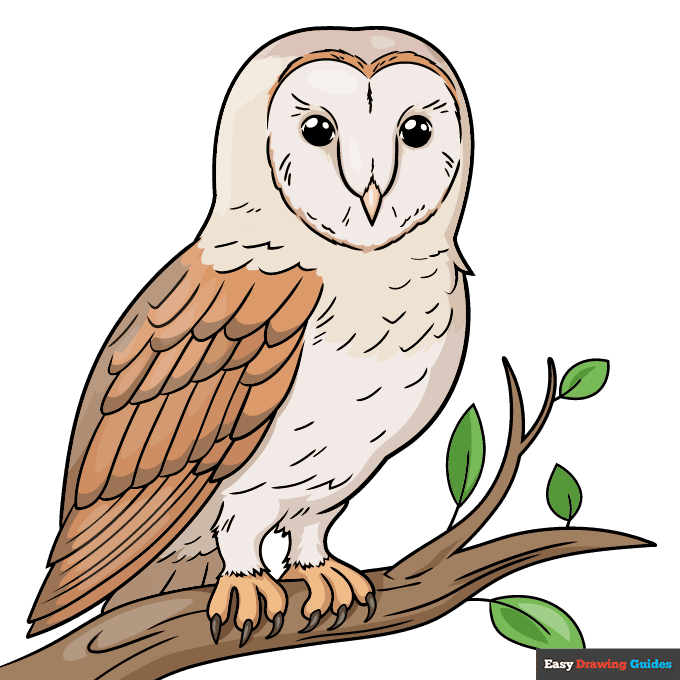
Your barn owl outline is now complete. Color your drawing. Barn owls have feathers ranging from cream to dark brown.
Watch 'How to Draw a Barn Owl' Video Tutorial
Learn More About The Barn Owl Drawing
Would you like to draw a lifelike creature of the night? Check out this barn owl drawing. Our easy, step-by-step animal drawing tutorial will show you how.
This barn owl is illustrated in a realistic style. You can almost see every feather. The barn owl's distinctive heart-shaped face sets it apart from other owl species.
Check out this baby owl drawing to give your owl a family. Of course, you'll need to feed these hungry chicks. This mouse drawing can provide the meal.
Want to discover more realistic owl drawings? Check out this great horned owl drawing, which also utilizes a realistic style. What differences and similarities do you see between it and the barn owl?
Barn Owl Drawing Tutorial - Easy & Fun Printable Pages
Join now and get immediate access to thousands of printable drawing instruction and practice pages!
Learn how to get access to thousands of printable pages!

MEMBER TROUBLESHOOTING
Still seeing ads or not being able to download the PDF?
First, check that you're logged in. You can log in on the member login page.
If you're still not able to download the PDF, the likely solution is to reload the page.
You can do this by clicking the browser reload button.
It is a circular arrow-shaped icon at the top of the browser window, typically found in the upper-left side (you can also use keyboard shortcuts: Ctrl+R on PC and Command+R on Mac).