Learn how to draw a great looking Fish with easy drawing instructions and video tutorial.
By following the simple steps, you too can easily draw a perfect Fish.
Step-by-Step Instructions for Drawing a Fish
How to Draw a Great Looking Fish for Kids and Beginners - Step 1

1. Begin the fish outline by drawing its eye. Use three overlapping curved lines to enclose the shape of the eye.
Inside it, draw three successively smaller ovals. Shade between the two smallest to form the pupil.
Drawing Step 2

2. Use curved lines to enclose the teardrop-shaped lips. At the corner of the mouth, use short lines to enclose a rectangular shape.
Unlock AD FREE and PRINTABLE drawing and coloring tutorials
- 1,900+ drawing & coloring PDFs
- 50+ ebooks
- Ad-free website
Drawing Step 3

3. Extend a long curved line from the bottom of the fish’s mouth. This outlines the animal’s belly.
Drawing Step 4

4. Extend a long curved line from the top of the fish’s mouth to form the top of its head and its back.
Then, draw a curved line across the fish’s face. This marks the location of its gills.
Drawing Step 5

5. Use curved lines to enclose the fan shape of the fish’s tail. Then draw a similar shape on its side, forming the pectoral fin. Detail the fin with curved lines.
Drawing Step 6

6. Use a curved line to enclose another fin along the bottom of the fish’s body. Texture this fin and the tail with curved lines.
Drawing Step 7

7. Enclose another fin along the bottom of the fish. This is the caudal fin. Texture the fin with a series of curved lines.
Add More Details to Your Fish Picture - Step 8

8. Use a curved line to enclose the dorsal fin on top of the fish. Texture the fin with curved lines.
Complete the Outline of Your Fish Drawing - Step 9

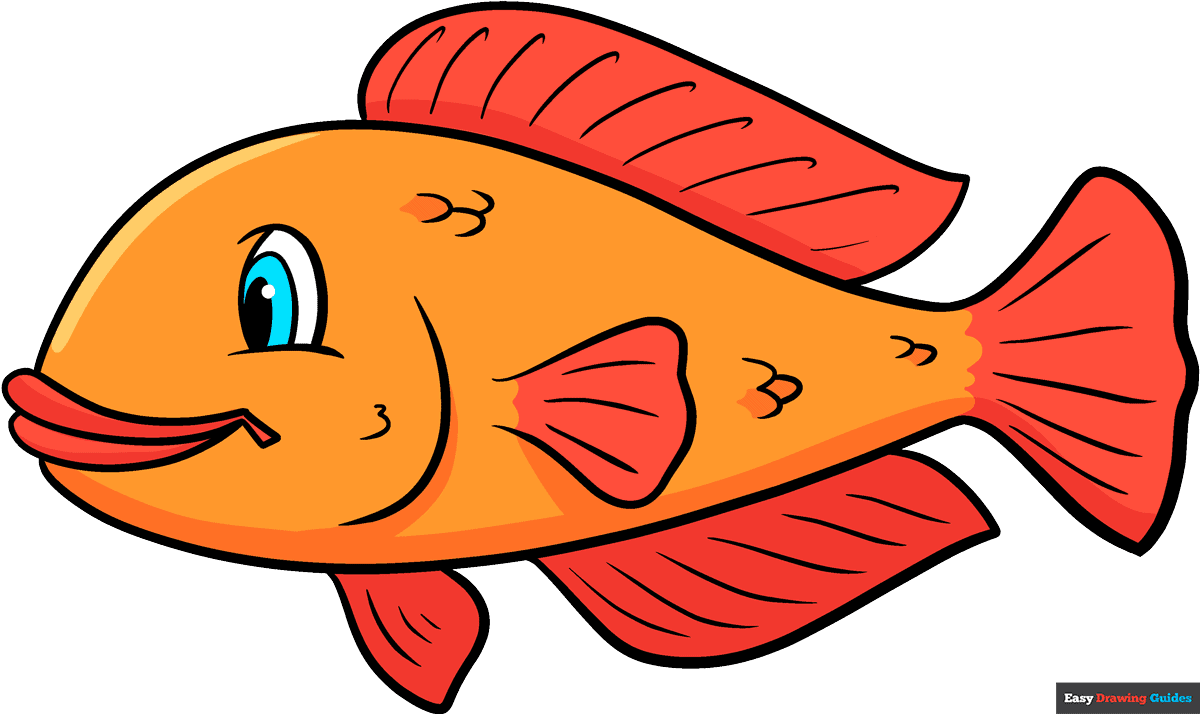
9. Texture the fish’s body with patches of “U” shaped scales. Your fish outline is now complete. Color your cartoon fish. We’ve shaded ours orange and red like a goldfish.
You could use other colors to make this fish any species, like a green and red rainbow trout.
Color Your Fish Drawing

Want to discover more about drawing those specific types of fish? Learn how to draw a goldfish or check out this trout drawing guide.
Watch 'How to Draw a Fish' Video Tutorial

Learn More About The Fish Drawing
Go fish! Reel in a great catch for your sketchbook. Learn how to draw an easy fish using the step-by-step animal drawing tutorial below.
Fish are a diverse group of animals. They range in appearance from snakelike eels to flattened, saucer-shaped stingrays.
Scroll down for a downloadable PDF of this tutorial.
But most fish have a few vital traits in common, which you can see here. Fish have paddle-like tails and fins on their backs and sides. They also have gills - slits on the side of the head that allow them to breathe water.
Once you have mastered this generic fish species, you can give him a home in this underwater scene drawing.
Fish Drawing Tutorial - Easy & Fun Printable Pages
Join now and get immediate access to thousands of printable drawing instruction and practice pages!

Learn how to get access to thousands of printable pages!

MEMBER TROUBLESHOOTING
Still seeing ads or not being able to download the PDF?
First, check that you're logged in. You can log in on the member login page.
If you're still not able to download the PDF, the likely solution is to reload the page.
You can do this by clicking the browser reload button.
It is a circular arrow-shaped icon at the top of the browser window, typically found in the upper-left side (you can also use keyboard shortcuts: Ctrl+R on PC and Command+R on Mac).