
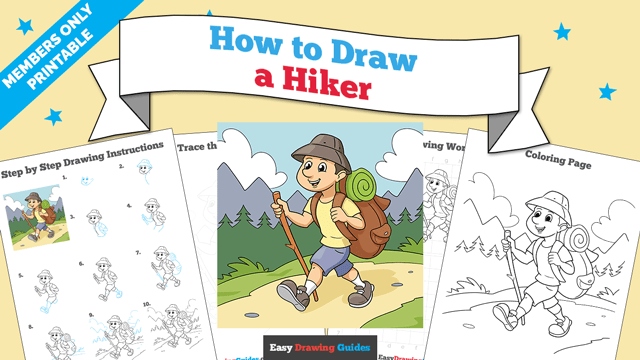
Learn how to draw a great looking Hiker with easy drawing instructions and video tutorial.
By following the simple steps, you too can easily draw a perfect Hiker.
Step-by-Step Instructions for Drawing a Hiker
How to Draw a Great Looking Hiker for Kids and Beginners - Step 1

1. Begin the hiker outline by drawing the man's face. Use curved lines for the cheeks, oval-shaped eyes, eyebrows, nose, ear, sides of face, and open, smiling mouth, complete with teeth and tongue inside.
Drawing Step 2

2. Next, place a bucket hat drawing on top of his head. Use long lines to trace the irregular shape of the hat, with shorter lines for its opening and seams. Shade two small dots for the vented holes in the hat.
Then, use curved lines to draw the man's hair, the dimple of the chin, neck, torso, and contours inside the ear.
Unlock AD FREE and PRINTABLE drawing and coloring tutorials
- 2,600+ drawing & coloring PDFs
- 50+ ebooks
- Ad-free website
Drawing Step 3

3. Use overlapping lines to sketch the straps of his backpack, the hand grasping the strap, the arm bent at the elbow, and the t-shirt.
Drawing Step 4
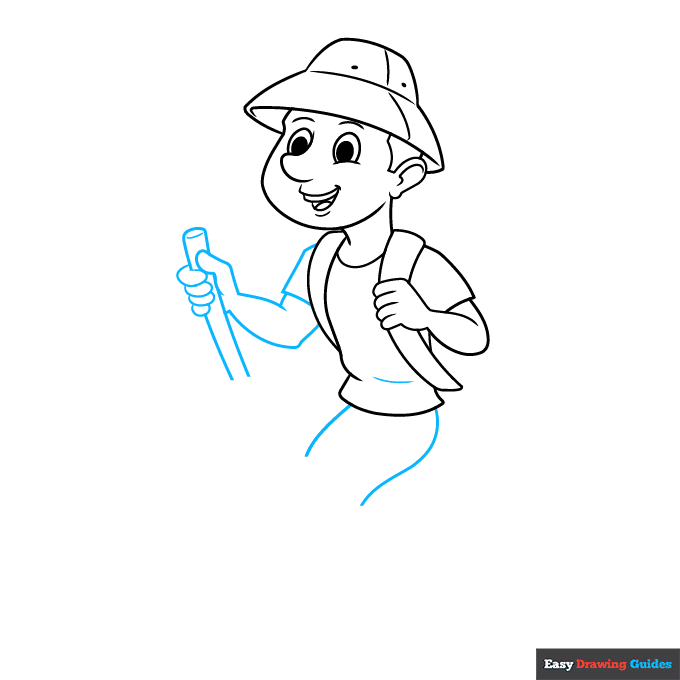
4. Draw a long, narrow cylinder - this will become his hiking stick - and draw his hand grasping it. Sketch the arm, sleeve, and top of the leg. Contour the shirt with a curved line.
Drawing Step 5
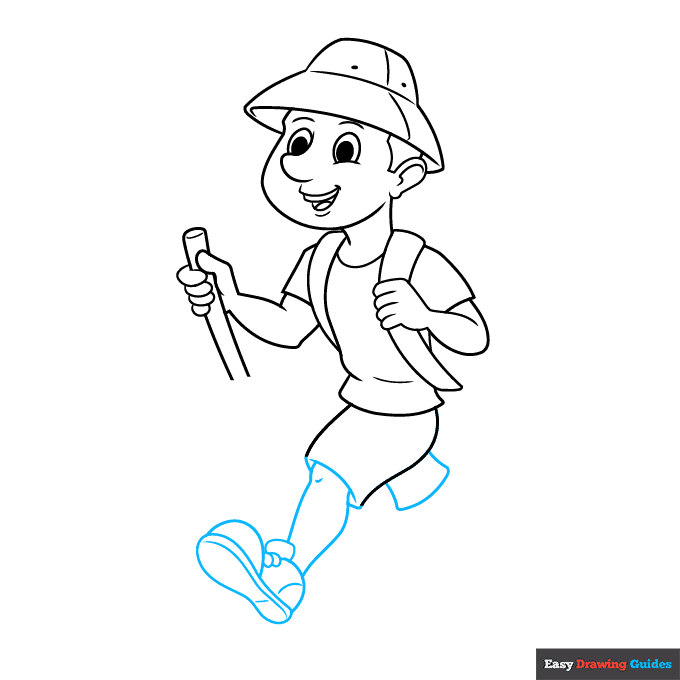
5. Use curved lines to complete the legs of the shorts, then draw the man's leg with a tennis shoe at the end. Don't forget the dimple on the knee.
Drawing Step 6
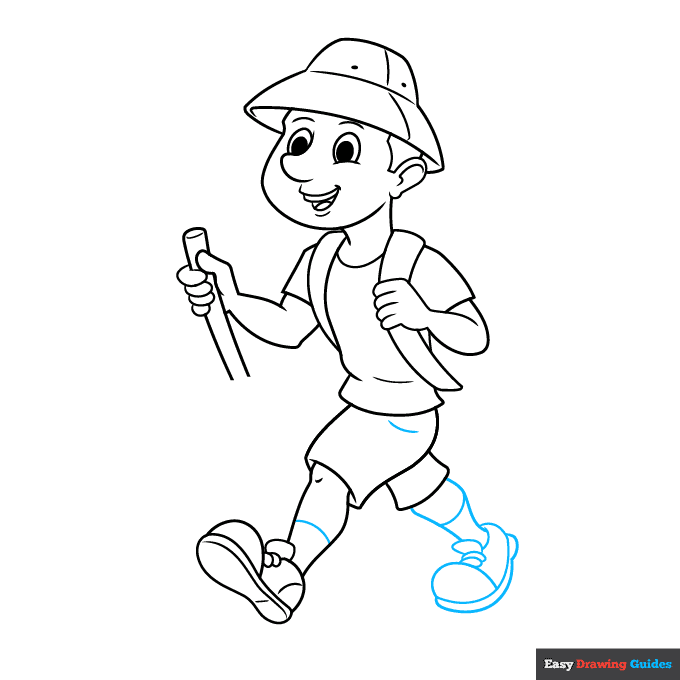
6. Band the leg with a curved line to indicate the sock. Then draw the remaining leg, shoe, and sock.
Drawing Step 7
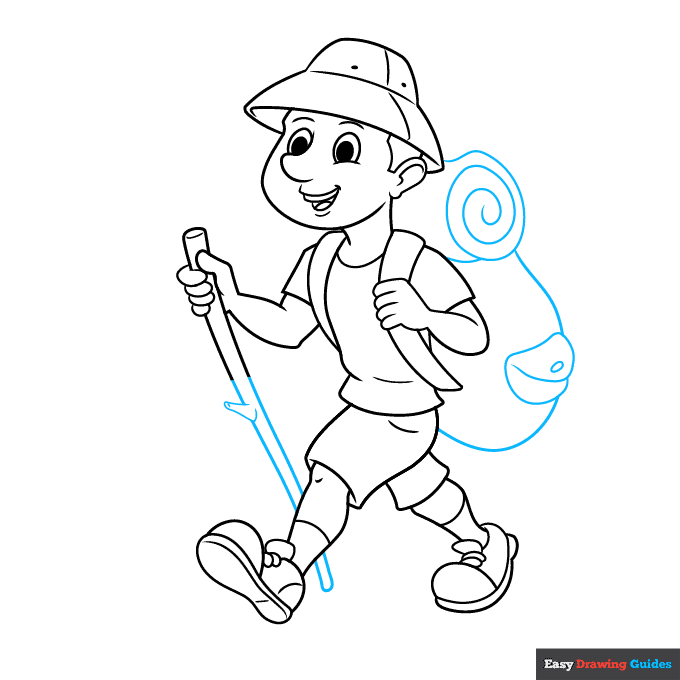
7. Finish the walking stick. Use long lines for most of the stick, but short lines for the small twig on its side. Then, draw the backpack and gear. At the top, behind the man's neck, draw a spiral shape.
This is the sleeping bag. Enclose a large round shape below it, and use overlapping curved lines to enclose a pocket on the side.
Add More Details to Your Hiker Picture - Step 8
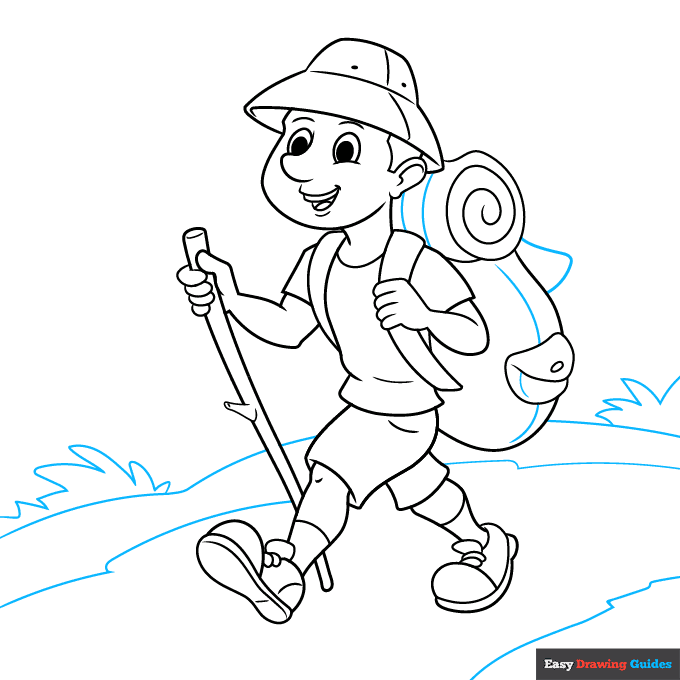
8. Use curved lines to finish the seams and flap of the backpack. Then, draw the terrain. Use long curved lines for the ground and the path, and a series of shorter lines for the bushy plants.
Complete the Outline of Your Hiker Drawing - Step 9

9. Draw small ovals to indicate pebbles on the path. Then draw the scenery in the distance. Create connected triangle shapes to form a forest of pine trees, with mountains and clouds in the background.
Color Your Hiker Drawing
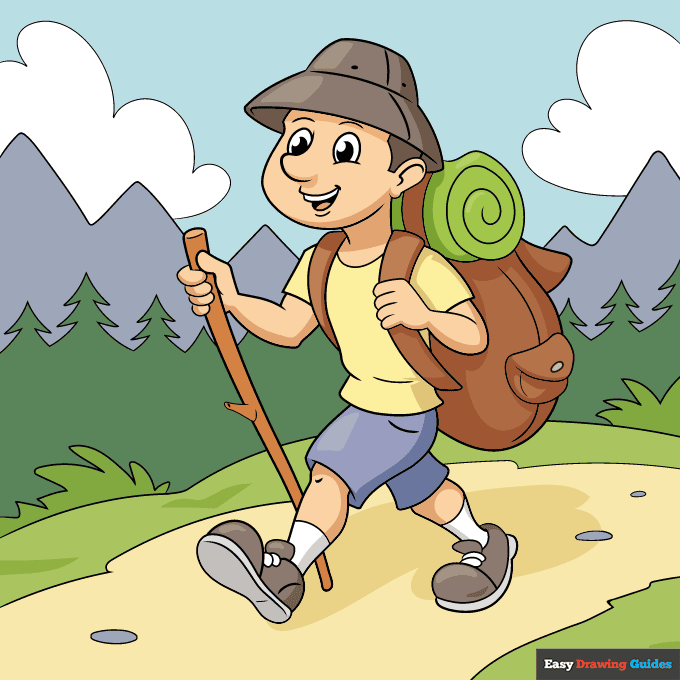
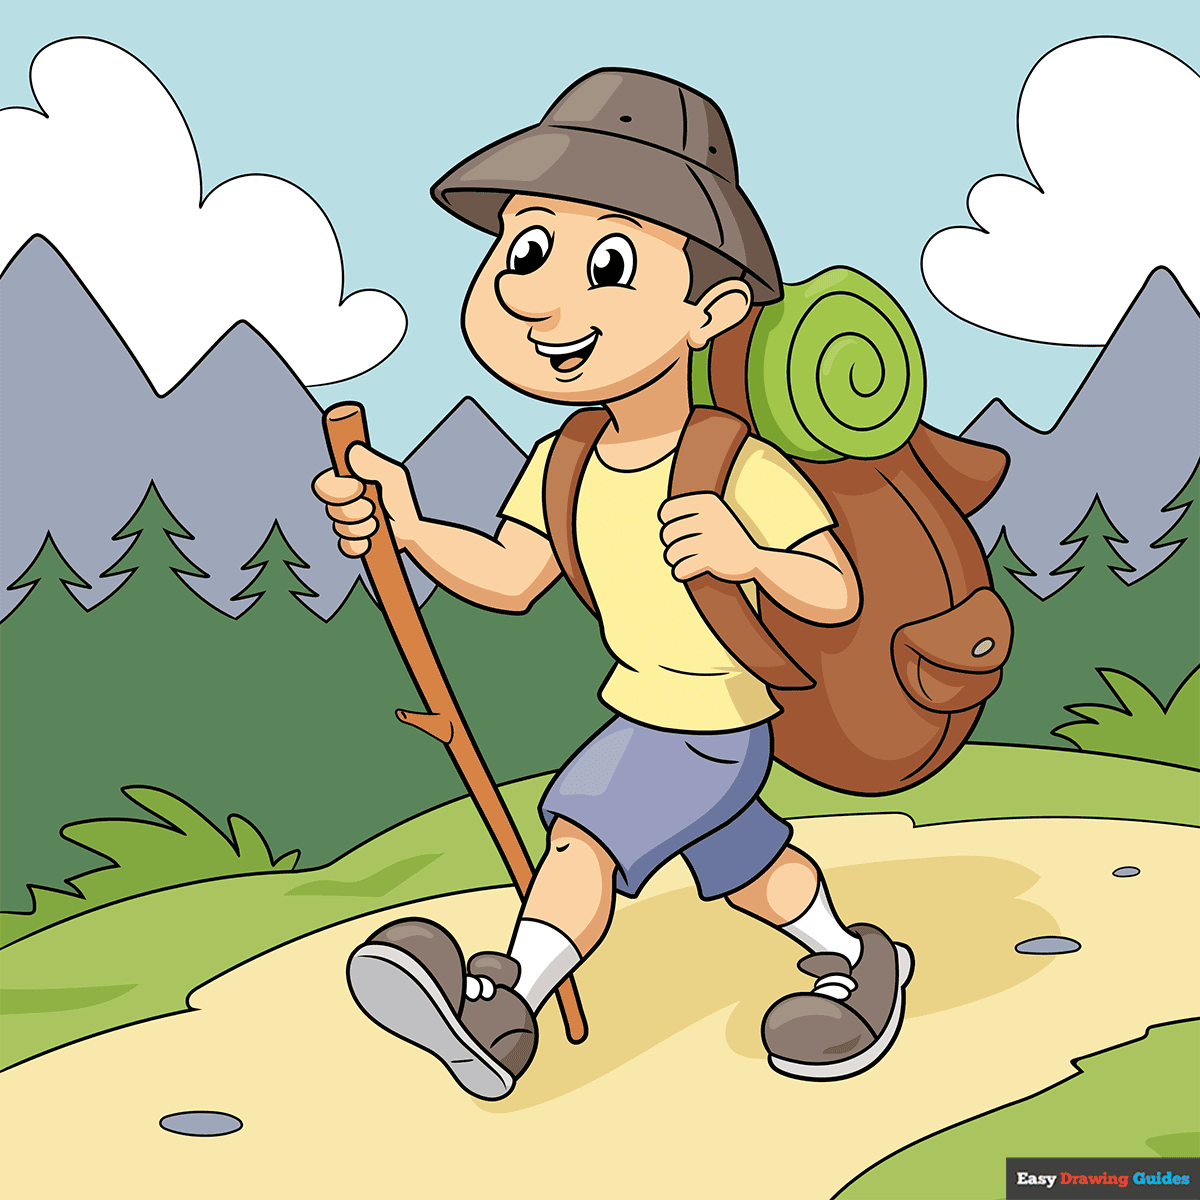
Your hiker outline is now complete. Color your happy cartoon character.
Watch 'How to Draw a Hiker' Video Tutorial
Learn More About The Hiker Drawing
Hiking we will go! Hit the trail with this fun hiker drawing.
When you go hiking, you take a long walk, typically in the countryside, to see beautiful surroundings. Sometimes, people hike for days or longer, camping along the way.
The hiker in our illustration is doing just that. He's walking on a dirt path. Forests and mountains are visible behind him.
This hiker is well-prepared. He has a hat to protect him from the sun, a walking stick, a sleeping bag, and a backpack full of other gear. You can draw this camping scene to give him a comfortable place to spend the night.
Hiker Drawing Tutorial - Easy & Fun Printable Pages
Join now and get immediate access to thousands of printable drawing instruction and practice pages!
Learn how to get access to thousands of printable pages!

MEMBER TROUBLESHOOTING
Still seeing ads or not being able to download the PDF?
First, check that you're logged in. You can log in on the member login page.
If you're still not able to download the PDF, the likely solution is to reload the page.
You can do this by clicking the browser reload button.
It is a circular arrow-shaped icon at the top of the browser window, typically found in the upper-left side (you can also use keyboard shortcuts: Ctrl+R on PC and Command+R on Mac).