Learn how to draw a great looking Elvis with easy drawing instructions and video tutorial.
By following the simple steps, you too can easily draw a perfect Elvis.
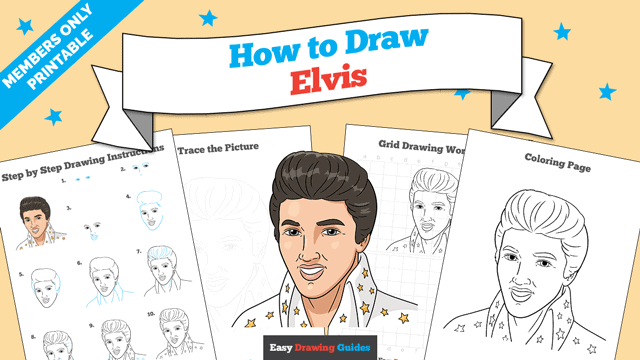
Step-by-Step Instructions for Drawing Elvis

How to Draw a Great Looking Elvis for Kids and Beginners - Step 1

1. Begin the Elvis outline by drawing the eyes. Use curved lines that don't meet to outline the almond-shaped eyes and the eyelids. Enclose two partial circles in each eye. Shade the smaller circle to form the pupil
Drawing Step 2
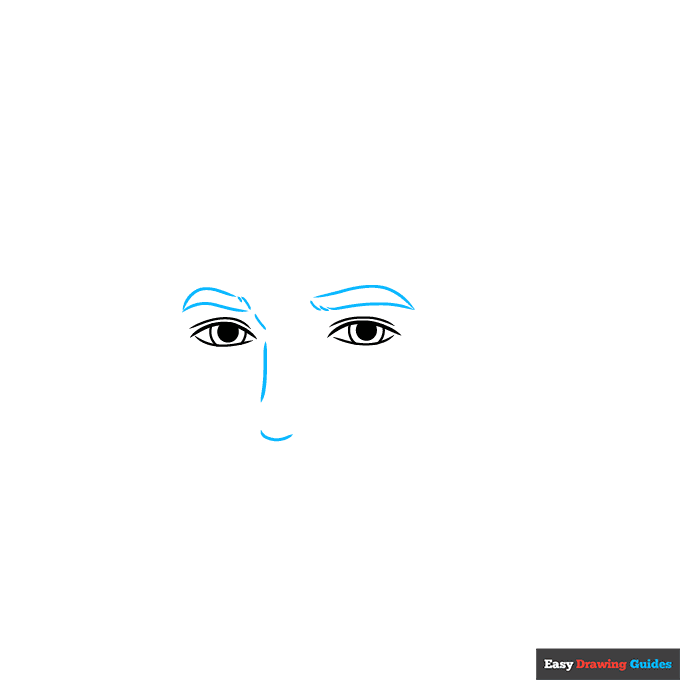
2. Use long curved lines that meet at points on the outer edges to form the thick eyebrows.
On the inner side, use several short lines that don't touch for the texture of hair. Then, use curved lines for the bridge and tip of the nose.
Unlock AD FREE and PRINTABLE drawing and coloring tutorials
- 1,900+ drawing & coloring PDFs
- 50+ ebooks
- Ad-free website
Drawing Step 3
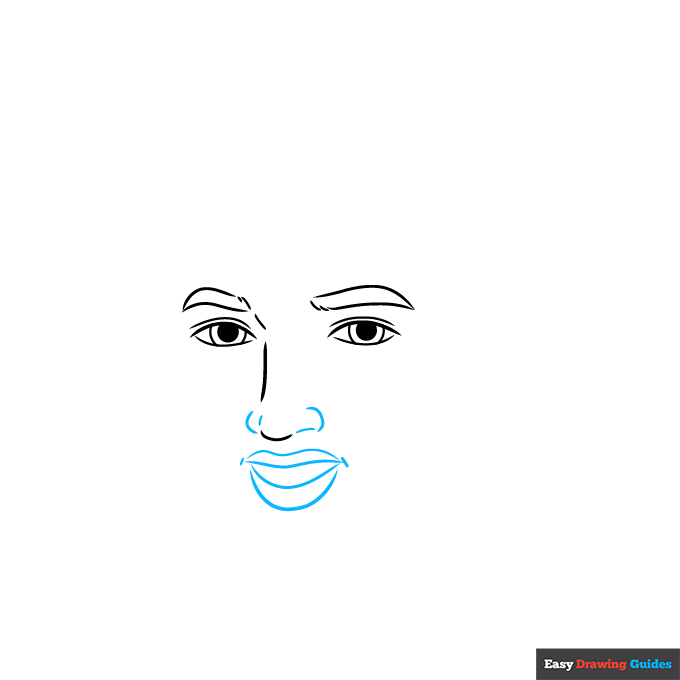
3. Use four curved lines to complete the nostrils and tip of the nose. Then, use four curved lines that don't quite touch to outline the open mouth, with short lines at the corner of the mouth.
Drawing Step 4

4. Use a series of overlapping curved lines to enclose Elvis' big hair. Use a long curved line for the sides of the face.
Drawing Step 5
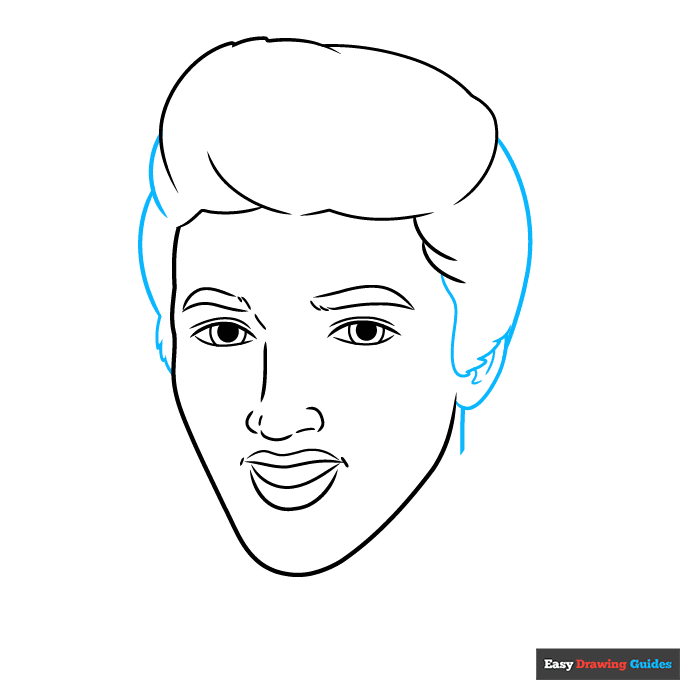
5. Use a series of overlapping curved lines that occasionally meet at jagged points to enclose the sides of the hair, the ear, and the back of the neck.
Drawing Step 6
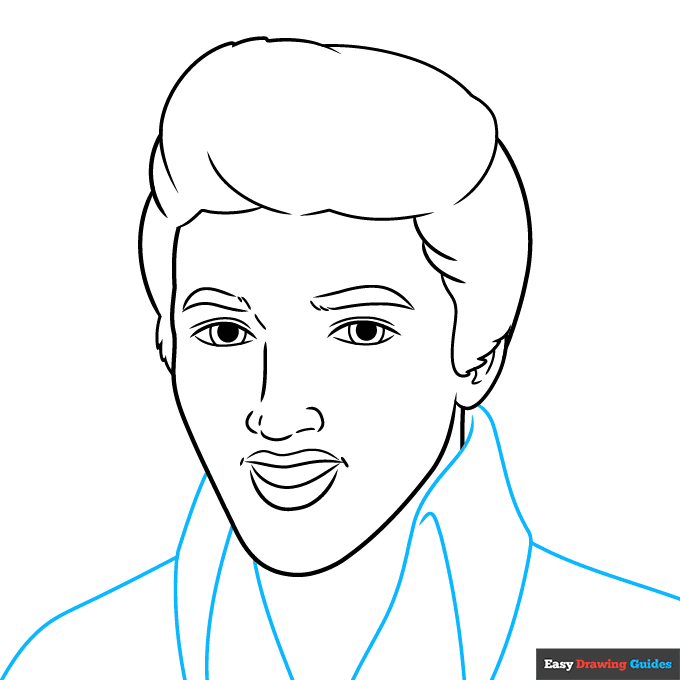
6. Use long curved lines to enclose Elvis' large, parallelogram-shaped collar, as well as the shoulders of the jacket.
Drawing Step 7
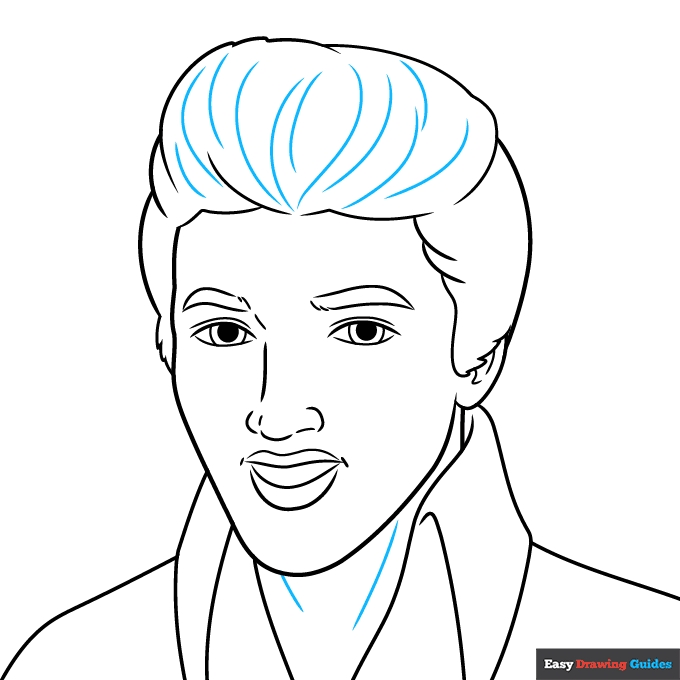
7. Contour Elvis' hair and neck with curved lines.
Add More Details to Your Elvis Picture - Step 8
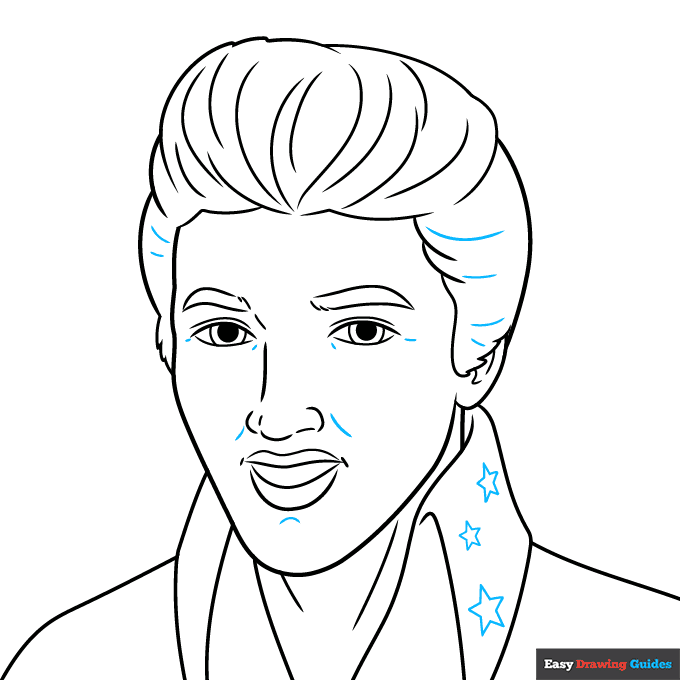
8. Continue to texture the hair with curved lines. Contour around the nose, the chin, and the corners of the eyes as well. Draw several five-pointed star shapes on the collar.
Complete the Outline of Your Elvis Drawing - Step 9
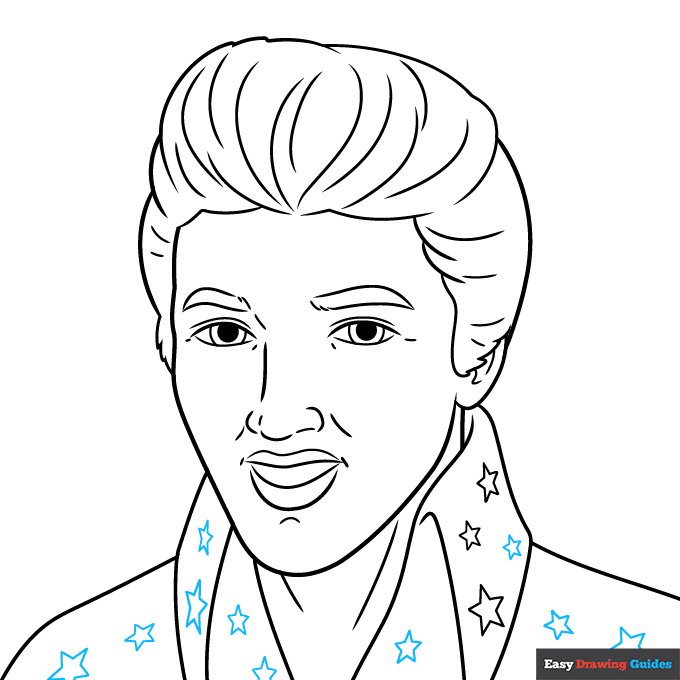
9. Draw more stars on the remaining collar and front of the jacket.
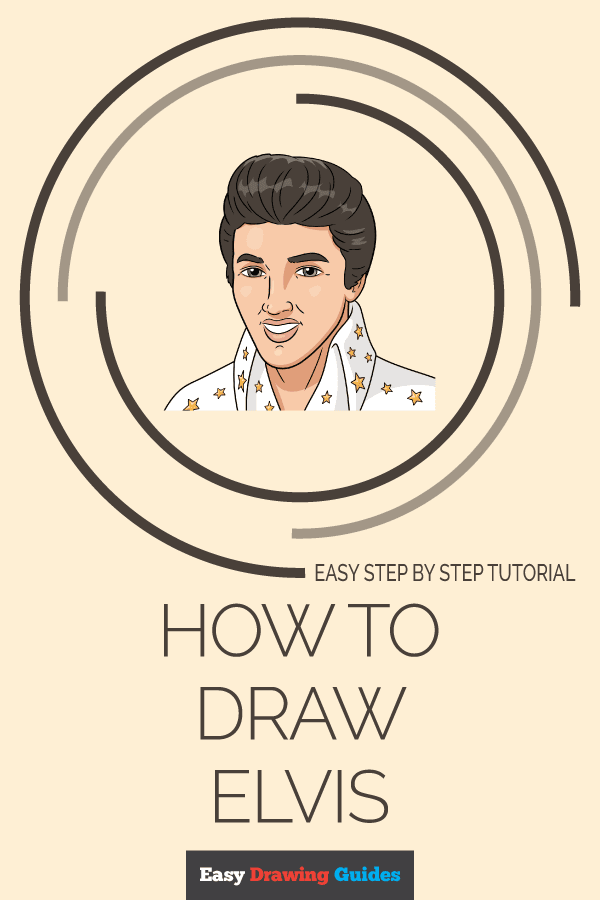
Color Your Elvis Drawing

Your Elvis outline is now complete. Color your portrait of the King. He had black hair and in his later years, he often wore a bedazzled white suit to his performances.
Watch 'How to Draw Elvis' Video Tutorial
Learn More About The Elvis Drawing
Feeling all shook up? You can rock and roll with the King, thanks to this Elvis Presley drawing tutorial. Drawing a lifelike portrait or caricature is not too hard when you follow these step-by-step instructions.
Elvis was the original rock and roll superstar. He was a singer and actor who stole hearts from the early 1950s until his death in 1977. He is still one of the most famous singers of all time.
There are several accessories you can draw along with your Elvis portrait. For example, add this guitar drawing along with music notes.
Many Elvis movies were set in tropical locations such as Hawaii. Draw this cartoon beach with a palm tree to set the scene.
Elvis Drawing Tutorial - Easy & Fun Printable Pages
Join now and get immediate access to thousands of printable drawing instruction and practice pages!
Learn how to get access to thousands of printable pages!

MEMBER TROUBLESHOOTING
Still seeing ads or not being able to download the PDF?
First, check that you're logged in. You can log in on the member login page.
If you're still not able to download the PDF, the likely solution is to reload the page.
You can do this by clicking the browser reload button.
It is a circular arrow-shaped icon at the top of the browser window, typically found in the upper-left side (you can also use keyboard shortcuts: Ctrl+R on PC and Command+R on Mac).