Learn how to draw a great looking Cross with a Rose with easy drawing instructions and video tutorial.
By following the simple steps, you too can easily draw a perfect Cross with a Rose.
Step-by-Step Instructions for Drawing a Cross with a Rose

How to Draw a Great Looking Cross with a Rose for Kids and Beginners - Step 1

Begin by drawing a curved, vertical line.
Drawing Step 2

Draw a second vertical line, parallel to the first. These lines form the upright pale of the cross.
Unlock AD FREE and PRINTABLE drawing and coloring tutorials
- 1,900+ drawing & coloring PDFs
- 50+ ebooks
- Ad-free website
Drawing Step 3

Connect each end of the pale using two short, curved lines that meet in a blunt point.
Drawing Step 4

Draw a straight, vertical line through the center of the pale.
Drawing Step 5

Draw two horizontal curved lines just above the center of the pale. These lines will form the crossbeam.
Drawing Step 6

Erase the guide lines from the crossbeam.
Drawing Step 7

Connect the ends of the crossbeam using two short, curved lines for each, meeting at a point.
Drawing Step 8

Draw a horizontal, curved line through the middle of the crossbeam. Draw a vertical curved line connected the widest points of each end of the crossbeam.
Drawing Step 9

Draw a rosette or rose blossom beside the cross. Begin by drawing a spiral to form the center of the flower, with additional curved lines outlining the petals.
Drawing Step 10

Draw additional curved lines around the flower, expanding it with more and larger petals.
Drawing Step 11

Draw more petals around the flower, allowing the curved lines to come to a point at the tip of each petal.
Drawing Step 12

Repeat this process on the other side of the flower.
Drawing Step 13

Continue to enclose additional petals using curved lines, expanding the size of the rose.
Drawing Step 14
Erase the guide lines from where the rose overlaps the cross.
Drawing Step 15

Draw a long, "S" shaped line spiraling about the cross. Draw a second line parallel to the first. Using short lines, draw thorns along this vine, allowing the lines to meet in sharp points.
Drawing Step 16

Erase the guide lines from where the vine overlaps the cross. From the vine, extend a series of connected, curved lines that meet at sharp points. This will form the vein of a leaf.
Drawing Step 17

Draw a leaf around the vein using curved lines that meet at jagged points. Extend sets of pointed, curved lines from the leaf vein, detailing the leaf with additional veins. Draw a number of such leaves along the length of the vine. Repeat the process - central vein, leaf edge, and additional veins - to form each leaf.
Drawing Step 18

Draw still more leaves extending from the vine.
Drawing Step 19

Draw two sets of parallel lines in an "X" shape in the middle of the cross.
Drawing Step 20

Color the rose and cross.
For more great Roses drawing tutorials, see the 50 Best Roses Drawing Tutorials post.
Watch 'How to Draw a Cross with a Rose' Video Tutorial

Learn More About The Cross with a Rose Drawing
According to the Encyclopaedia Britannica , the cross is "the principal symbol of the Christian religion." Millions of people wear a cross on a necklace or employ the cross in body art or to decorate their homes, vehicles, or clothing.
The cross as a symbol has a long history spanning numerous non-Christian religions. Simple X or + marks are found in prehistoric cave drawings.
In ancient Egypt, the cross-like ankh or crux ansata - translated "cross with a handle - was often depicted in the hand of the pharaoh or of various deities.
It was used both as a fertility symbol and to represent life. W. E. Vine's Expository Dictionary of New Testament Words also notes that the cross or t was used as a symbol for the Chaldean god Tammuz.
For 300 years after the founding of Christianity, there is no historical evidence of the use of this symbol in worship. It came into popularity when promoted by Roman Emperor Constantine, between 306 and 337 A.D.
Throughout the Middle Ages in Europe, the cross was used as a religious symbol. The design, for example, adorned the shields of knights and crusaders.
The cross also appears in much of the religious artwork from the sixth century onward, appearing in paintings, on the cover and pages of religious texts, and in architecture, especially of churches.
Scroll down for a downloadable PDF of this tutorial.
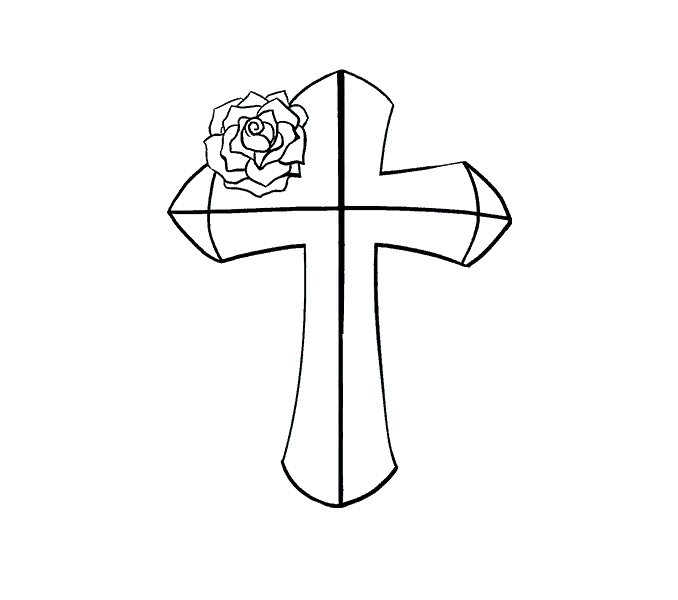
Would you like to draw your own cross? The stylized cross in this easy, step-by-step drawing tutorial features a rose wound about it.
All you will need is a pencil, a piece of paper, and an eraser. Note that in each step, new lines are highlighted in blue, while lines drawn in previous steps are shown in black. At times, you will need to erase lines in order to complete the step. You may also wish to use colored pencils, crayons, markers, or paints to shade your finished drawing.
If you liked this drawing tutorial, see also the following guides: Daisy drawing, Sun Flower drawing, and Cartoon Flowers drawing.
Cross with a Rose Drawing Tutorial - Easy & Fun Printable Pages
Join now and get immediate access to thousands of printable drawing instruction and practice pages!

Learn how to get access to thousands of printable pages!

MEMBER TROUBLESHOOTING
Still seeing ads or not being able to download the PDF?
First, check that you're logged in. You can log in on the member login page.
If you're still not able to download the PDF, the likely solution is to reload the page.
You can do this by clicking the browser reload button.
It is a circular arrow-shaped icon at the top of the browser window, typically found in the upper-left side (you can also use keyboard shortcuts: Ctrl+R on PC and Command+R on Mac).
See a Google Web Story of this Cross with a Rose Drawing Tutorial.