Learn how to draw a great looking Lamp with easy drawing instructions and video tutorial.
By following the simple steps, you too can easily draw a perfect Lamp.
Step-by-Step Instructions for Drawing a Lamp
How to Draw a Great Looking Lamp for Kids and Beginners - Step 1

1. Begin by drawing a narrow horizontal oval. This will form the upper opening of the lampshade.
Drawing Step 2

2. Draw a curved line down from one side of the oval, outlining the side of the lampshade.
Unlock AD FREE and PRINTABLE drawing and coloring tutorials
- 1,900+ drawing & coloring PDFs
- 50+ ebooks
- Ad-free website
Drawing Step 3

3. Draw a curved line descending from the opposite side of the oval, creating a mirror image.
Drawing Step 4

4. Connect the curved lines using a long curved line, completely enclosing the lampshade.
Drawing Step 5

5. Draw vertical curved lines across the lampshade. This indicates the pleated material of many shades.
Drawing Step 6

6. Outline the lamp base. Below the shade, draw two curved lines. Then, draw straight lines that diverge at opposite diagonal angles. Draw shorter lines beneath them that angle back toward the center. Then, connect these with a long curved line.
Drawing Step 7

7. Use straight lines to decorate the base of the lamp with a zigzag pattern.
Add More Details to Your Lamp Picture - Step 8

8. Draw a second zigzag pattern below the first.
Complete the Outline of Your Lamp Drawing - Step 9

9. Extend a straight line from one side of the lampshade. Use straight and curved lines to enclose a four-sided shape at the bottom. This is the pull-switch used to turn the lamp on and off.
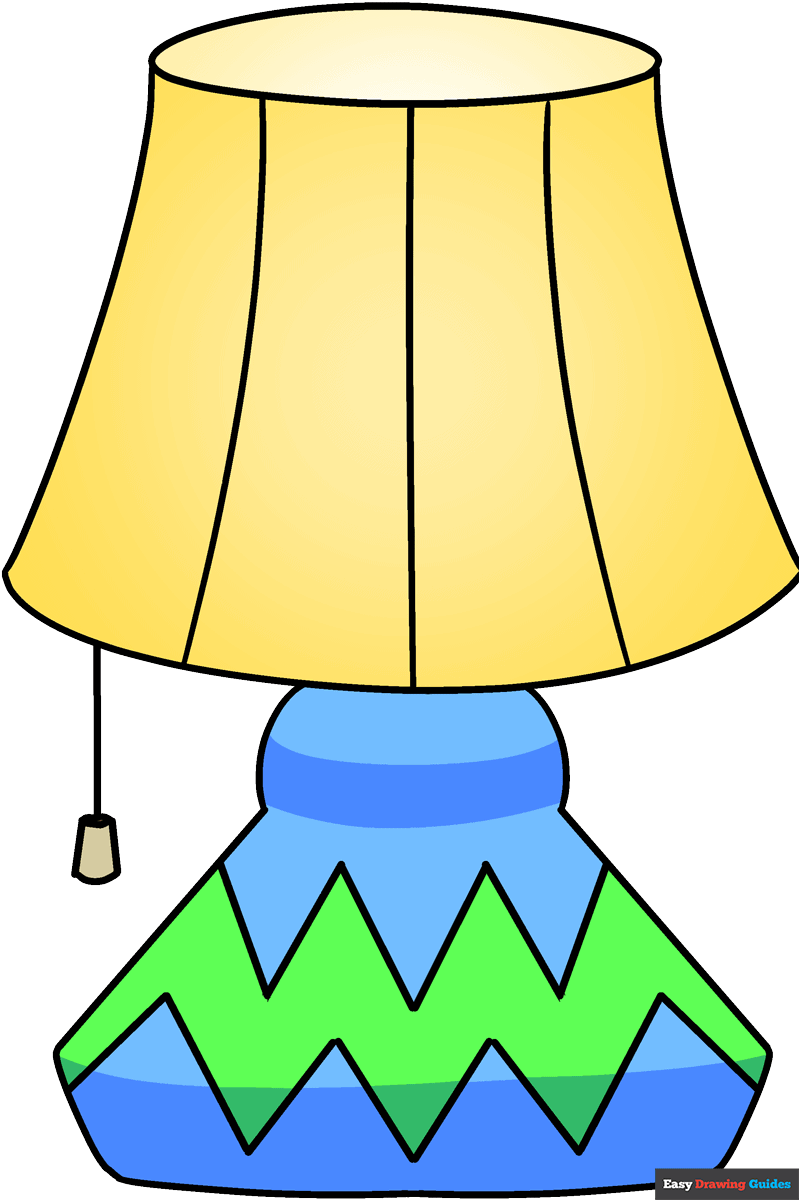
Color Your Lamp Drawing

This lamp is pretty groovy. What color should it be? Color it to match your favorite room.
Then, set the scene with more cartoon objects. You'll find couches, tables, and chairs, along with plenty of decor. You can even set the table for dinner or tea.
Watch 'How to Draw a Lamp' Video Tutorial

Learn More About The Lamp Drawing
"Even a single lamp dispels the deepest darkness."
- Mahatma Gandhi
Lamps of various styles have been used for indoor lighting throughout history. The earliest lamps consisted of a vessel holding a combustible material such as oil, and a wick that soaked it up. The wick would be lit and slowly burn the fuel, giving off light.
Electric lamps, also called light fittings, luminaires, or light fixtures, were invented around 1870. As electricity became available to nearly everyone during the next century, electric lamps became a standard in homes across the world.
Scroll down for a downloadable PDF of this tutorial.
Lamps often feature in the background in art and animation, setting the scene of a home or office. Sometimes, they are personified as characters in their own right. Examples include Lampy and Plugsy from the animated film The Brave Little Toaster.
Some lamps, however, are considered artwork in themselves. This includes the Tiffany-style glass lamps of the 1800s and 1900s. Some of these can be viewed in museums, such as the Metropolitan Museum of Art in New York City, United States.
Would you like to draw a cartoon lamp? This easy, step-by-step cartoon object drawing tutorial is here to show you how. All you will need is a pen, pencil, or marker and a sheet of paper.
If you liked this drawing tutorial, see also the following guides: Lantern drawing, Candle drawing, and Light Bulb drawing.
Lamp Drawing Tutorial - Easy & Fun Printable Pages
Join now and get immediate access to thousands of printable drawing instruction and practice pages!

Learn how to get access to thousands of printable pages!

MEMBER TROUBLESHOOTING
Still seeing ads or not being able to download the PDF?
First, check that you're logged in. You can log in on the member login page.
If you're still not able to download the PDF, the likely solution is to reload the page.
You can do this by clicking the browser reload button.
It is a circular arrow-shaped icon at the top of the browser window, typically found in the upper-left side (you can also use keyboard shortcuts: Ctrl+R on PC and Command+R on Mac).