Learn how to draw a great looking Chip and Dale with easy drawing instructions and video tutorial.
By following the simple steps, you too can easily draw a perfect Chip and Dale.
Step-by-Step Instructions for Drawing Chip and Dale

How to Draw a Great Looking Chip and Dale for Kids and Beginners - Step 1

1. Begin the Chip and Dale outline by drawing Dale's face. Shade a rounded triangle for the nose. Draw a curved line above it. Use curved lines to enclose the oval-shaped eyes on top of it.
Shade a small oval for the pupil inside each eye. Below it, use a series of curved lines to draw the open mouth, the buck teeth, and the tongue.
Drawing Step 2
2. Draw a long curved line over each eye, then use a series of connected curved lines to sketch the fluffy cheeks. Complete the head with additional curved lines.
Unlock AD FREE and PRINTABLE drawing and coloring tutorials
- 1,900+ drawing & coloring PDFs
- 50+ ebooks
- Ad-free website
Drawing Step 3
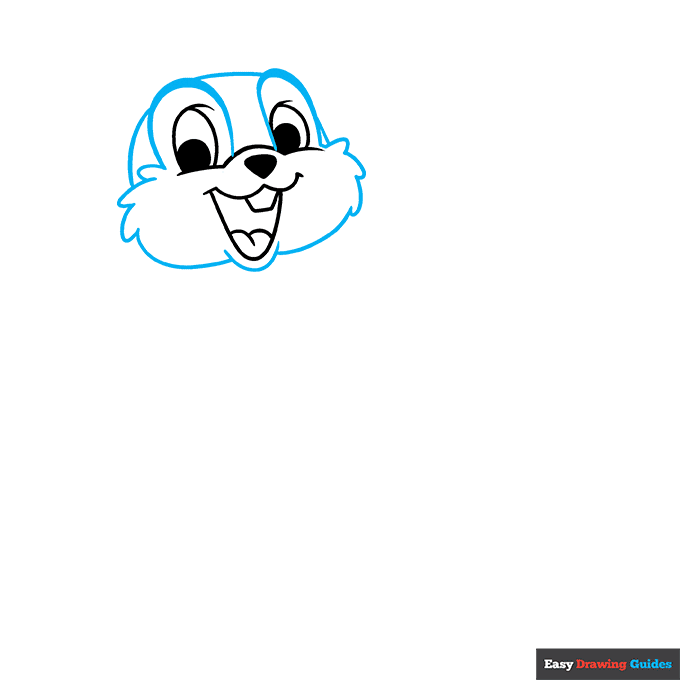
3. Draw two triangles on top of the head, with smaller triangles inside them. These are the ears.
Use connected curved lines to draw the furry chest and long curved lines for the arms. Draw a line that doubles back on itself repeatedly to enclose the hands and fingers.
Drawing Step 4

4. Ise long, overlapping curved lines to sketch the sides of the torso, the belly, and the upper legs.
Drawing Step 5

5. Use curved lines to enclose the feet and short lines to detail the toes. Then, begin drawing Chip's face.
Start with a circle for the nose, curved lines for the cheeks, and ovals for the eyes. Shade smaller ovals to indicate the pupils.
Drawing Step 6

6. Use a long curved line for the mouth below the nose. Enclose two rectangular teeth. Connect them with a curved line, completing the open mouth. Use a series of connected curved lines to outline the face and fluffy cheeks.
Drawing Step 7

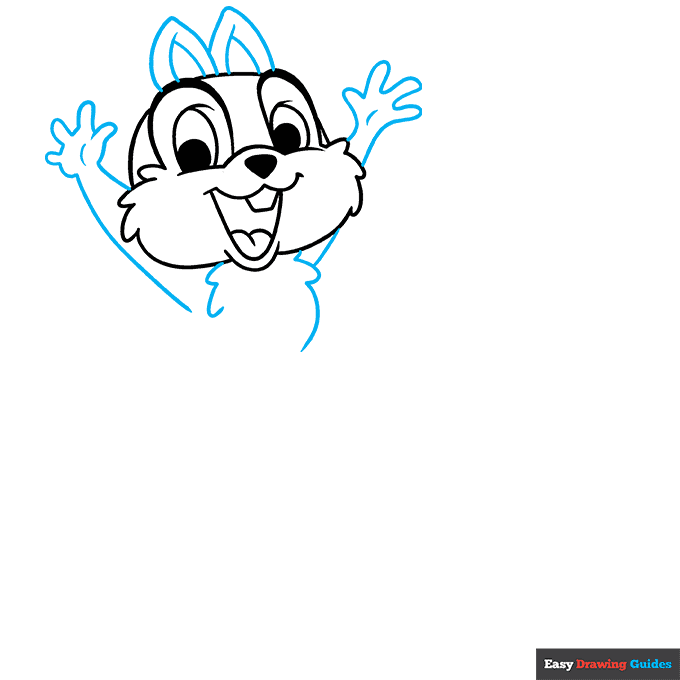
7. Use a series of overlapping curved lines to sketch the top of the head, the ears, and a tuft of fur in between them.
Use short curved lines that meet at jagged points to form the fur of the chest. Extend two curved lines between Chip and Dale to form the arm.
Add More Details to Your Chip and Dale Picture - Step 8

8. Use a series of overlapping curved lines to complete the belly, torso, upper leg, Chip's arm behind his back, and a furry tail.
Complete the Outline of Your Chip and Dale Drawing - Step 9

9. Use curved lines that double back on themselves to form the legs and feet. Detail the toes with short lines.
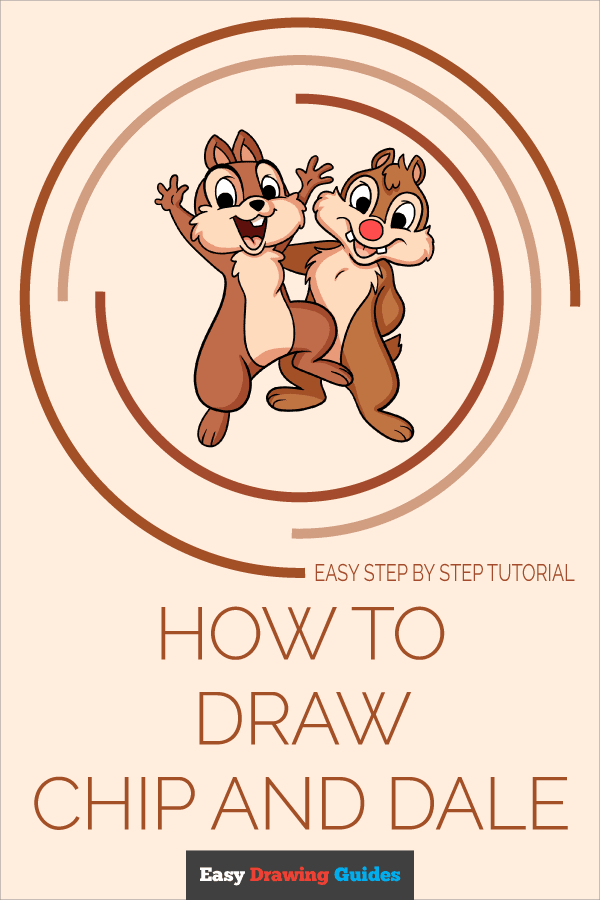
Color Your Chip and Dale Drawing

Your Chip and Dale outline is now complete. Color your characters. Their fur is brown with tan faces and bellies. Dale's nose is black, while Chip's is red.
Watch 'How to Draw Chip and Dale' Video Tutorial
Learn More About The Chip and Dale Drawing
Chip and Dale are iconic Disney characters. They made their debut in 1943. This easy, step-by-step guide can help you create a Chip and Dale drawing.
Chip and Dale are anthropomorphic chipmunks, meaning they walk on two legs like humans do. You can compare them to this realistic chipmunk drawing. One of the biggest differences is that their tails are much smaller.
Do you know how to tell Chip and Dale apart? Chip's nose is larger, and it is red. Dale's smaller nose is black. Also, Chip has two separate front teeth, while Dale's are together in the front.
In Chip and Dale: Rescue Rangers, Dale wore a leather bomber jacket and an Indiana Jones-style hat like the one in this hat drawing. Chip wore a Hawaiian shirt.
Chip and Dale Drawing Tutorial - Easy & Fun Printable Pages
Join now and get immediate access to thousands of printable drawing instruction and practice pages!
Learn how to get access to thousands of printable pages!

MEMBER TROUBLESHOOTING
Still seeing ads or not being able to download the PDF?
First, check that you're logged in. You can log in on the member login page.
If you're still not able to download the PDF, the likely solution is to reload the page.
You can do this by clicking the browser reload button.
It is a circular arrow-shaped icon at the top of the browser window, typically found in the upper-left side (you can also use keyboard shortcuts: Ctrl+R on PC and Command+R on Mac).