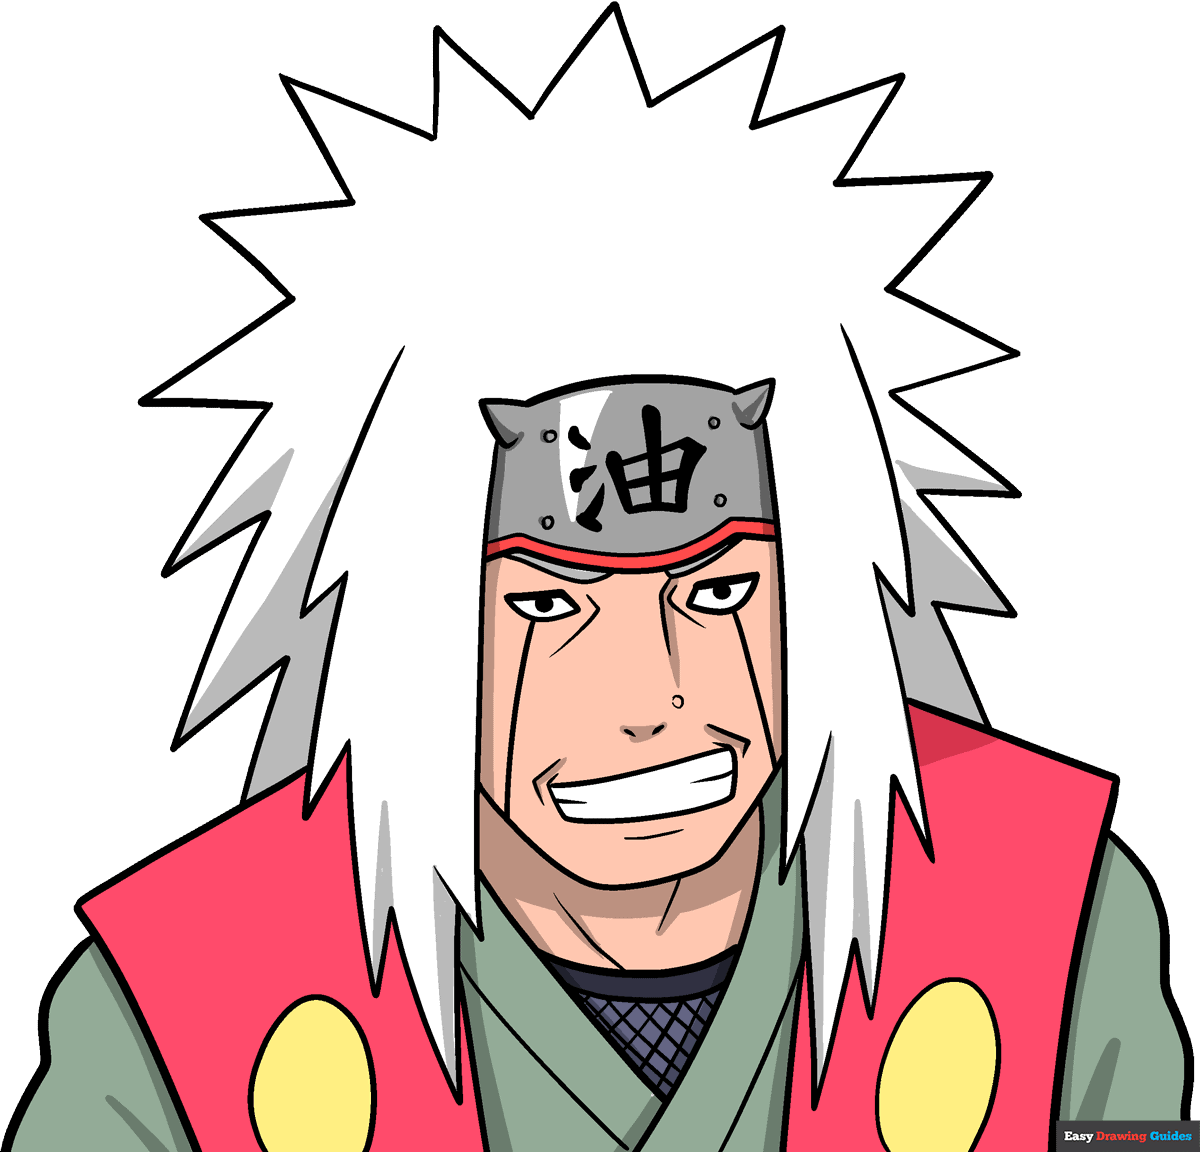
Learn how to draw a great looking Jiraiya with easy drawing instructions and video tutorial.
By following the simple steps, you too can easily draw a perfect Jiraiya.
Step-by-Step Instructions for Drawing Jiraiya
How to Draw a Great Looking Jiraiya for Kids and Beginners - Step 1
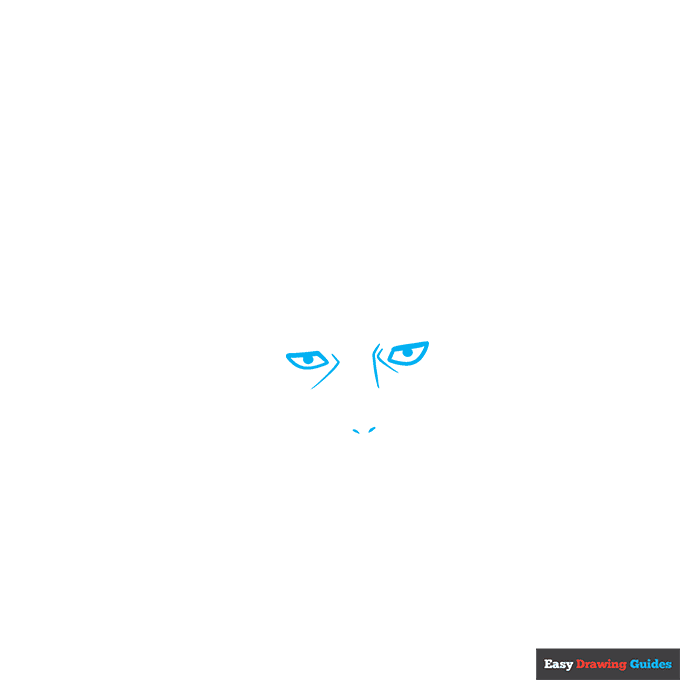
1. Begin the Jiraiya outline by drawing the eyes. Use thick lines to draw the anime eyes with their rectangular shape.
Use curved lines to draw the bridge of the nose and the nostrils, and to contour around the eyes.
Drawing Step 2
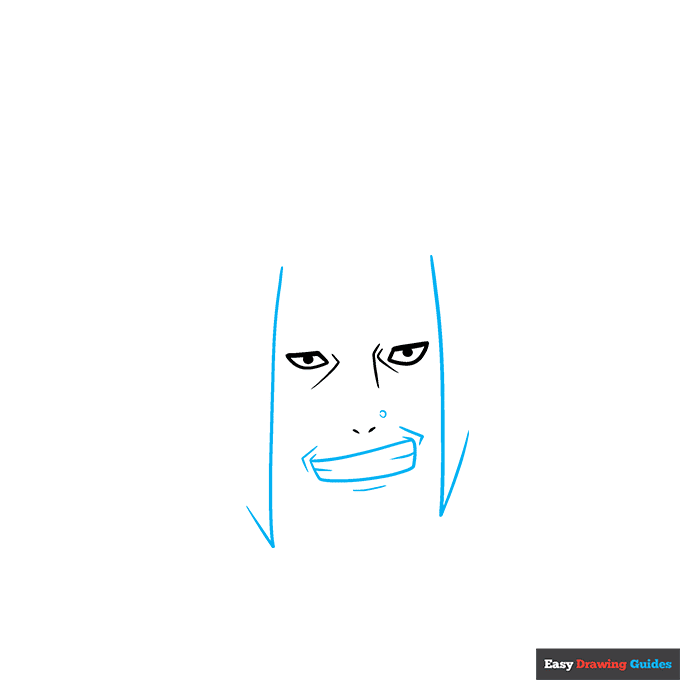
2. Use curved lines to enclose the rectangular mouth.
Use additional curved lines to contour around the mouth and to enclose a mole beside the nose. Draw checkmark-shaped lines to begin the hair at the sides of the face.
Unlock AD FREE and PRINTABLE drawing and coloring tutorials
- 1,900+ drawing & coloring PDFs
- 50+ ebooks
- Ad-free website
Drawing Step 3
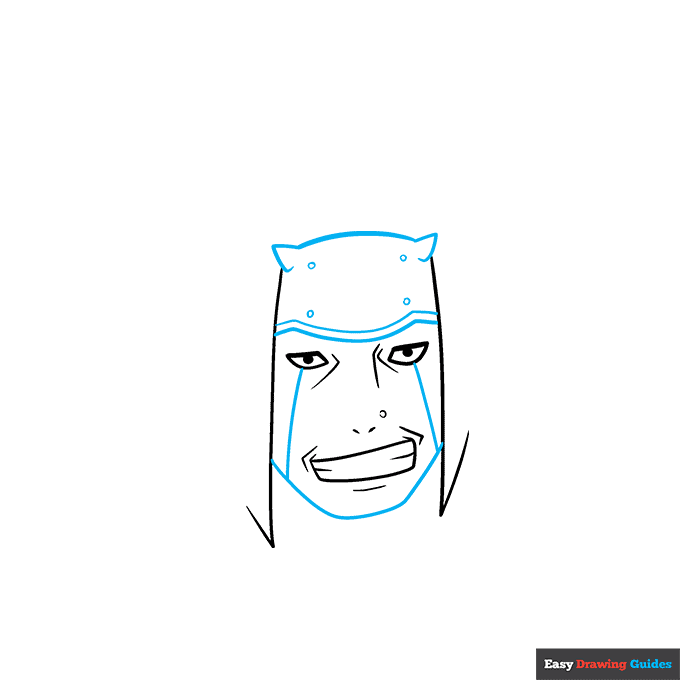
3. Use curved lines to enclose the headband across the forehead and the chin between the locks of hair. Draw small circles to form fasteners on the headband. Draw lines between the eyes and sides of the face.
Drawing Step 4

4. Use thick lines to draw the Japanese characters on the headband. Use curved lines to enclose the eyebrows, partially visible below the headband.
Then, use a series of long and short curved lines that meet at jagged points to draw the hair.
Drawing Step 5
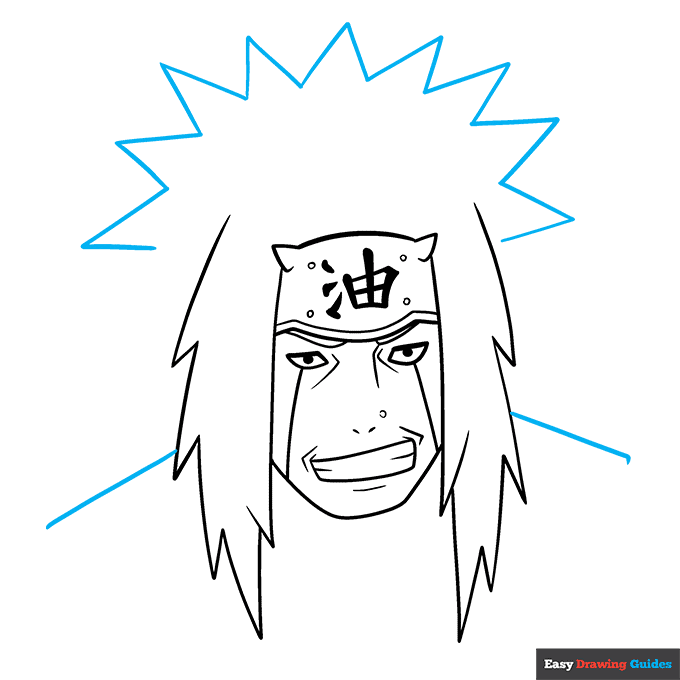
5. Use straight lines that meet at points to draw the sunburst pattern of the hair on top of the head. Then, extend lines from each side of the hair to form the shoulders.
Drawing Step 6
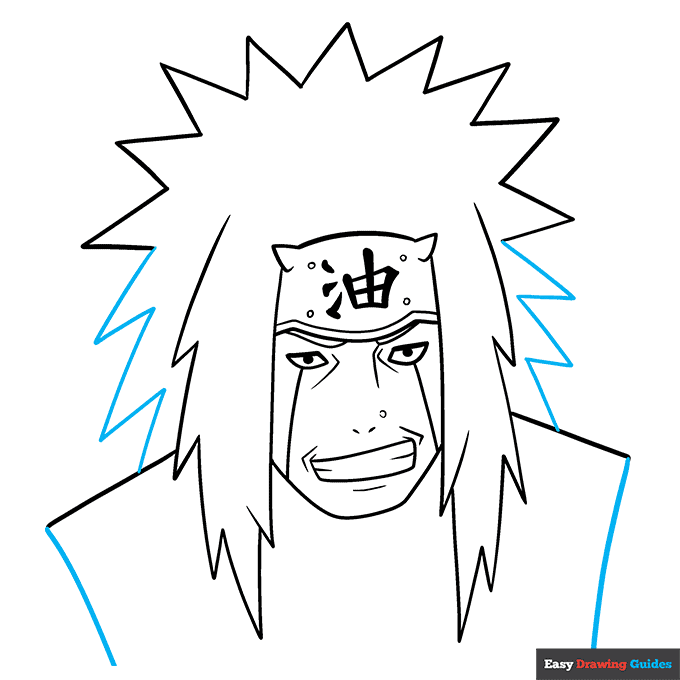
6. Continue drawing the jagged hair to reach the shoulders. Then, extend curved lines down from the edges of the vest.
Drawing Step 7
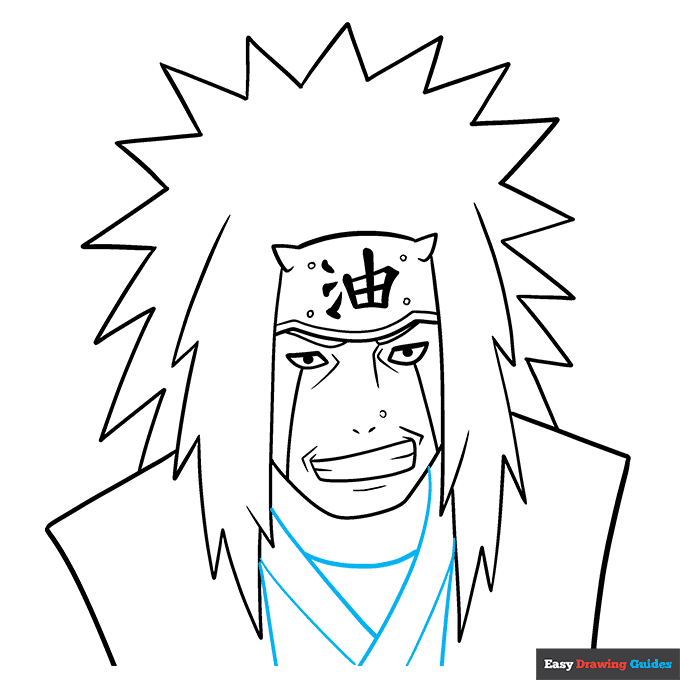
7. Use a series of overlapping curved lines to draw the "Y" and "V" shapes of the tunic front and neck.
Add More Details to Your Jiraiya Picture - Step 8
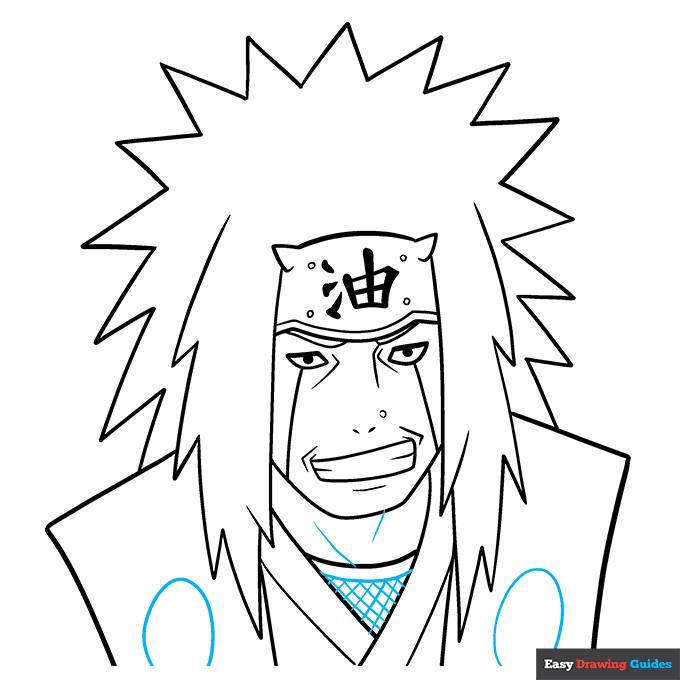
8. Detail the garments. Draw large ovals on the vest. Draw a curved line parallel to the neck of the garment and draw curved lines in a checkerboard pattern below it. Contour the neck with curved lines.
Complete the Outline of Your Jiraiya Drawing - Step 9
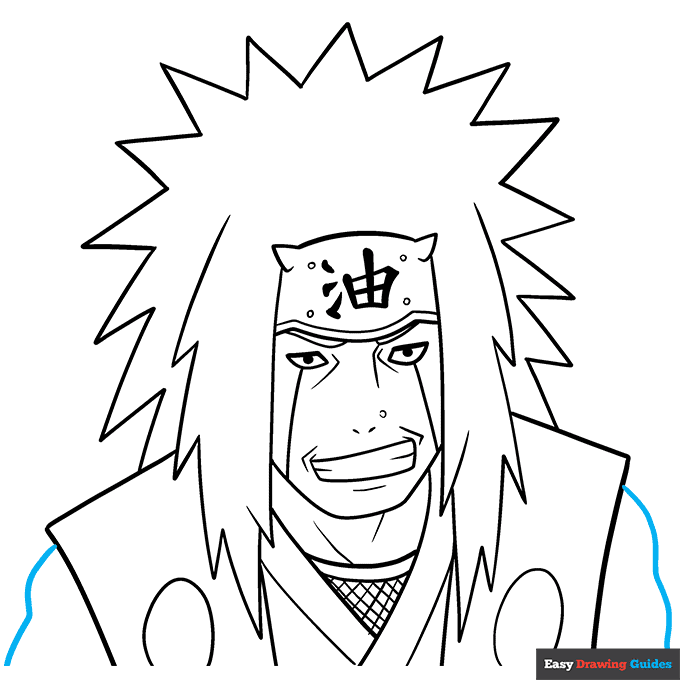
9. Use curved lines to enclose the arms on each side of the vest.
Color Your Jiraiya Drawing
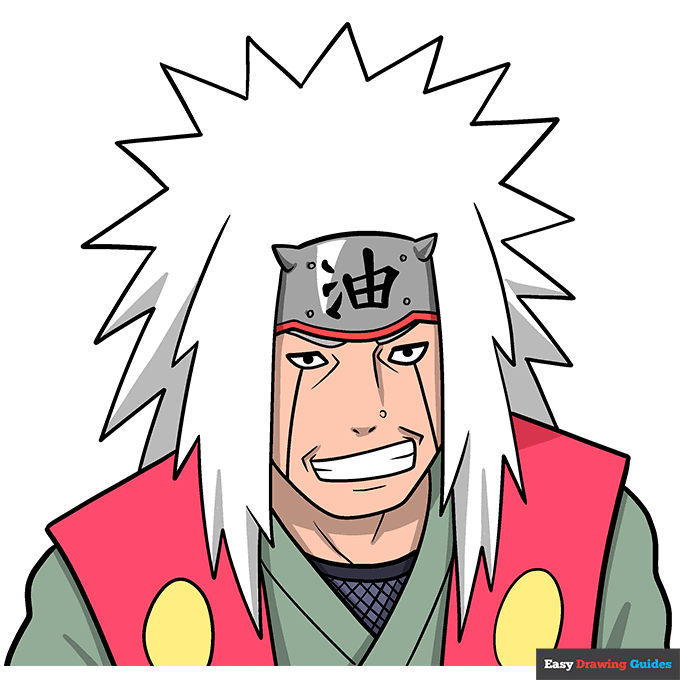
Your Jiraiya outline is now complete. Color your cartoon character. He has white hair, a metallic headband, and red, yellow, and green garments.
Watch 'How to Draw Jiraiya' Video Tutorial
Learn More About The Jiraiya Drawing
Which Naruto character is your favorite? You can learn how to draw Jiraiya with the help of this easy, step-by-step cartoon character drawing guide.
Jiraiya is considered the greatest ninja of his generation. His longer-than-average white hair indicates his age.
You can also learn how to draw other Naruto characters to create your own stories.
You can learn how to draw Naruto or check out this Hinata Hyuga drawing, this Kakashi Hatake drawing, or this Sasuke Uchiha drawing.
Jiraiya Drawing Tutorial - Easy & Fun Printable Pages
Join now and get immediate access to thousands of printable drawing instruction and practice pages!
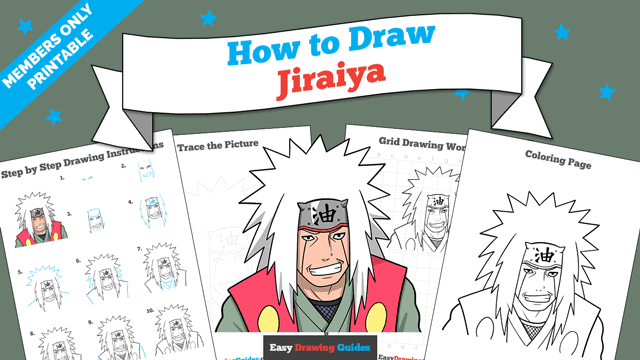
Learn how to get access to thousands of printable pages!

MEMBER TROUBLESHOOTING
Still seeing ads or not being able to download the PDF?
First, check that you're logged in. You can log in on the member login page.
If you're still not able to download the PDF, the likely solution is to reload the page.
You can do this by clicking the browser reload button.
It is a circular arrow-shaped icon at the top of the browser window, typically found in the upper-left side (you can also use keyboard shortcuts: Ctrl+R on PC and Command+R on Mac).