Learn how to draw a great looking Raspberry with easy drawing instructions and video tutorial.
By following the simple steps, you too can easily draw a perfect Raspberry.
Step-by-Step Instructions for Drawing a Raspberry
How to Draw a Great Looking Raspberry for Kids and Beginners - Step 1
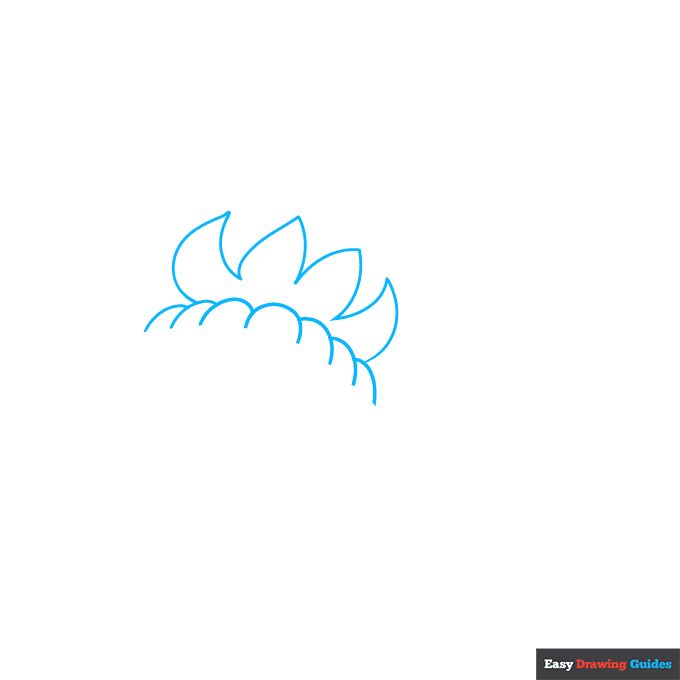
1. Begin the raspberry outline by drawing a series of overlapping curved lines. These will become the top of the berry.
Then draw the leafy sepals on top. For each sepal, use two curved lines that meet at a sharp point.
Drawing Step 2
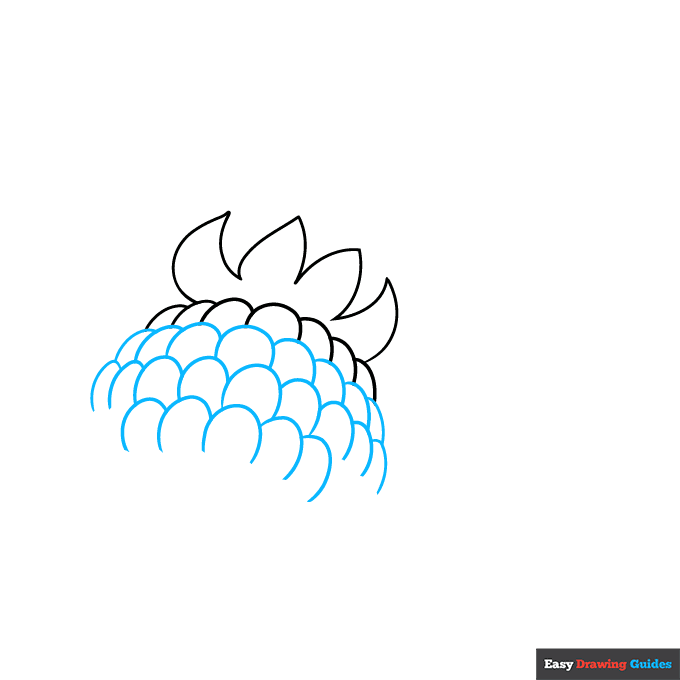
2. Draw three more rows of overlapping curved lines. These are called drupelets and they give the raspberry its unique texture.
Unlock AD FREE and PRINTABLE drawing and coloring tutorials
- 1,900+ drawing & coloring PDFs
- 50+ ebooks
- Ad-free website
Drawing Step 3
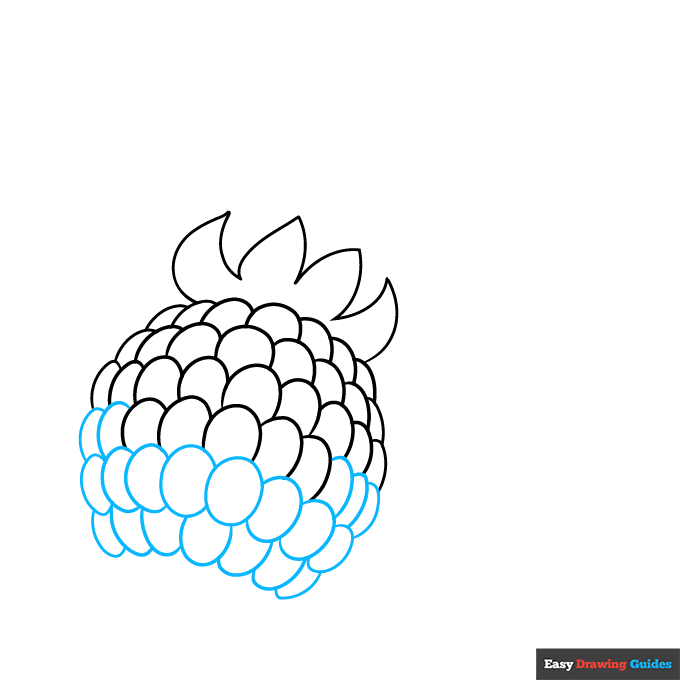
3. Complete the row of overlapping curved lines. Draw one complete oval beneath it and then a row of incomplete ovals on each side of it.
Then begin yet another row of overlapping curved lines facing the bottom direction.
Drawing Step 4
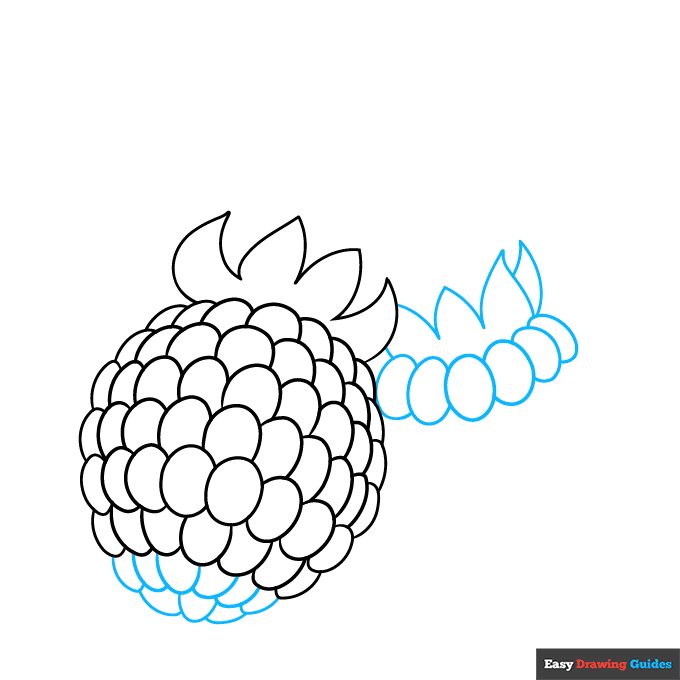
4. Draw two more rows of overlapping curved lines, each smaller than the other. This completes the first raspberry, giving it an oval shape. Then begin drawing a second raspberry.
Draw another oval-shaped drupelet with a row of similar overlapping oval shapes on each side of it. Above them, use curved lines that meet at points to enclose the sepals.
Drawing Step 5
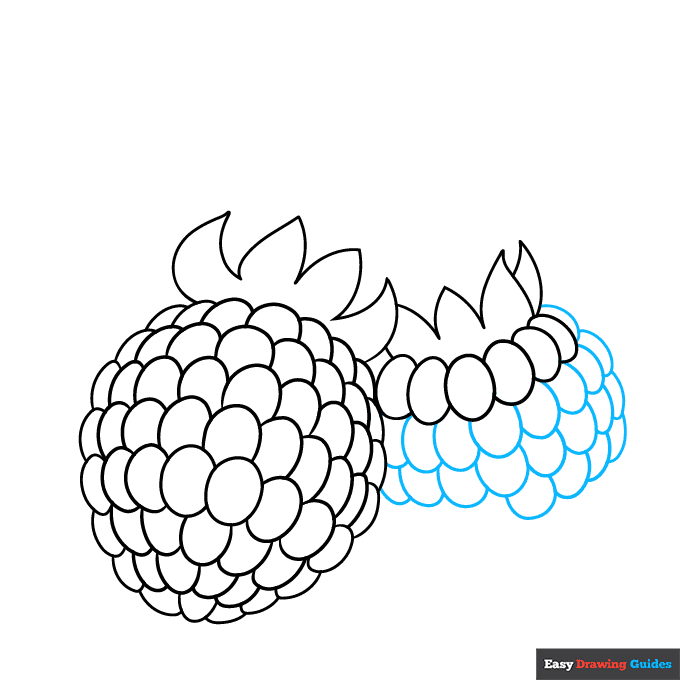
5. Draw several rows of overlapping curved lines to continue the second raspberry.
Drawing Step 6
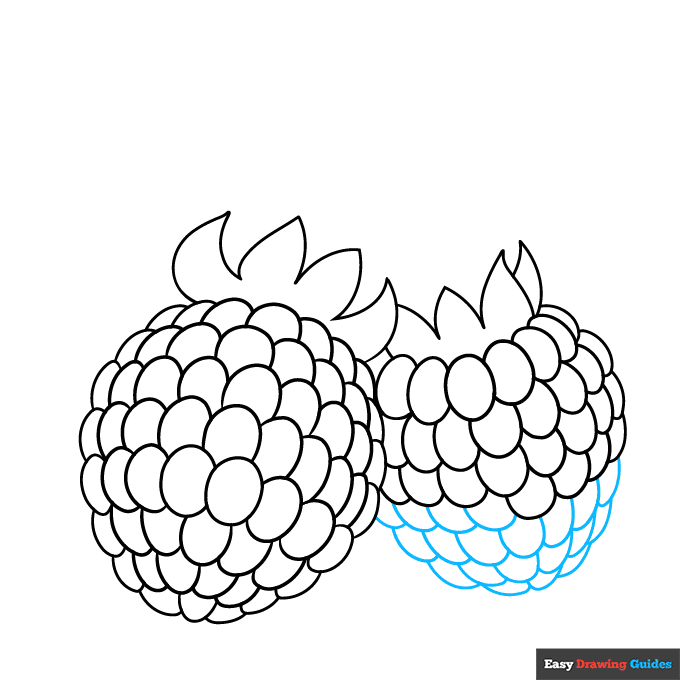
6. Continue drawing rows of curved, overlapping lines with fewer drupelets in each row until the raspberry has a complete oval shape.
Drawing Step 7
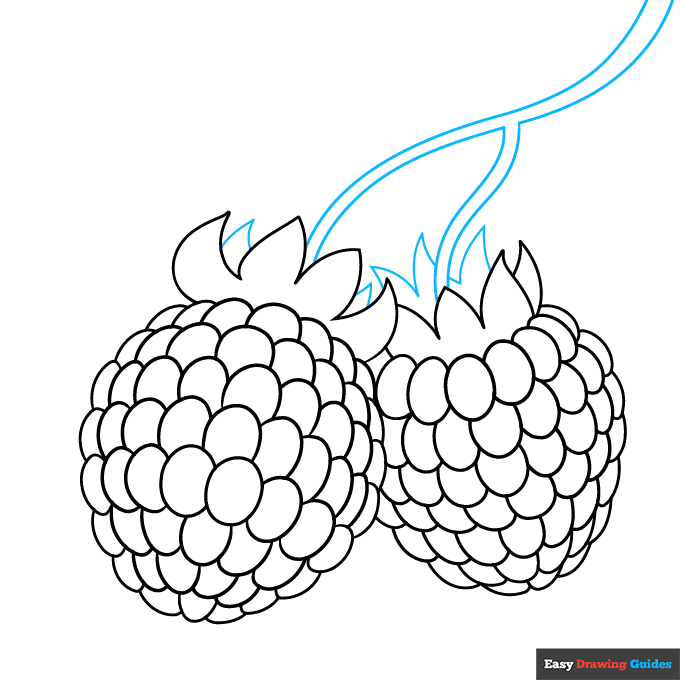
7. Use long curved lines that run parallel to one another to enclose a lowercase "y" shape above the berries. This is the stem. Then use curved lines that meet at points to draw more sepals on top.
Add More Details to Your Raspberry Picture - Step 8
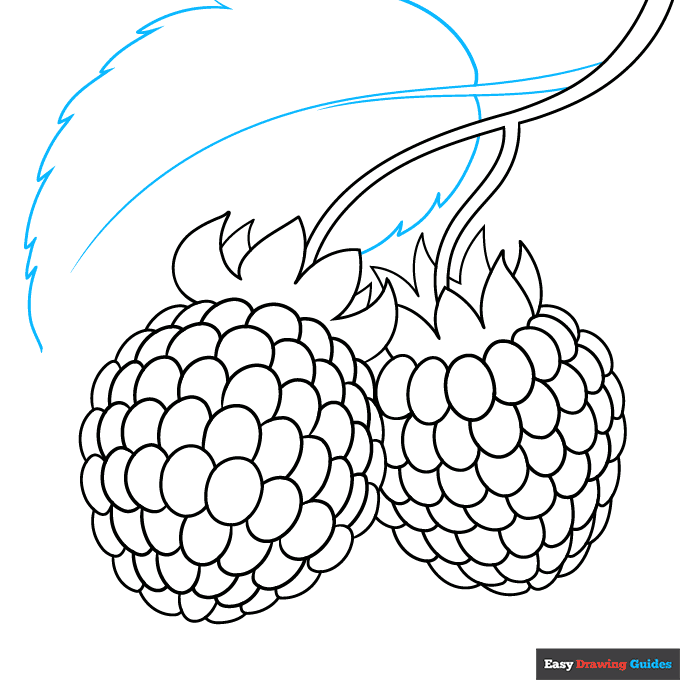
8. Extend two long curved lines from the side of the stem. This is the stem of a leaf. Allow one of the lines to extend further and become the leaf vein.
Then use a series of overlapping curved lines that meet at jagged points to sketch the serrated sides of the leaf.
Complete the Outline of Your Raspberry Drawing - Step 9
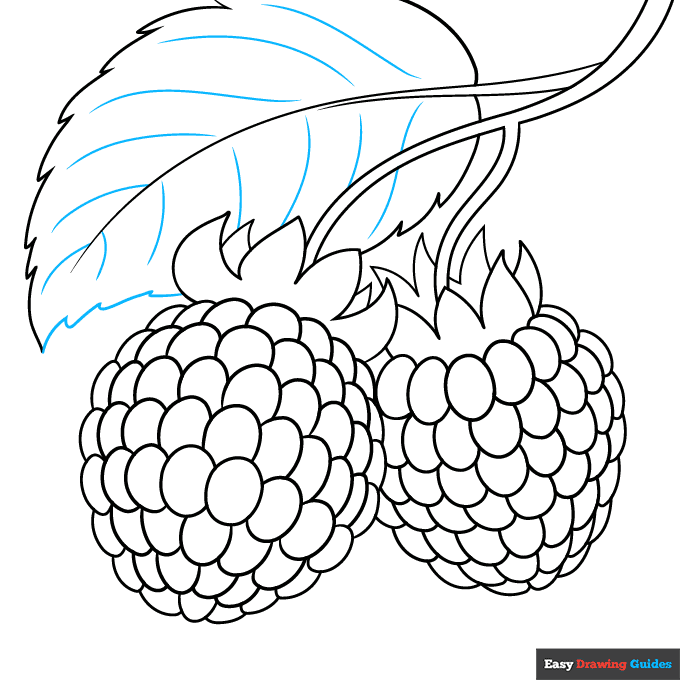
9. Finish enclosing the leaf and use long curved lines to indicate its veins. Your raspberry outline is now complete.
Color Your Raspberry Drawing
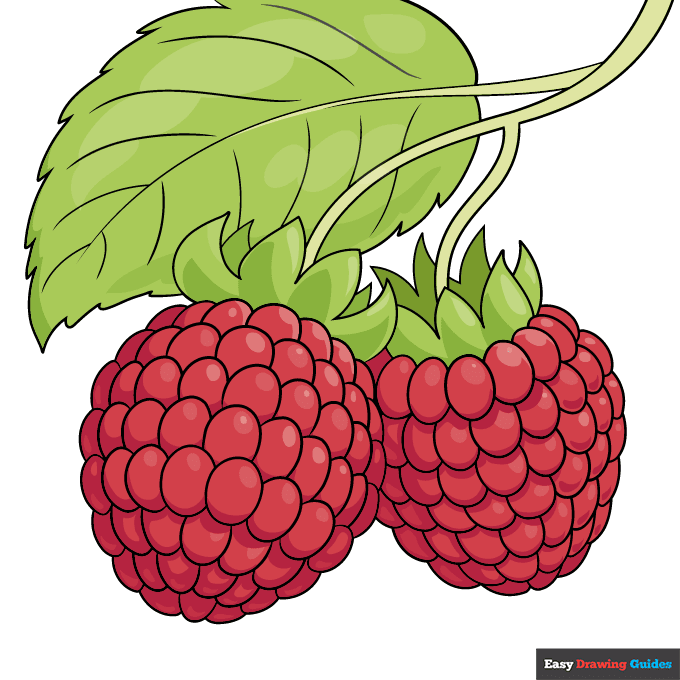
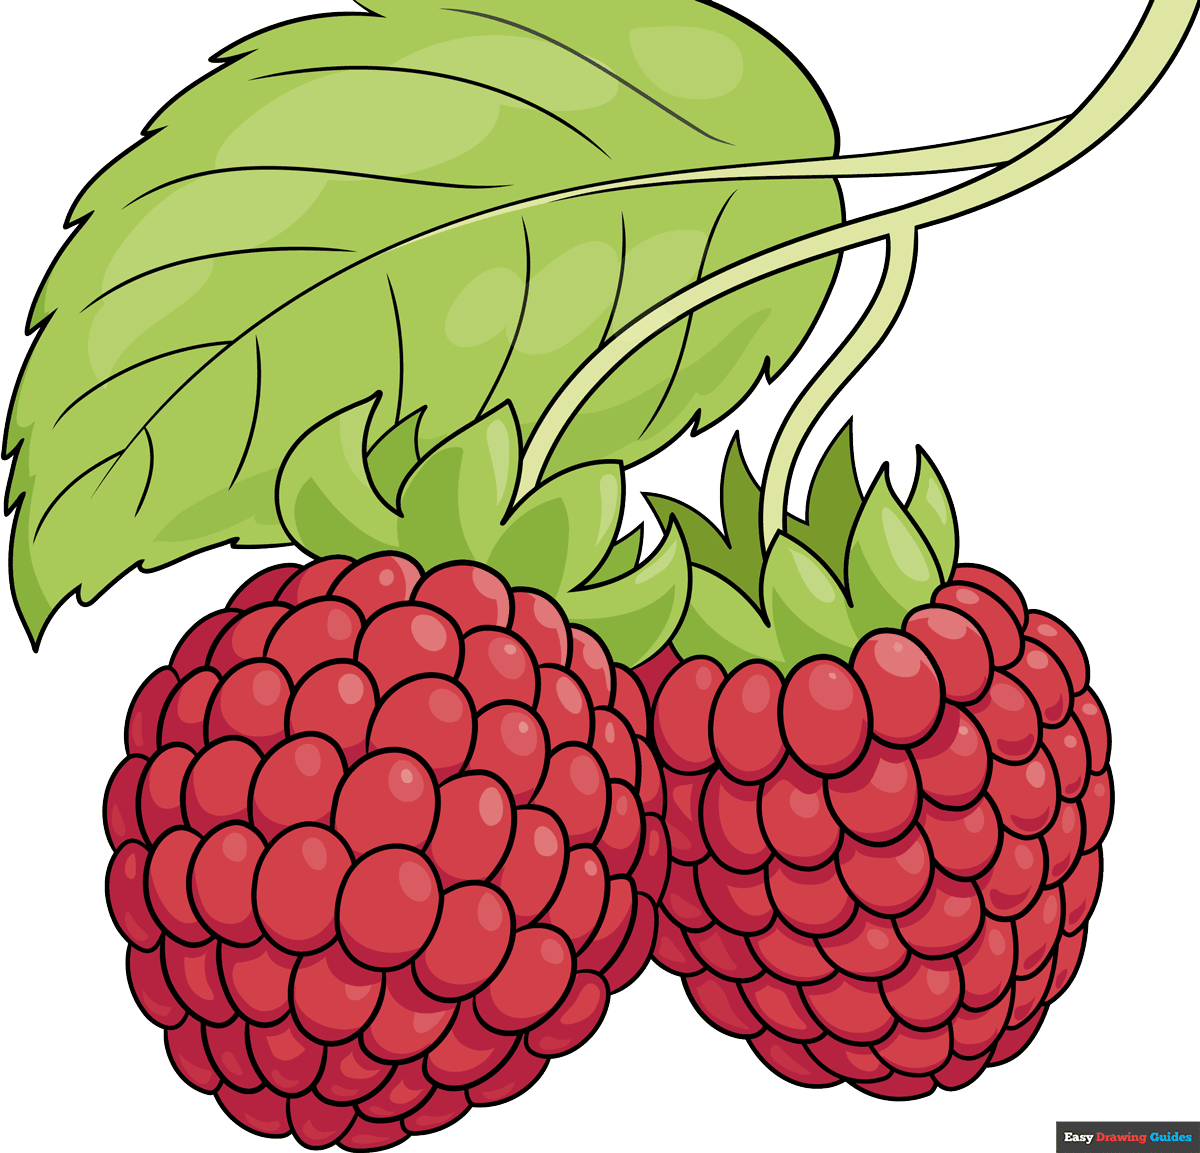
Color your fruit. Raspberries have bright green leaves and are typically bright red in color. Sometimes, though, they may be golden, pink, white, or dark blue
For more great fruit drawing tutorials, see the collection of Step-by-Step Fruit Drawings.
Watch 'How to Draw a Raspberry' Video Tutorial
Learn More About The Raspberry Drawing
This raspberry drawing looks delicious, doesn't it? Create a sketchbook that's good enough to eat with the help of this easy, step-by-step food drawing tutorial.
Raspberries are fruits that grow on bushes. They are in the rose family and look a lot like blackberries.
The raspberry "berries" are actually collected for drupelets, small drupes or fleshy fruits that each contain one seed. You can see the drupes making up the berry in the picture.
Want to explore more of these small fruits? Whip of a batch that includes strawberry drawings and blueberry drawings.
Then, you can use them to make a smoothie drawing or a tasty pie drawing. The culinary possibilities are endless!
For more easy and fun guides, see the How to Draw a Candy Apple or Dragon Fruit Drawing tutorials.
Raspberry Drawing Tutorial - Easy & Fun Printable Pages
Join now and get immediate access to thousands of printable drawing instruction and practice pages!
Learn how to get access to thousands of printable pages!

MEMBER TROUBLESHOOTING
Still seeing ads or not being able to download the PDF?
First, check that you're logged in. You can log in on the member login page.
If you're still not able to download the PDF, the likely solution is to reload the page.
You can do this by clicking the browser reload button.
It is a circular arrow-shaped icon at the top of the browser window, typically found in the upper-left side (you can also use keyboard shortcuts: Ctrl+R on PC and Command+R on Mac).